

DIY (do it yourself)
The Scope and Purpose of a Home Inspection
Purchasing property involves risk
The purpose of a home inspection is to help reduce the risk associated with the purchase of a house by providing a professional opinion about its condition. A home inspection is a limited visual inspection and it cannot eliminate this risk. Some homes present more risks than others. We cannot control this, but we try to help educate you about what we don’t know during the inspection process. This is more difficult to convey in a report and one of many reasons why we recommend that you attend at least part of the inspection.
A home inspection is not an insurance policy
This report does not substitute for or serve as a warranty or guarantee of any kind. Home warranties can be purchased separately from insuring firms that provide this service.
A home inspection is visual and not destructive
The descriptions and observations in this report are based on a visual inspection of the structure. We inspect the aspects of the structure that can be viewed without dismantling, damaging or disfiguring the structure and without moving furniture and interior furnishings. Areas that are concealed, hidden or inaccessible to view are not covered by this inspection. Some systems cannot be tested during this inspection as testing risks damaging the building. Our procedures involve non-invasive investigation and non-destructive testing which limits the scope of the inspection. Where moisture meter testing is indicated in this report a Protimeter Surveymaster was used.
This is not an inspection for code compliance
This inspection and report are not intended for city / local code compliance. During the construction process structures are inspected for code compliance by municipal inspectors. Framing is open at this time and conditions can be fully viewed. Framing is not open during inspections of finished homes, and this limits the inspection. All houses fall out of code compliance shortly after they are built, as the codes continually change. National codes are augmented at least every three years for all of the varying disciplines. Municipalities can choose to adopt and phase in sections of the codes on their own timetables. There are generally no requirements to bring older homes into compliance unless substantial renovation is being done.
This is just our opinion
Construction techniques and standards vary. There is no one way to build a house or install a system in a house. The observations in this report are the opinions of the home inspector. Other inspectors and contractors are likely to have some differing opinions. You are welcome to seek opinions from other professionals.
The scope of this inspection
This inspection will include the following systems: exterior, roof, structure, drainage, foundation, attic, interior, plumbing, electrical and heating. The evaluation will be based on limited observations that are primarily visual and non-invasive. This inspection and report are not intended to be technically exhaustive. We follow the InterNACHI Standards of Practice and are generally looking for functionality (are things working) and safety issues.
Your expectations
The overall goal of a home inspection is to help ensure that your expectations are appropriate with the house you are proposing to buy or sell. To this end we assist with discovery by showing and documenting observations during the home inspection. This should not be mistaken for a technically exhaustive inspection designed to uncover every defect with a building. Such inspections are available but they are generally cost-prohibitive to most homebuyers.
General Disclaimers
The approximate square footage listed in the report is listed as a courtesy and is based off of public records and disclosure. An evaluation of square footage of the buildings and property lines is beyond the scope of this inspection.
The number of bedrooms identified is pulled from the MLS listing or public records. Any observed non-conforming bedrooms will be identified in this report.
A thermal imaging camera was used to check walls and ceilings for thermal anomalies and also to check specific appliances for verification of proper function. All thermal images will be pared with a normal picture of the same frame. Thermal imaging cameras use the infrared light spectrum to build a picture of the house. Experienced thermogrophers look for clues in these thermal images that could lead us to otherwise concealed water leaks or missing air or thermal barriers. In older homes, incomplete air and thermal barriers are so common, we will only report on items that look significantly deficient and are worthy of correction. This service is included with our home inspection; it is limited and is not a complete thermal mapping of the house. Note that weather conditions (e.g. whether it has rained in the days/weeks leading up to the inspection) can significant affect the effectiveness of thermal image testing.
When testing appliances, any operational defects noted will be listed in this report. However, just because an appliance turns on and runs, it does not necessarily mean it was working effectively. I was testing for basic function of appliances; testing every feature, option, and the overall effectiveness of the appliance is not feasible during an inspection.
Mold, mold testing, and indoor air quality are beyond the scope of this inspection. That being said, any suspected mold or conducive conditions for mold that we observed will be reported on. If mold or indoor air quality is a particular concern, we recommend an additional evaluation and further inspections by a specialist.
Radon level testing is not included as part of this inspection. While radon is a concern in many areas of the United States, according to the EPA, the Seattle area has low risk for radon levels (see EPA map.) If radon levels are of specific concern, we recommend contacting a company that provides this service. Note that it takes 48+ hours to accurately measure radon levels.
Your participation is requested
Your presence is requested during this inspection. A written report will not substitute for all the possible information that can be conveyed verbally by a shared visual observation of the conditions of the property.
How to Read This Report
Getting the Information to You
This report is designed to deliver important and technical information in a way that is easy for anyone to access and understand. If you are in a hurry, you can take a quick look at our "Summary Page” and quickly get critical information for important decision making. However, we strongly recommend that you take the time to read the full Report, which includes digital photographs, captions, diagrams, descriptions, videos and hot links to additional information. This report can also be printed on paper or to a PDF document, but the best way to get the layers of information that are presented in this report is to read your report online, which will allow you to expand your learning about the inspected property.
Chapters and Sections
This report is divided into chapters that parcel the home into logical inspection components. Each chapter is broken into sections that relate to a specific system or component of the home. You can navigate between chapters with the click of a button on the left side margin.
Most sections will contain some descriptive information done in black font. Observation narrative, done in colored boxes, will be included if a system or component is found to be significantly deficient in some way or if we wish to provide helpful additional information about the system or the scope of our inspection. If a system or component of the home was deemed to be in satisfactory or serviceable condition, there may be no narrative observation comments in that section and it may simply say “tested,” or “inspected.”
Observation Labels
All narrative observations are colored, numbered and labeled to help you find, refer to, and understand the severity of the observation. Observation colors and labels used in this report are:
- Procedure:Description of the procedure I follow while inspecting various components of a house.
- Note:Refers to aside information and/or any comments elaborating on descriptions of systems in the home or limitations to the home inspection. These also include contextual photos of the house and pictures of various components of the house while operating.
- Tier 1 - Major Concern:These represent priority items like major safety issues, active issues causing damage to the house, or items of significant expense that are looming in the near future.
- Tier 2 - Repair:These are lower priority deficiencies that may not need immediate attention, but should be addressed in the near/medium term future. These are usually deferred maintenance items, occupant safety concerns, or sub-par construction/installation problems.
- Tier 3 - Improve:These are things that are working but could be better. These are minor nuisance type concerns, or things related to safety, efficiency, or reliability issues. Often these are improvements that may not have been necessary--or even have existed--when the property being inspected was constructed (e.g. changes in building standards over time.)
- Future Project:A repair that may be deferred for some time but should be on the radar for repair or replacement in the future.
- Due Diligence:Observations that may require further investigation and/or clarification that could not be provided during the home inspection.
- Monitor:Items that should be watched to see if correction may be needed in the future.
- Recommended Maintenance:These are items that should be considered "routine home ownership," such as servicing the furnace, cleaning the gutters or changing the air filters in the furnace. Generally a house costs ~1% of the purchase price per year to maintain.
- Homeowner Info:These are pieces of "good to know" information about the house. For example, the location of the main water shut-off valve, gas shut-off valve(s), etc.
Summary Page
The Summary Page is designed as a quick-to-read bulleted overview of all the deficiencies noted during inspection. This overview is not a substitution for reading the entire inspection report.
DIY (do it yourself)
Tier 1 - Major Concerns
- P-4 Plumbing:
The water was shut off to the house. Washington State Law prohibits inspectors from opening closed shut-off valves, so I could not test any of the plumbing fixtures in the house. Looking for plumbing leaks is a significant part of a home inspection. Recommend a thorough inspection of all plumbing fixtures and accessible pipes to look for leaks prior to closing.
Contractor:InspectorDIY (do it yourself) - E-41 Electrical:
There were no visible smoke detectors in the house. Recommend installing smoke detectors in hallways and bedrooms as significant safety feature for occupants. Each level should have at least one smoke detector. DIY project.
Contractor:DIY (do it yourself) - E-42 Electrical:
There were no visible carbon monoxide detectors in the house. Modern building standards require a carbon monoxide detector in a common area on every floor of any residential dwelling. Recommend installation by homeowner as a DIY project.
Contractor:DIY (do it yourself) - HCFV-2 Heating, Cooling, Fireplaces, and Ventilation:
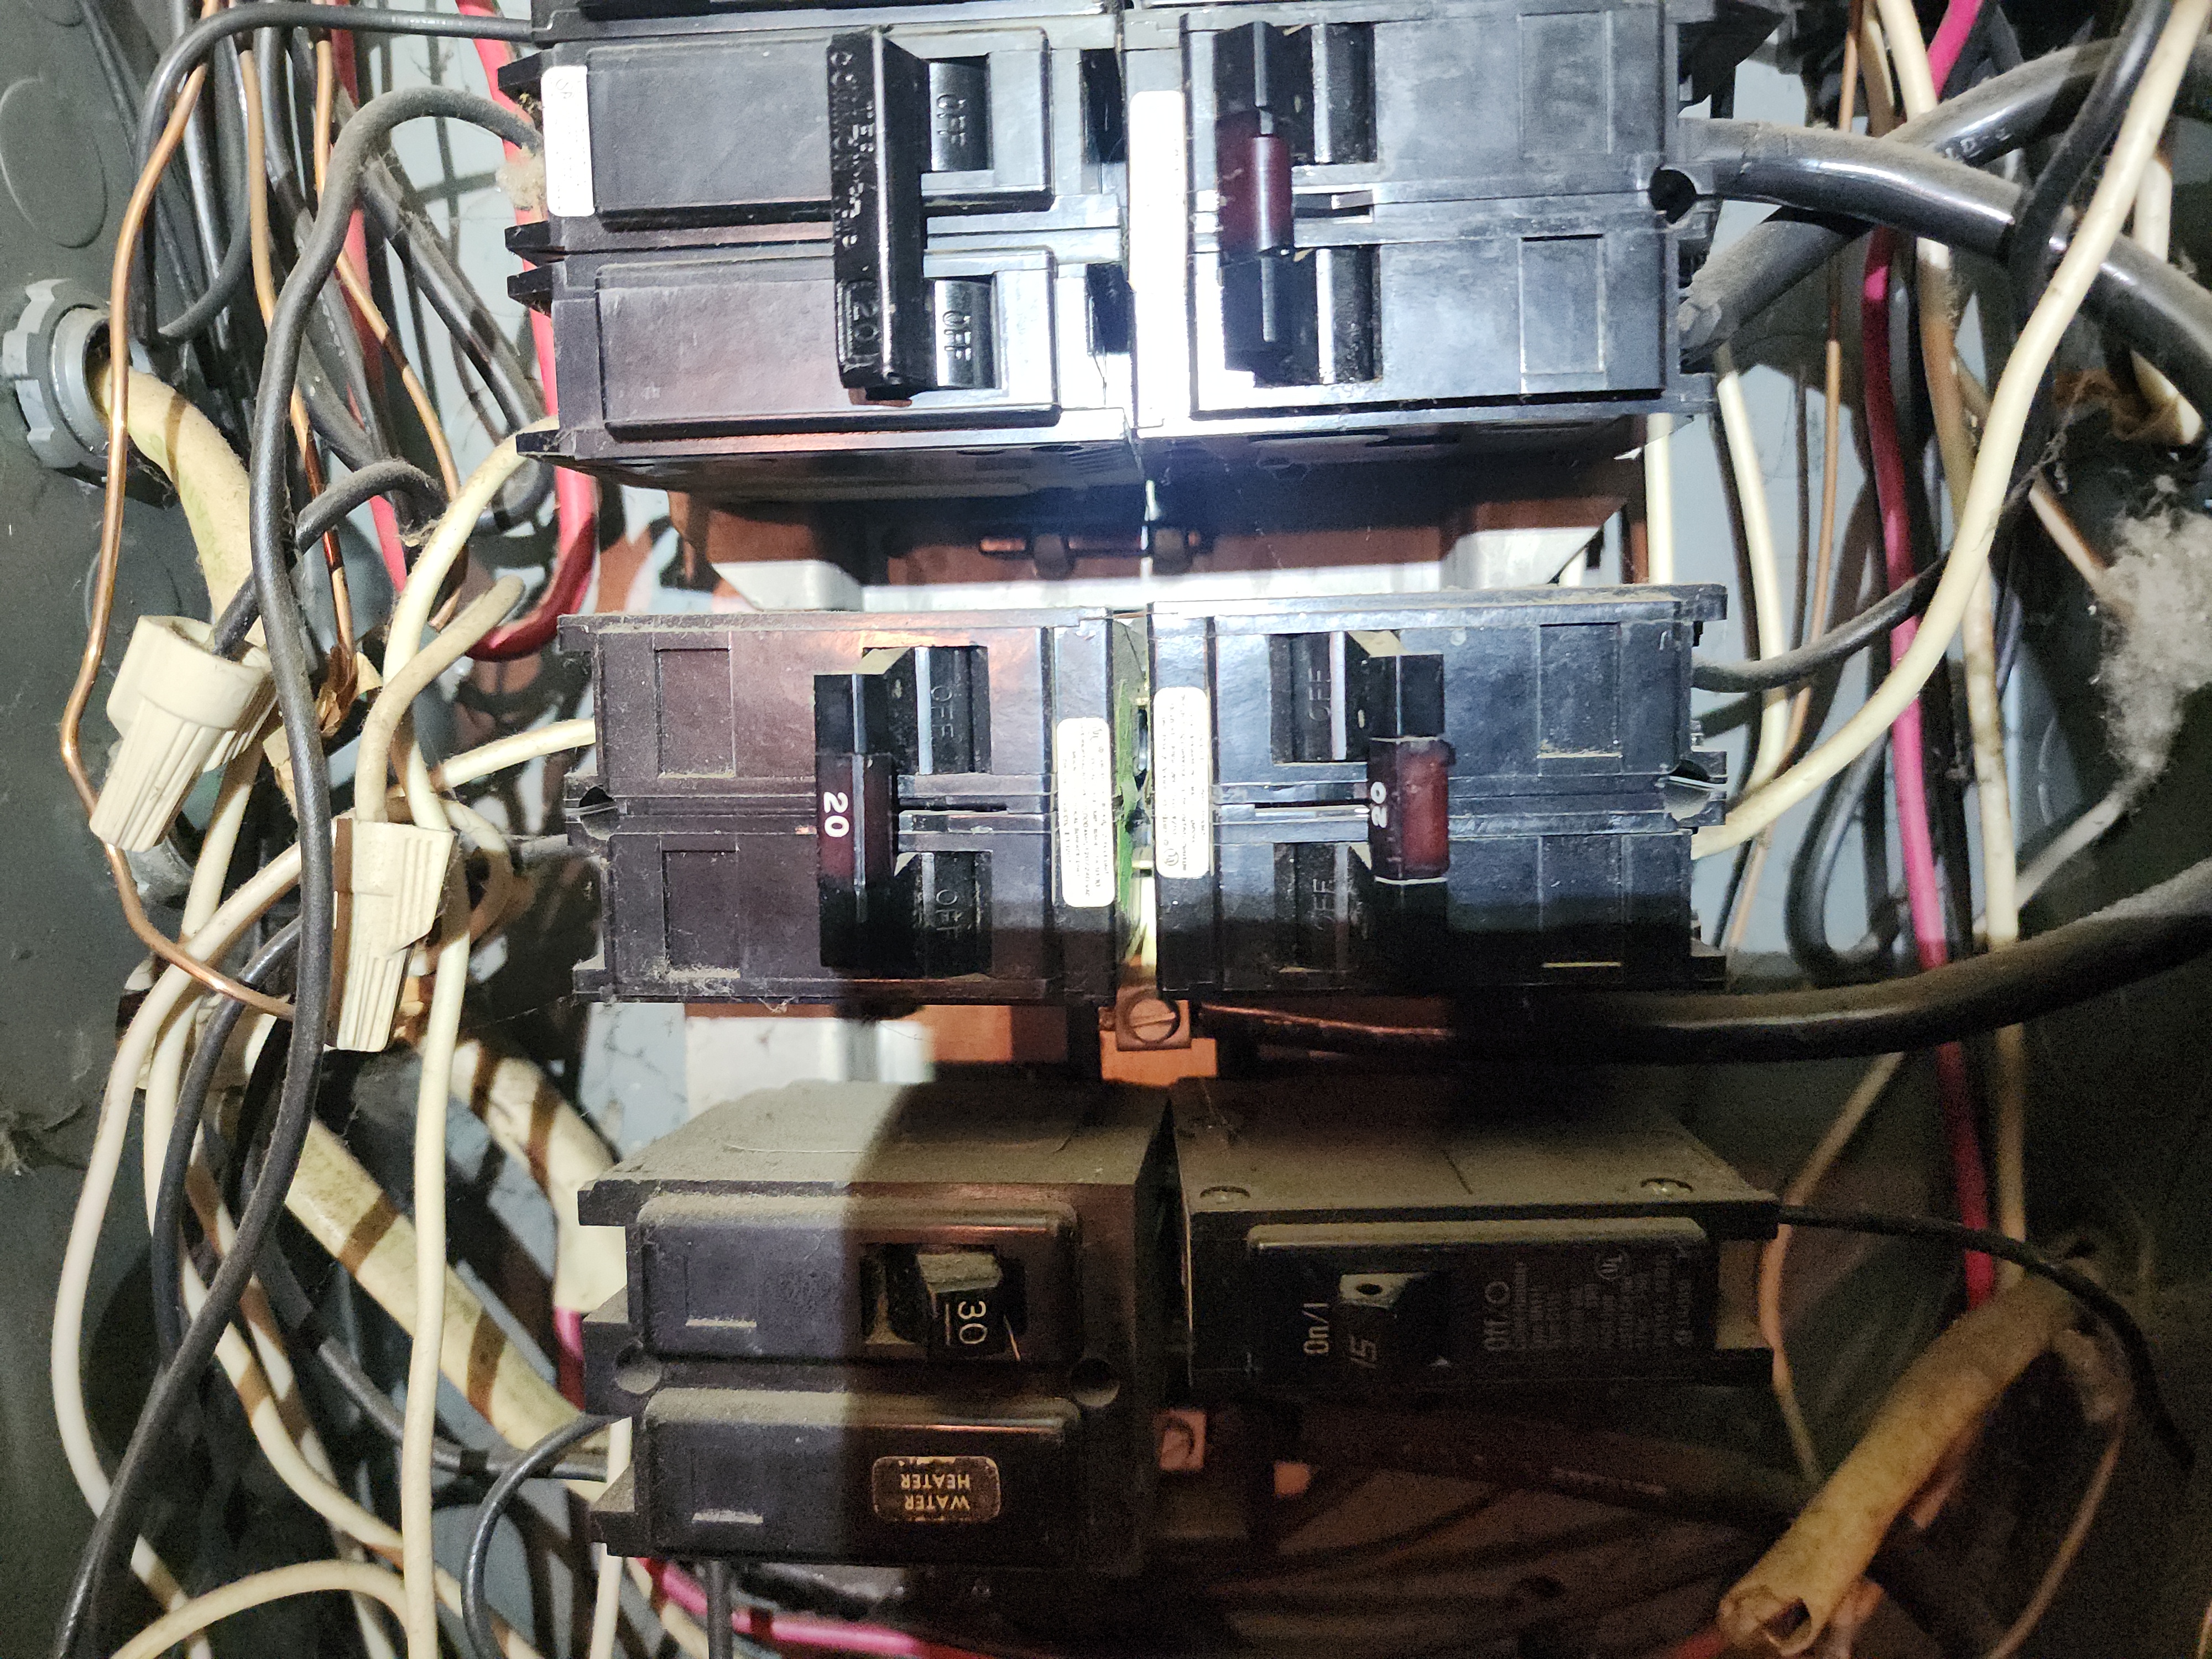
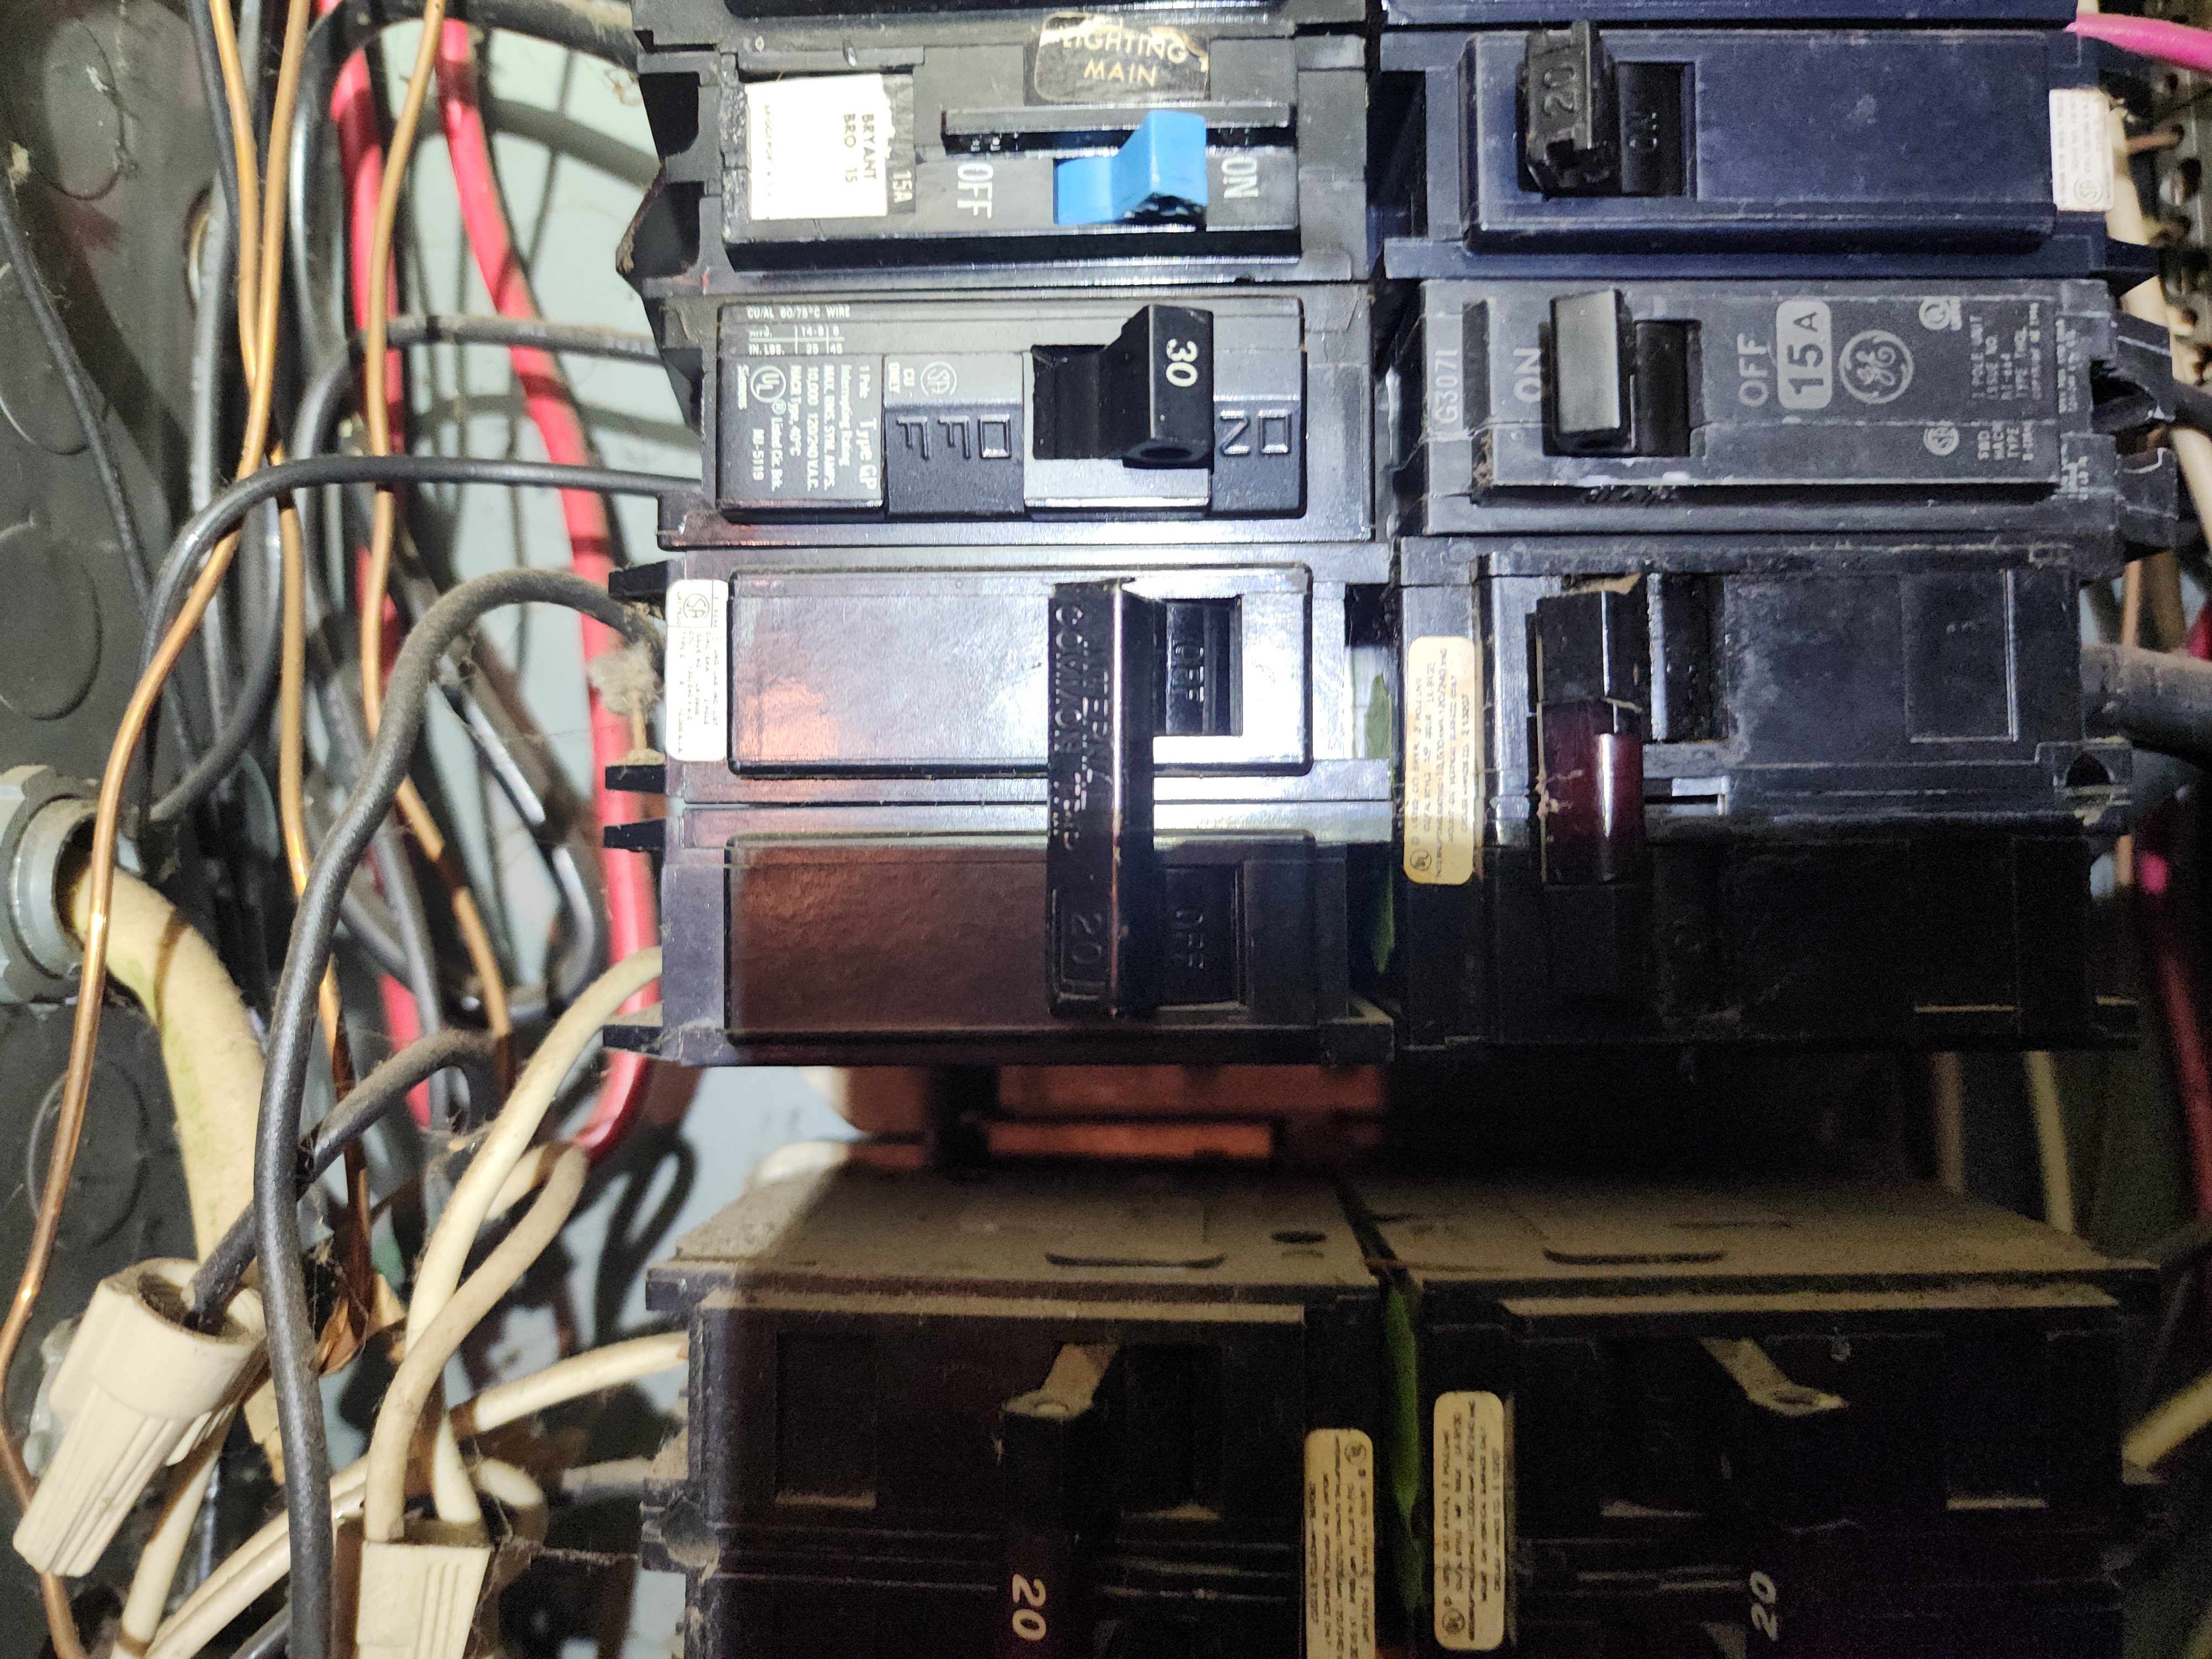
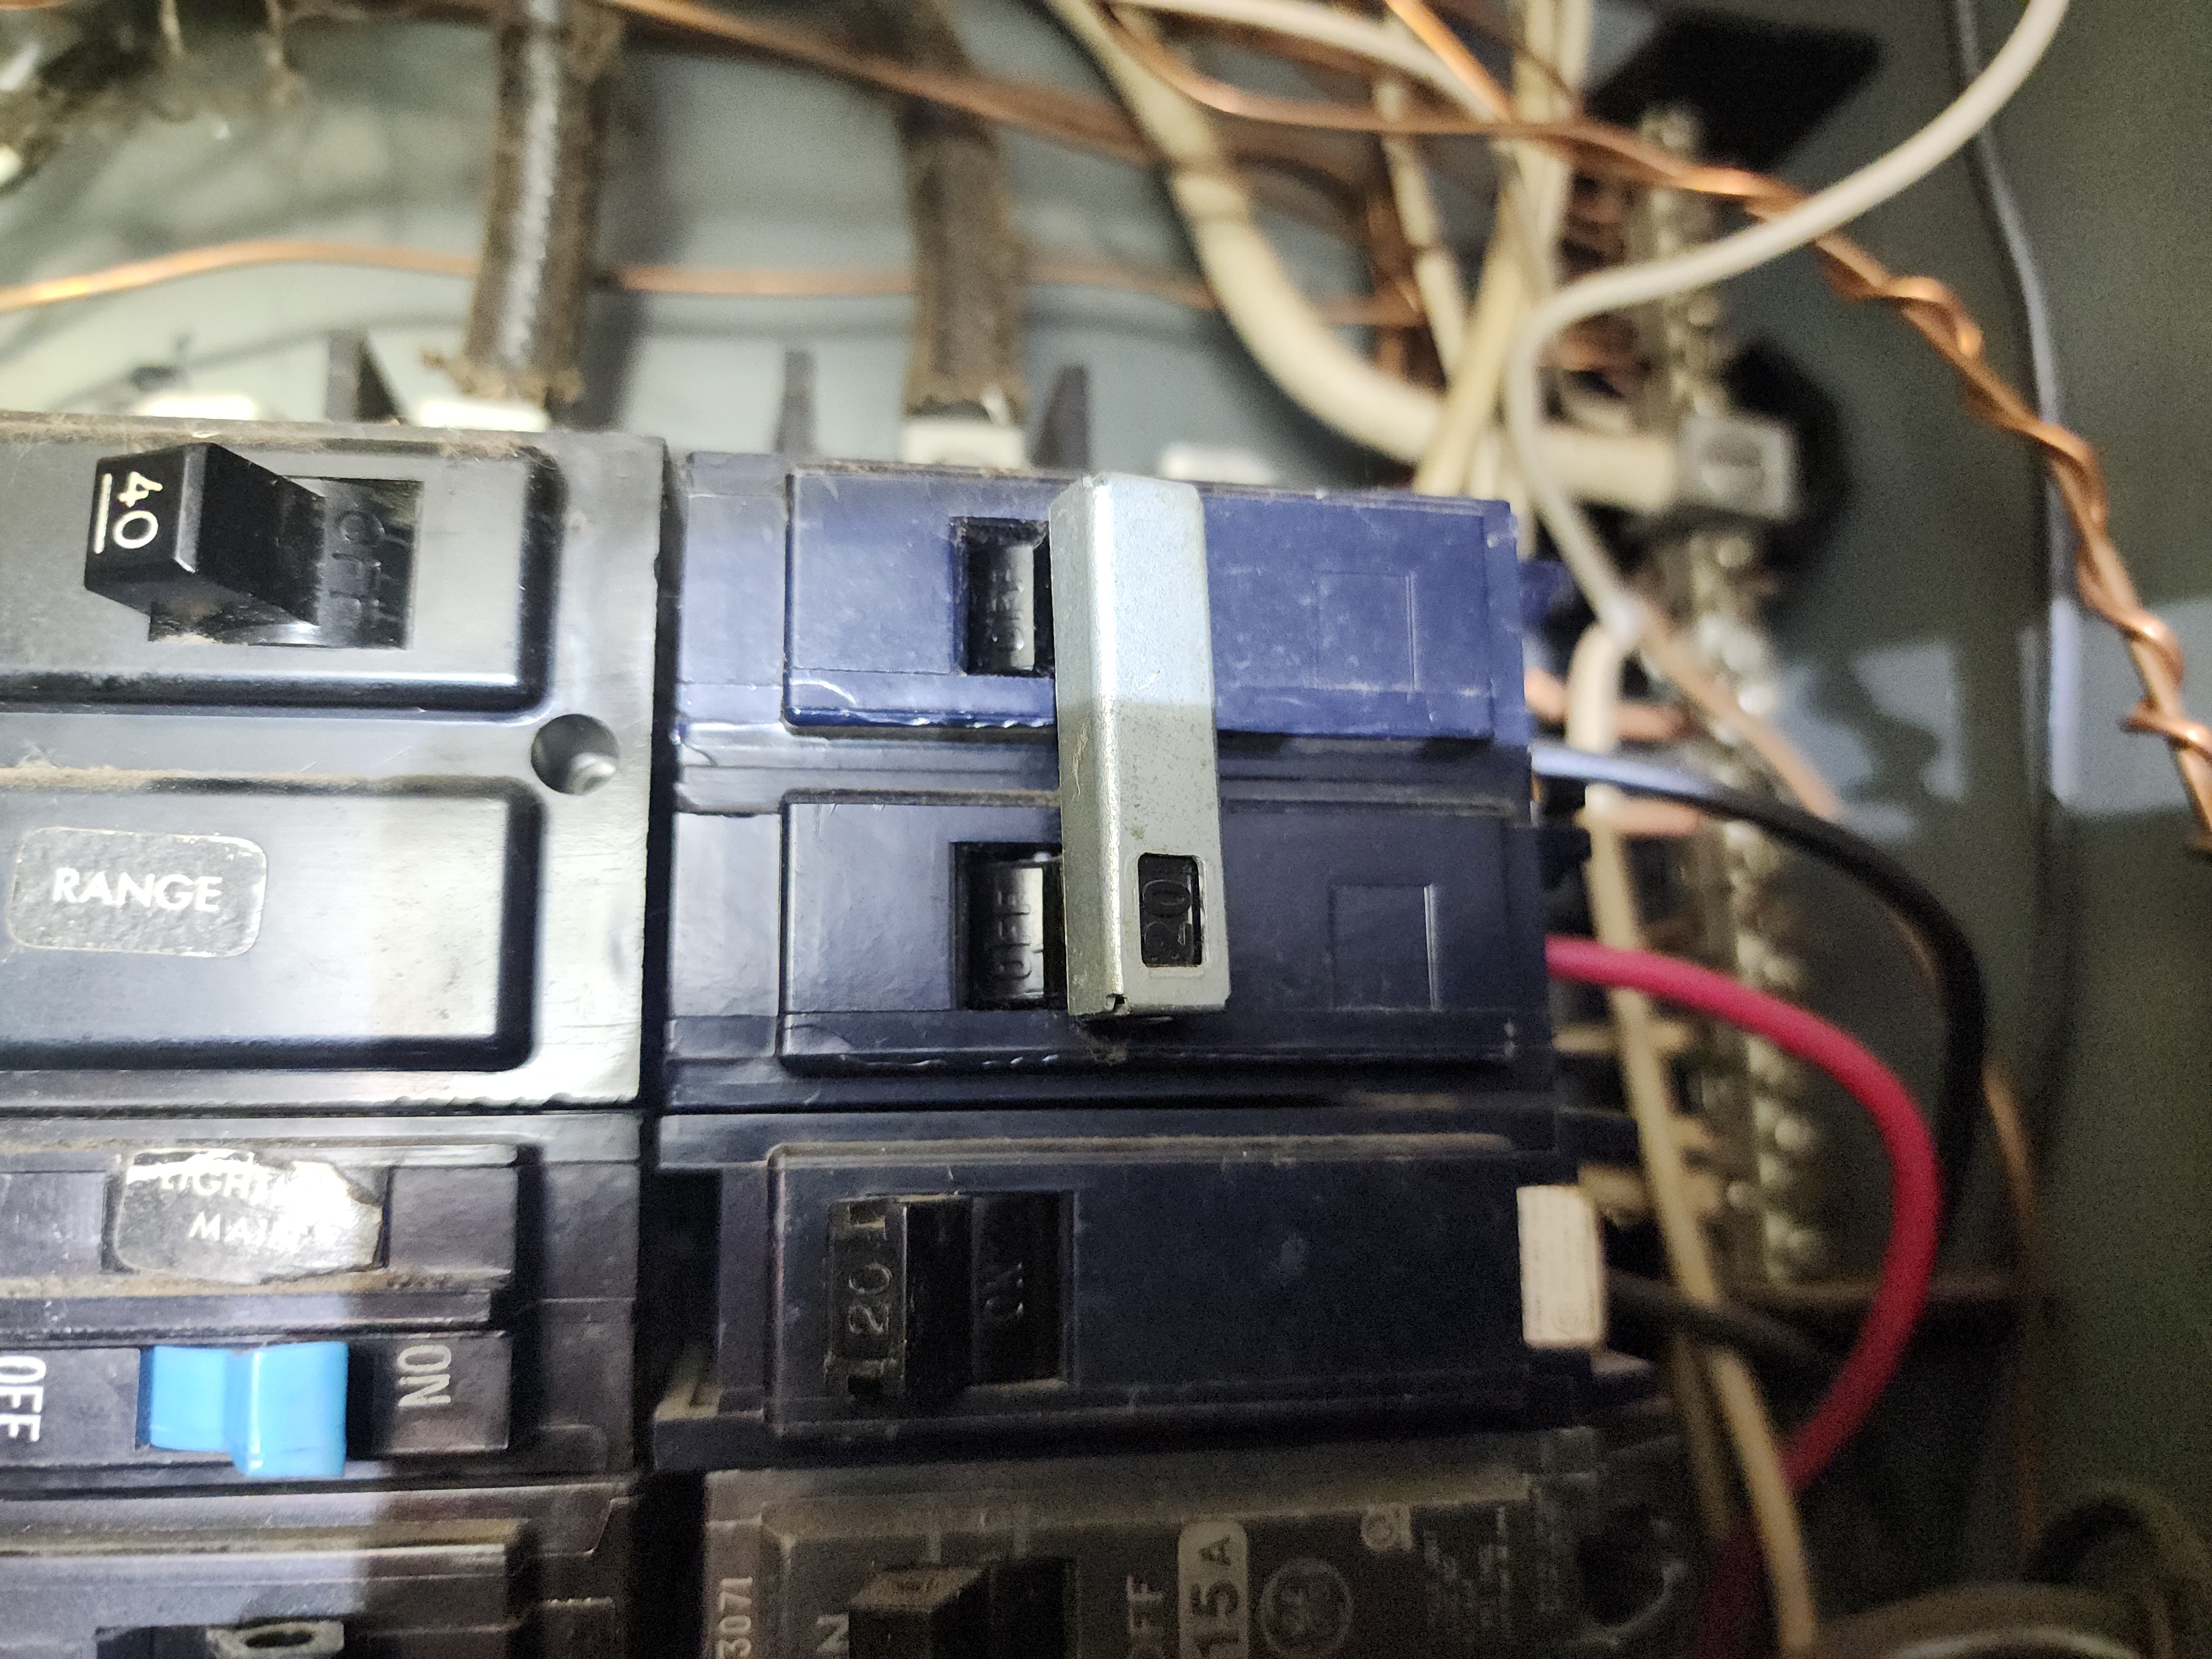
None of the heaters I tested were working. They weren't labeled, but breakers that could be for heat were off in the electrical panel. Washington State Law prohibits inspectors from turning on breakers, so I could not test the heaters. Recommend verifying that they are working prior to closing.
Contractor:DIY (do it yourself)
Tier 2 - Repairs
- G-4 Grounds:
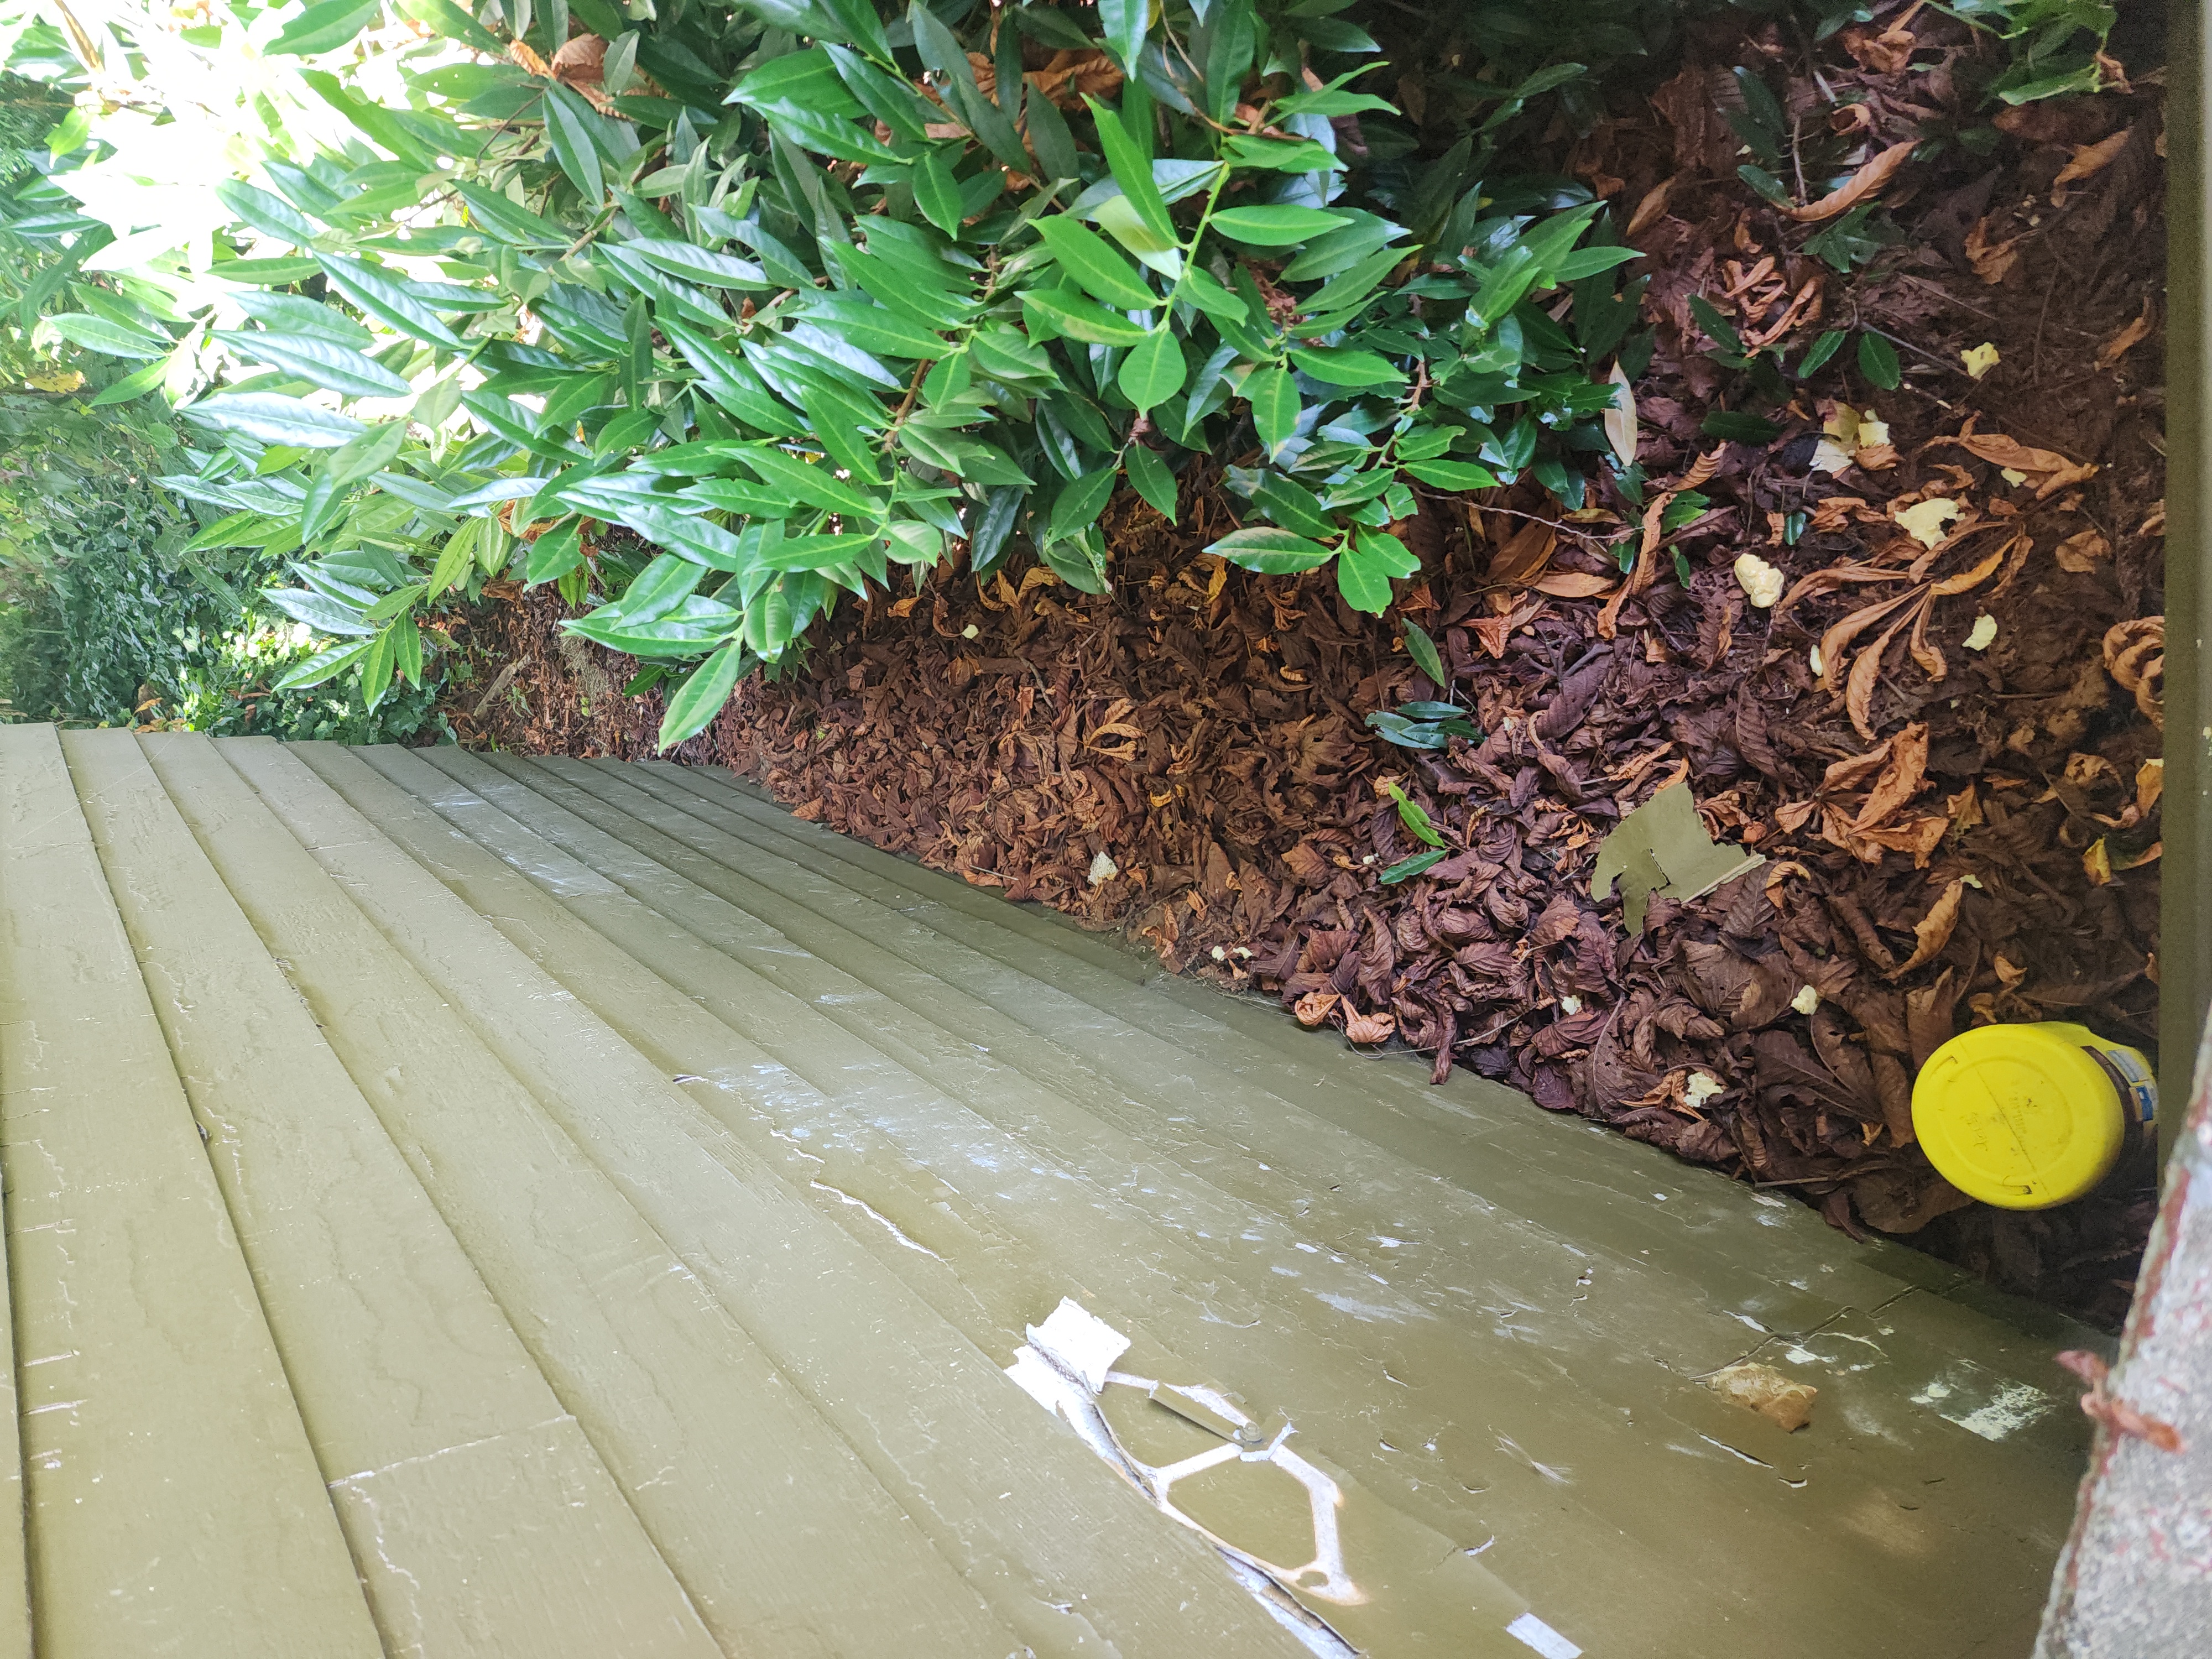
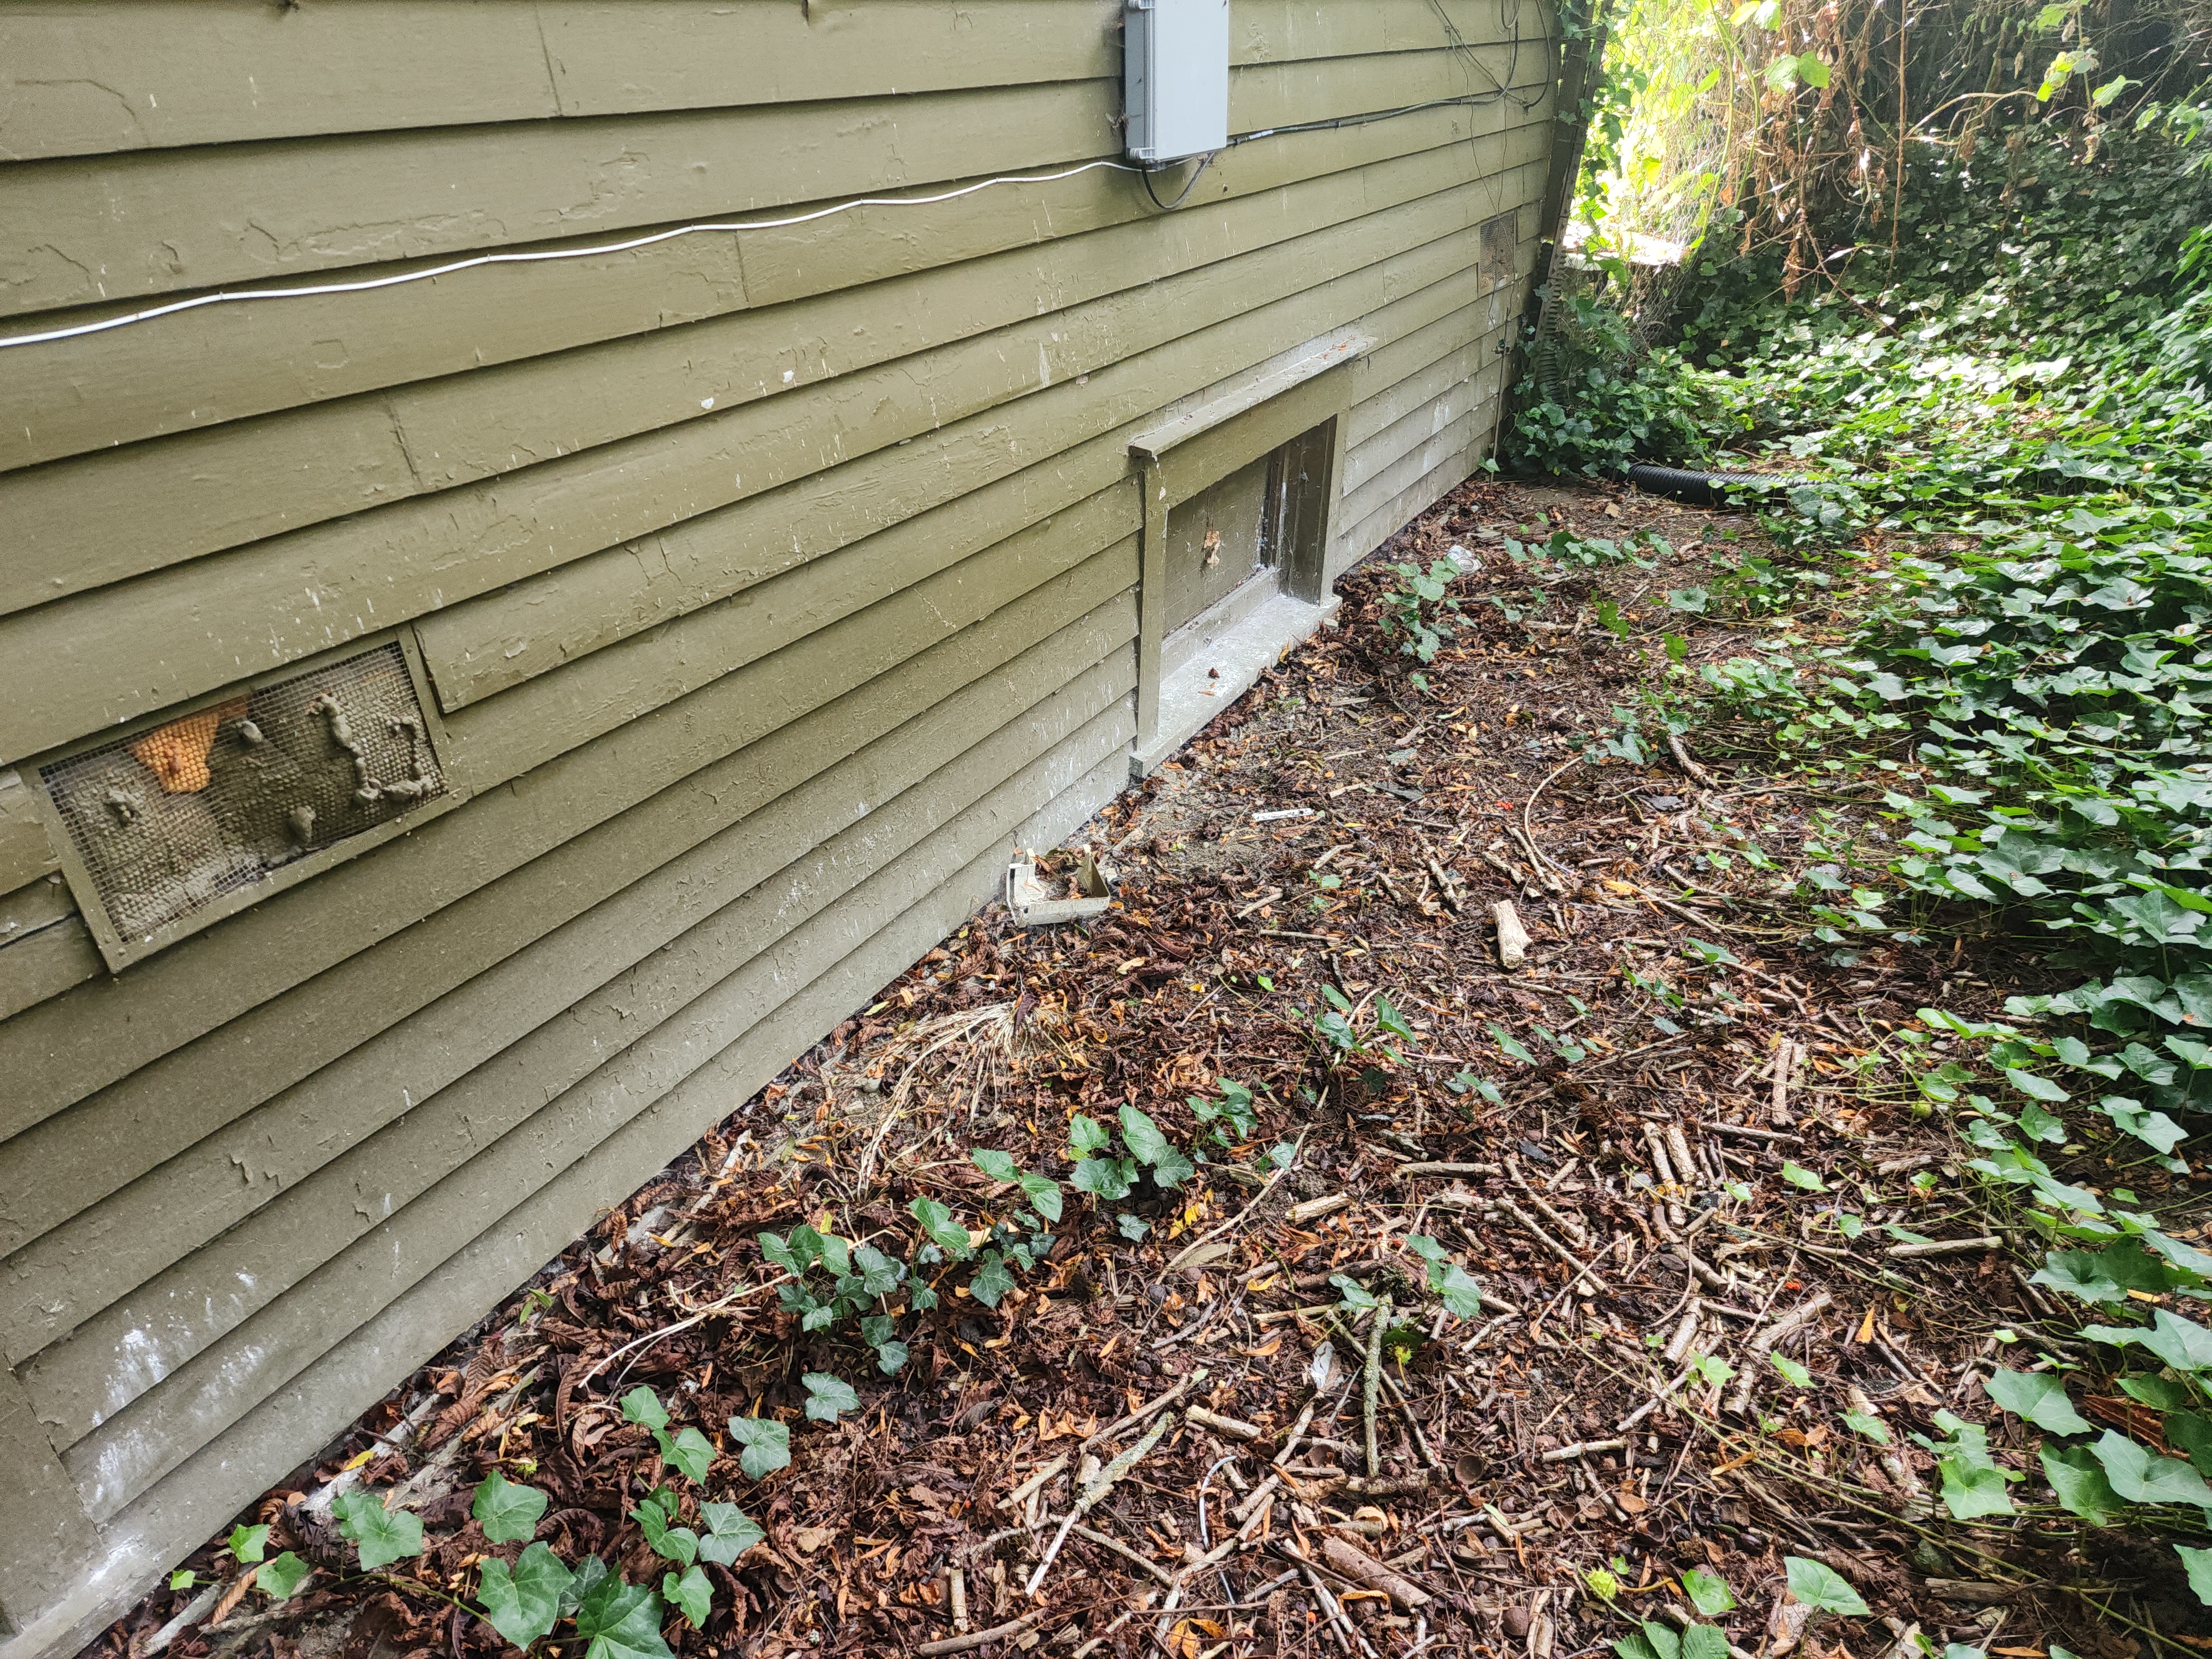
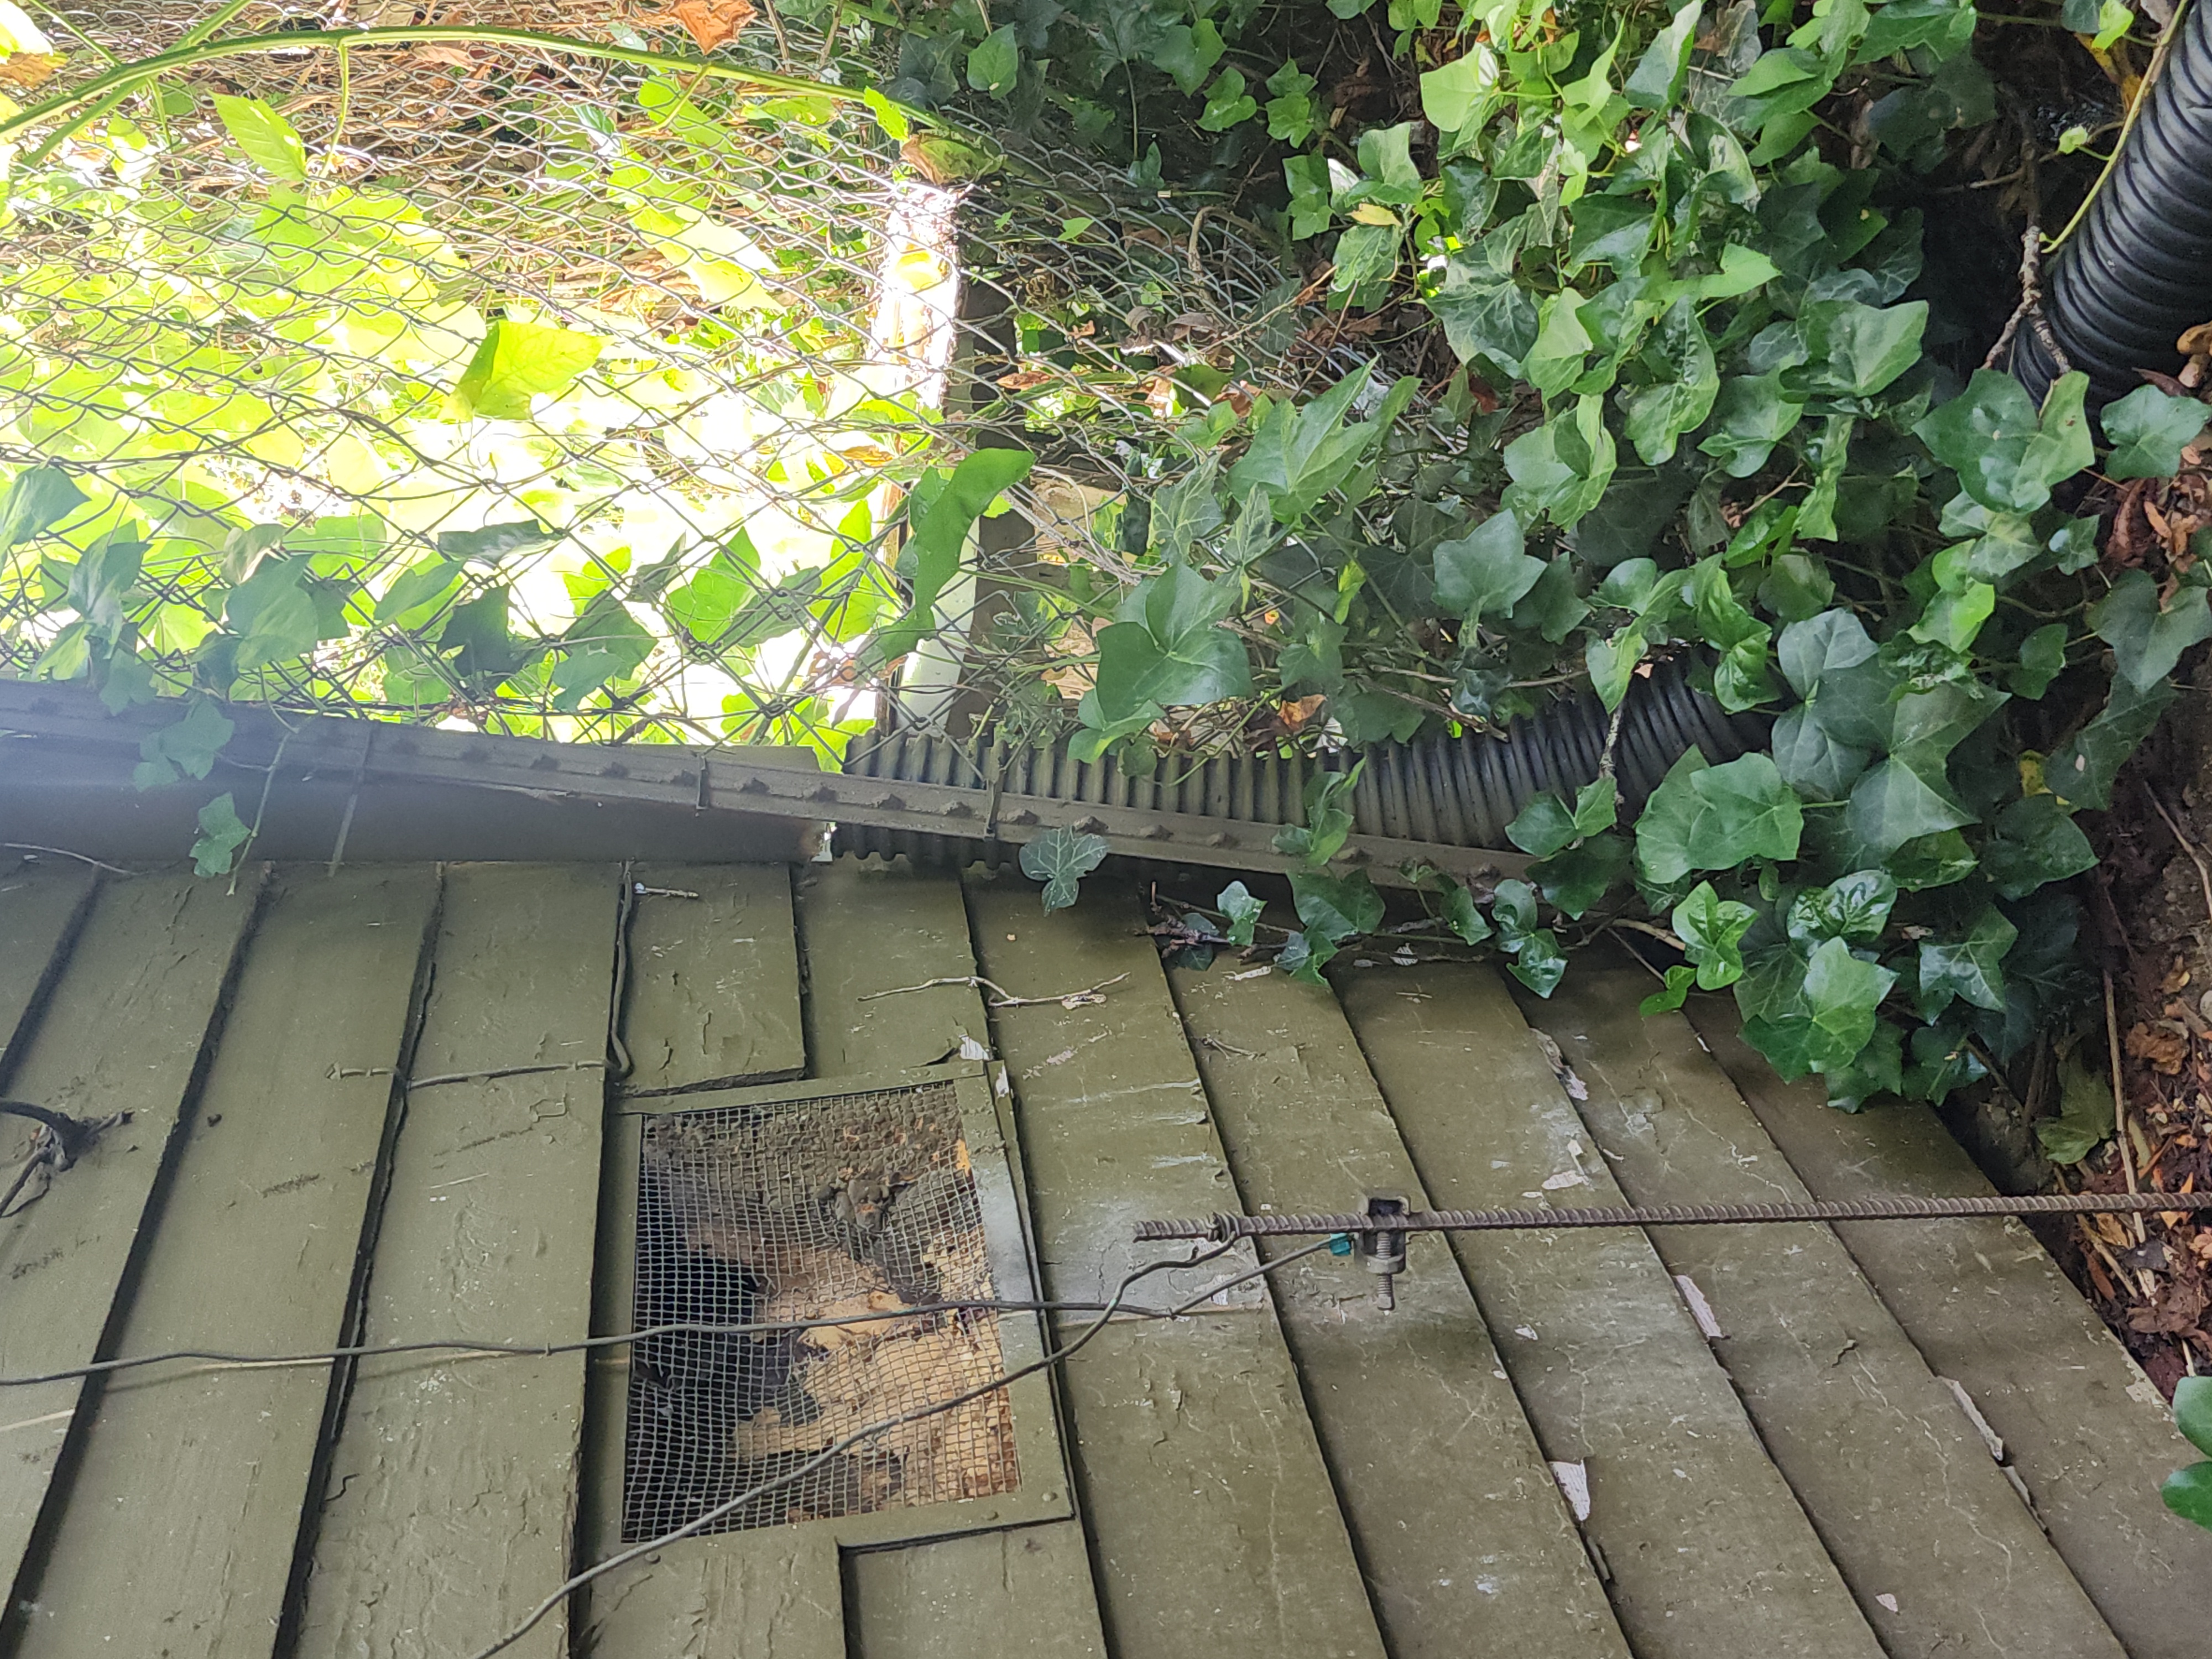
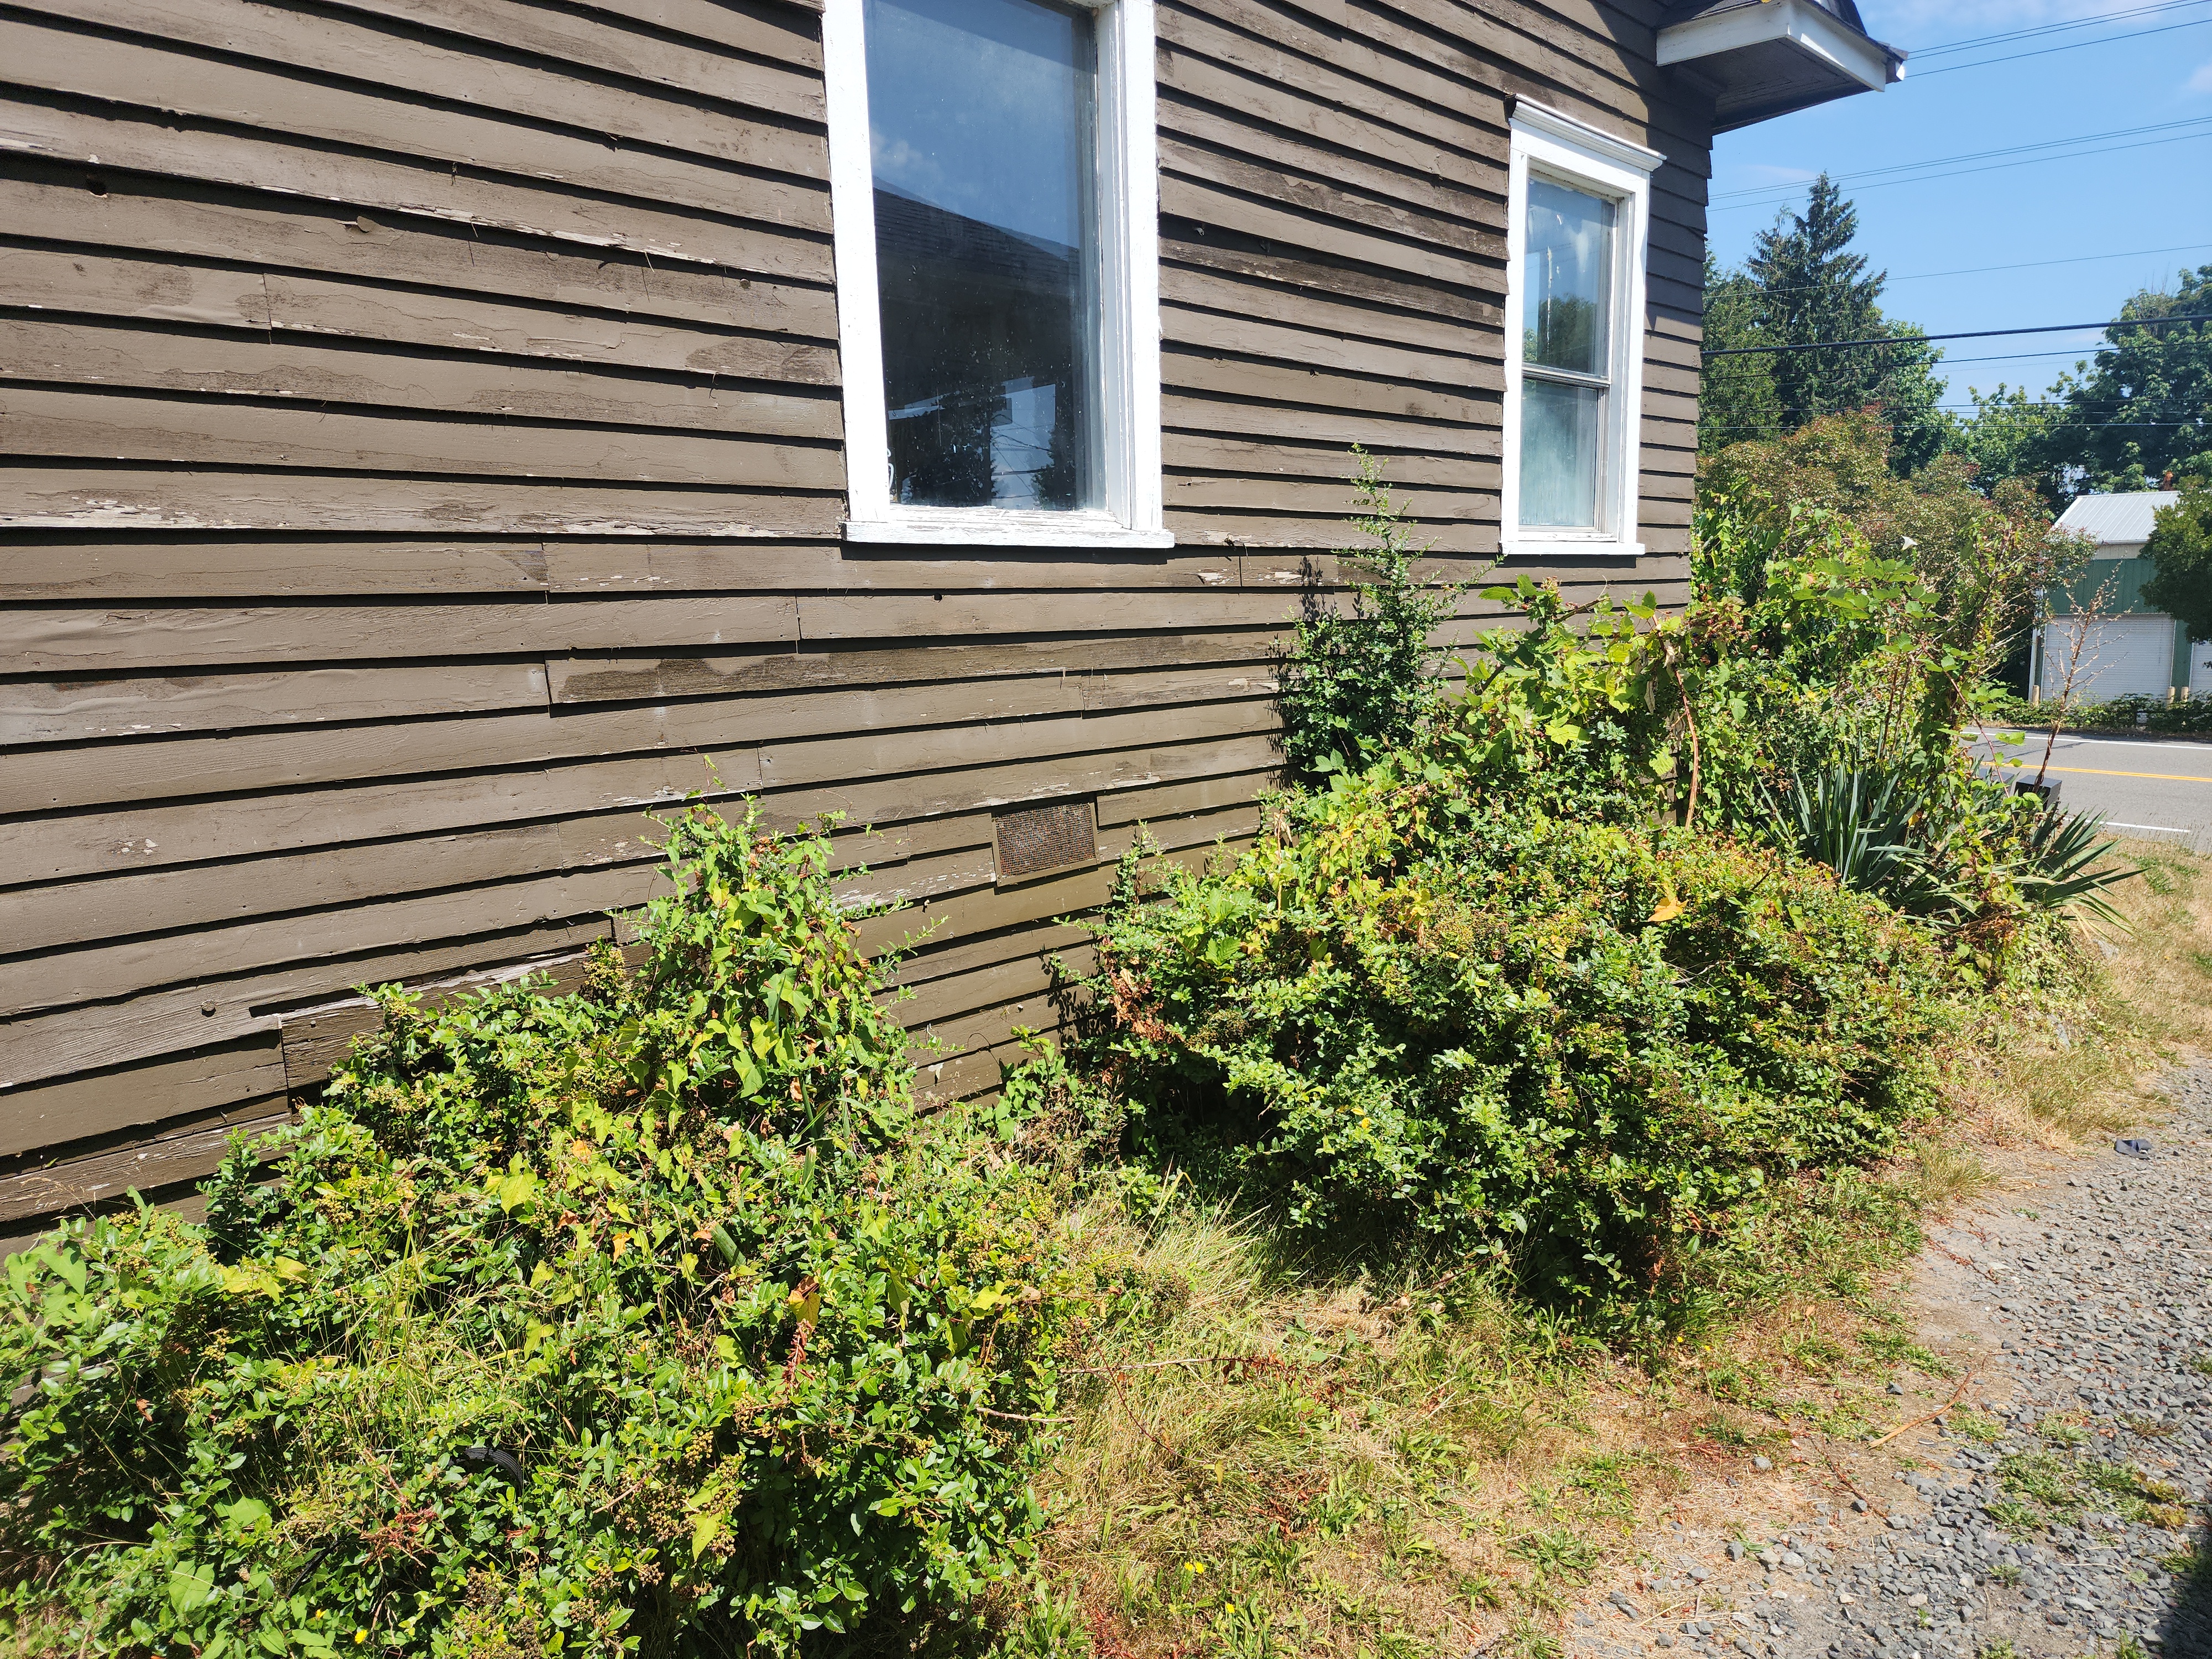
Siding to soil contact or proximity was observed in places. This is a conducive condition for rot, mold, and pests as it holds moisture against the siding. Modern building standards recommend 6 to 8 inches of exposed concrete foundation between the siding and the soil below. This is not always realistic in older houses, but one trick is to back-fill any excavated soil with gravel, which creates a drainage path. Creating this drainage gap is a DIY repair, however if damage (rot) is found during the project, I recommend repair by a qualified contractor.
Contractor:DIY (do it yourself) - G-5 Grounds:
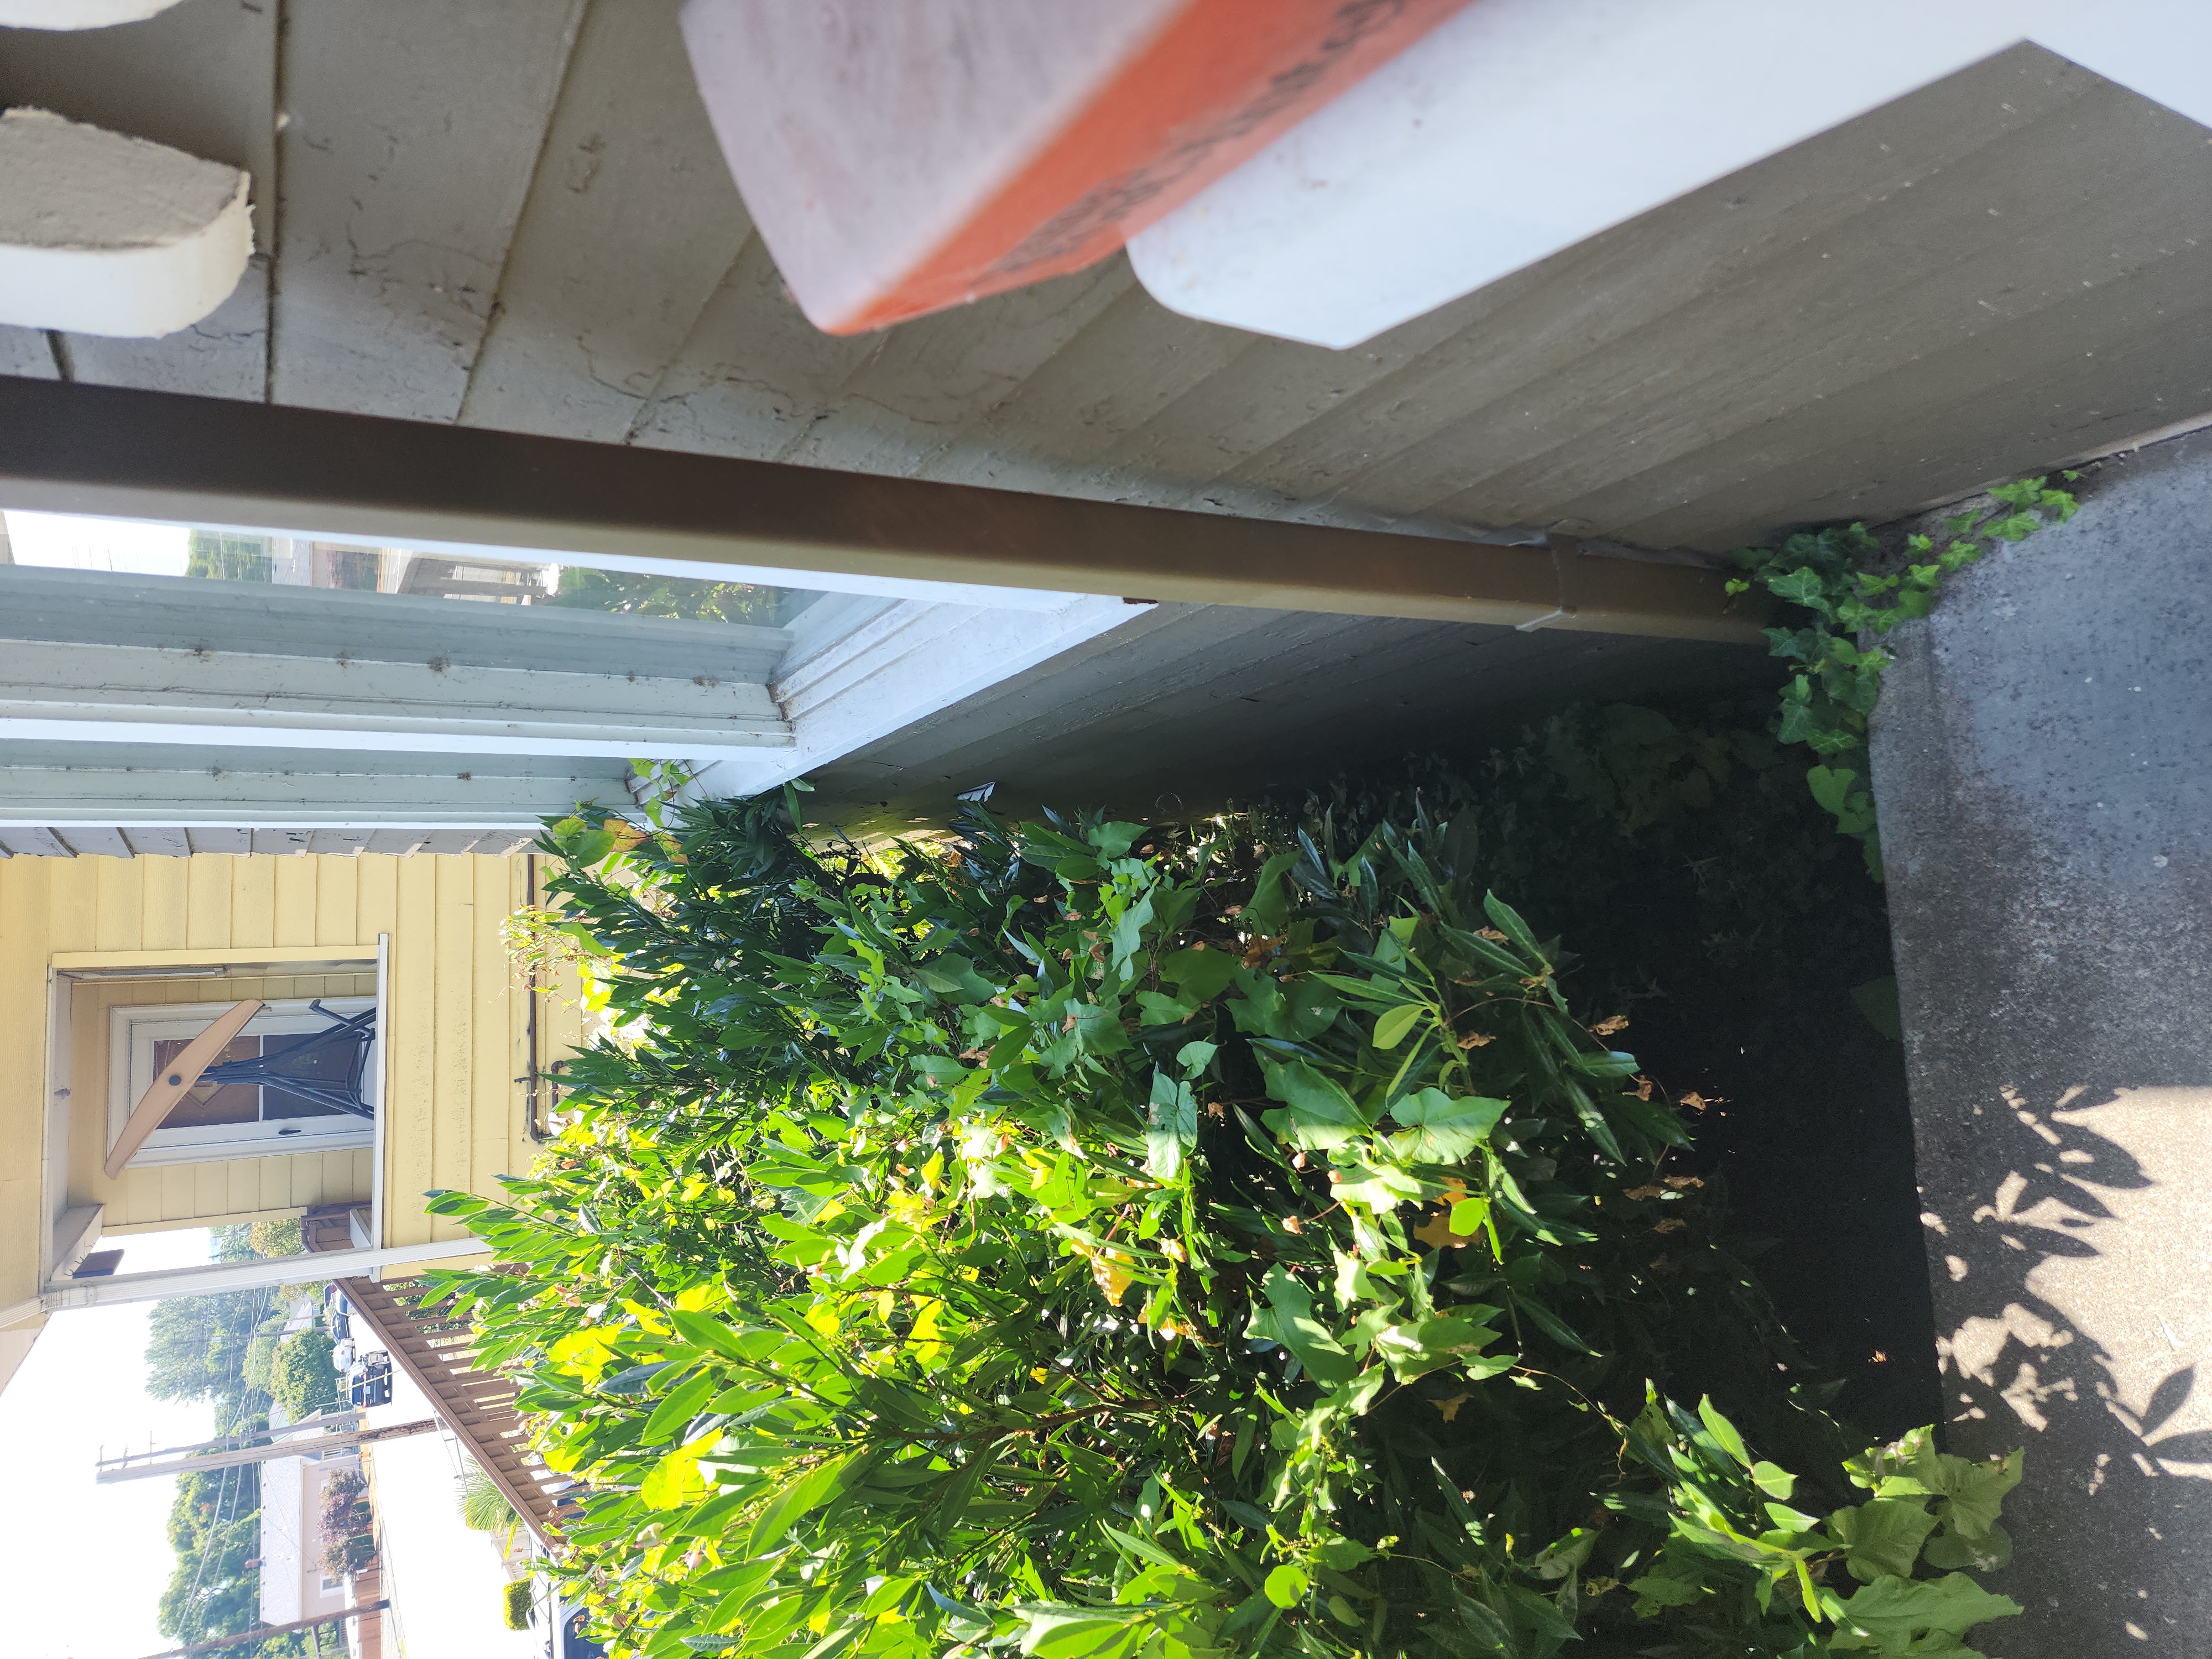
Downspout(s) was discharging adjacent to the foundation. This can cause moisture problems in the structure, or even foundation settling. Recommend rerouting all downspouts to discharge 5+ feet away from the foundation wall. This is usually a DIY repair, though the topography of the lot can sometimes complicate things enough to require a qualified contractor.
Contractor:DIY (do it yourself) - G-12 Grounds:
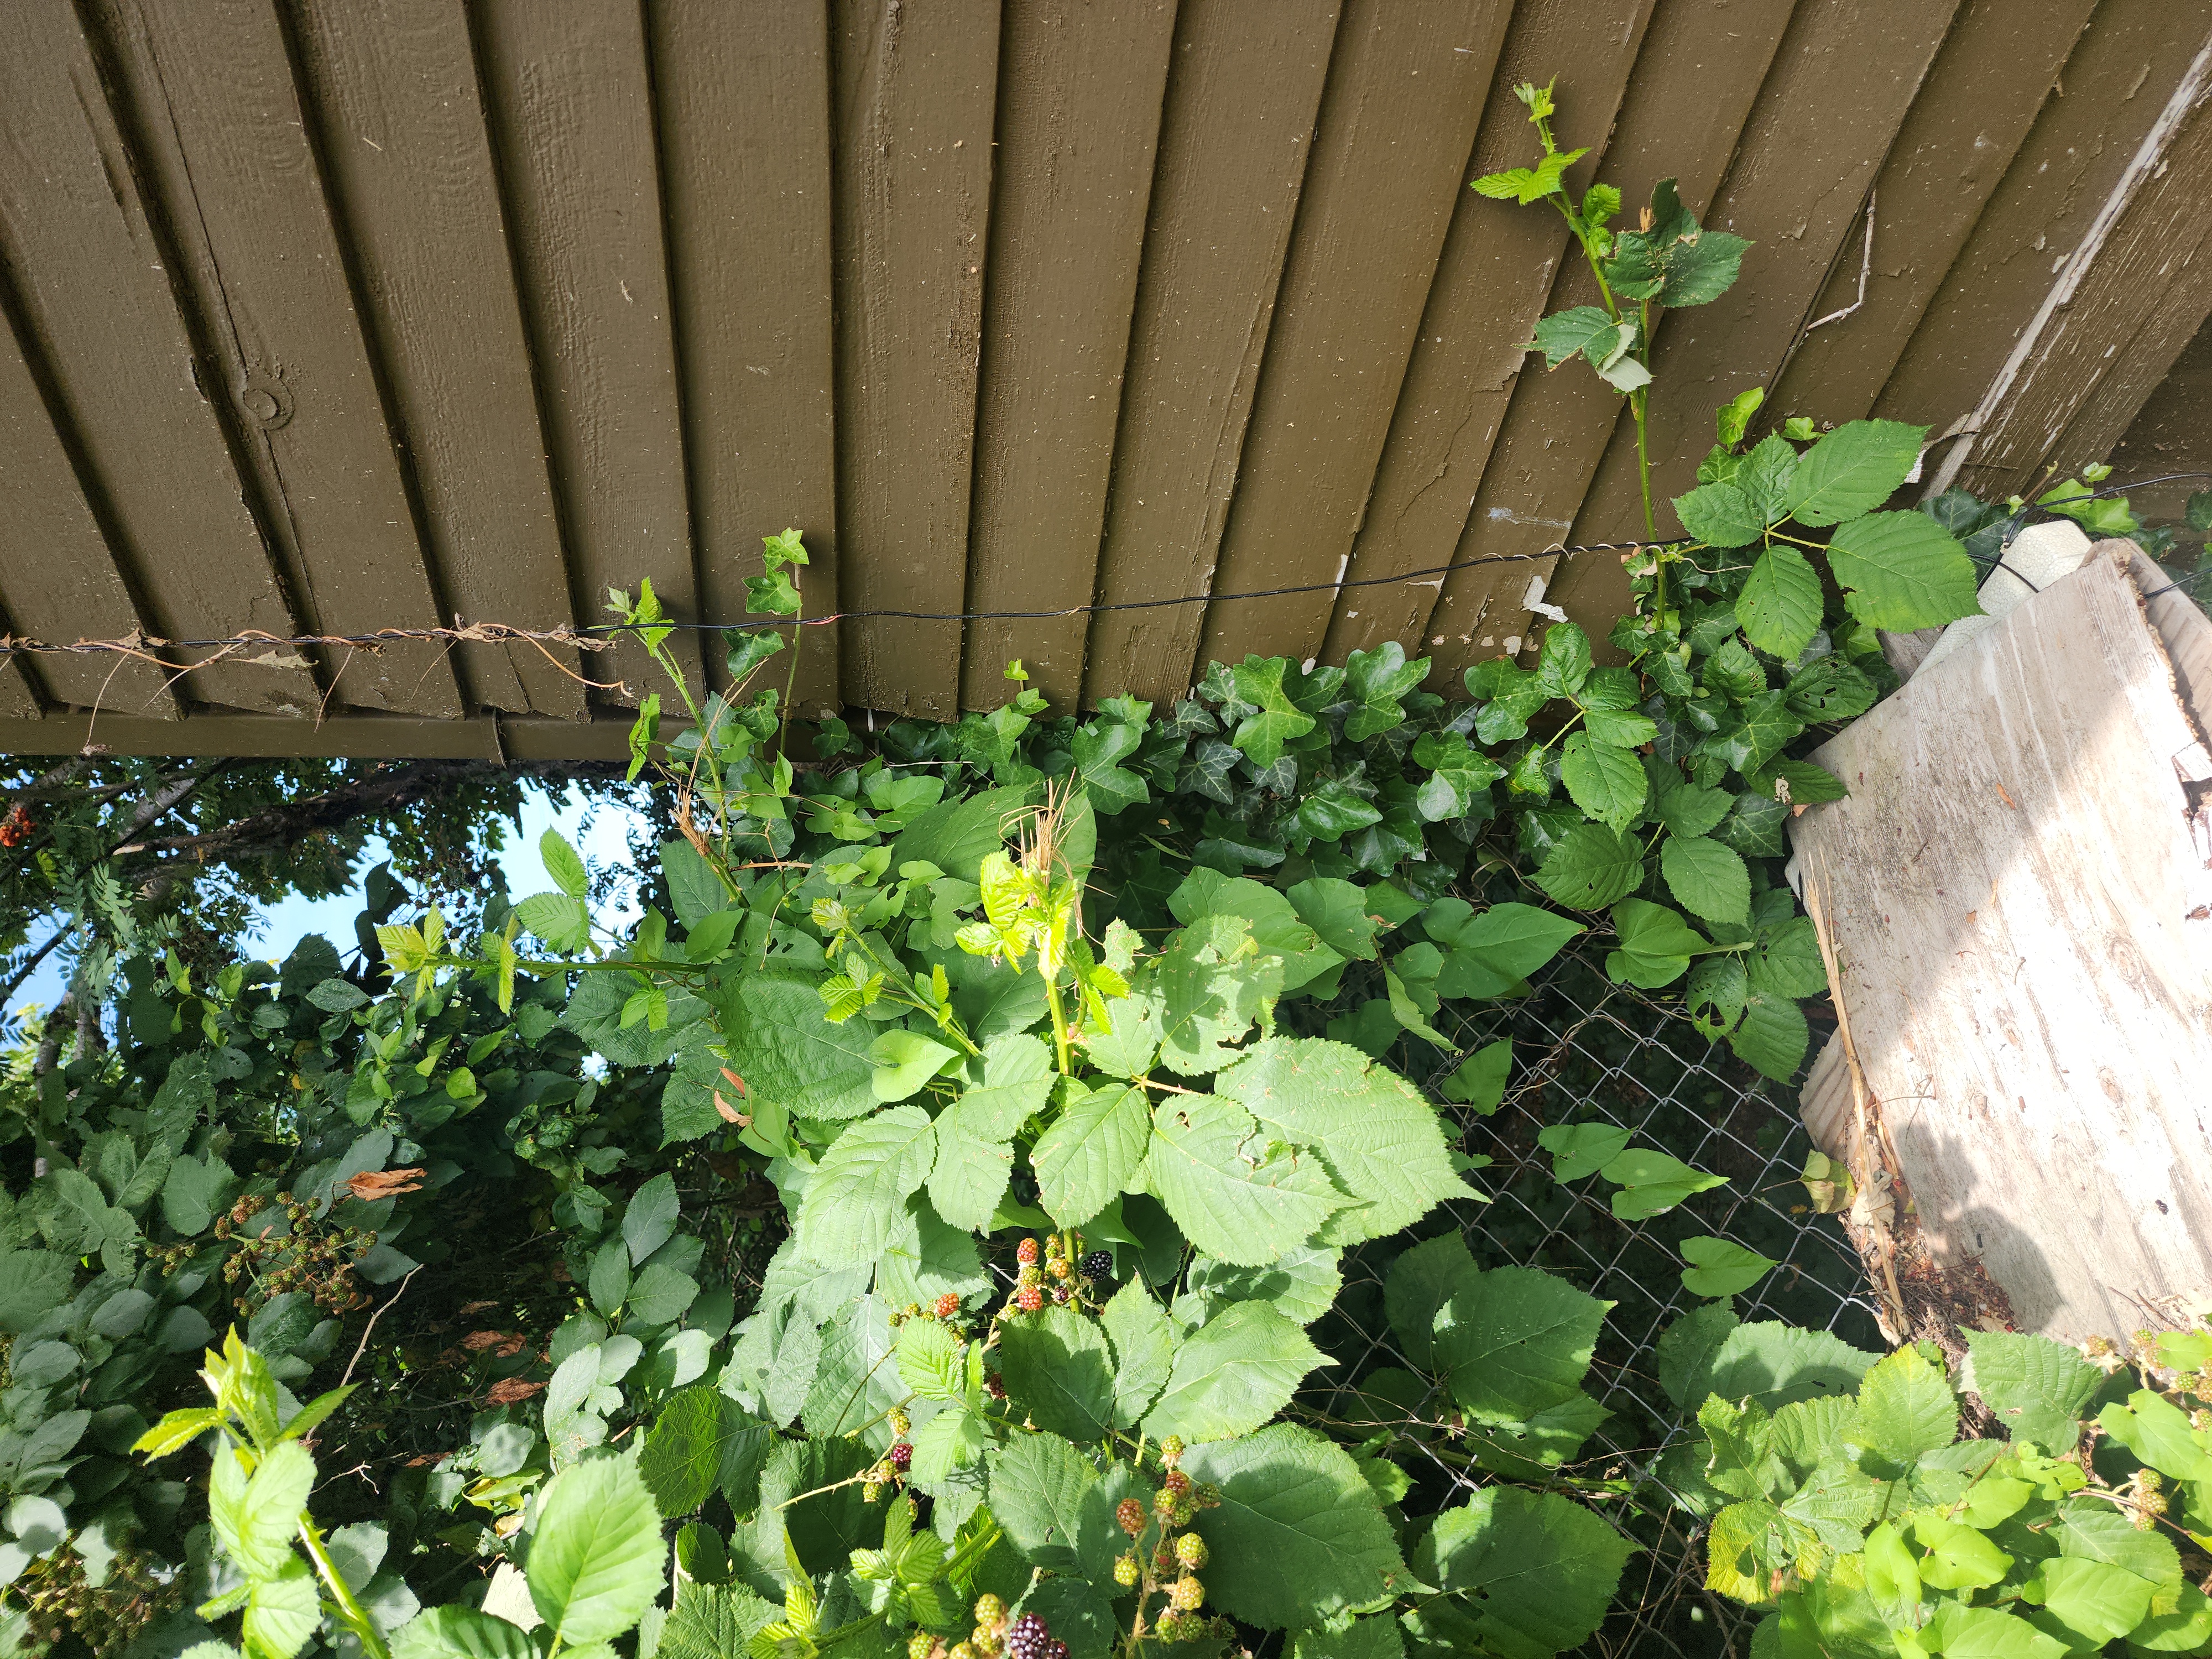
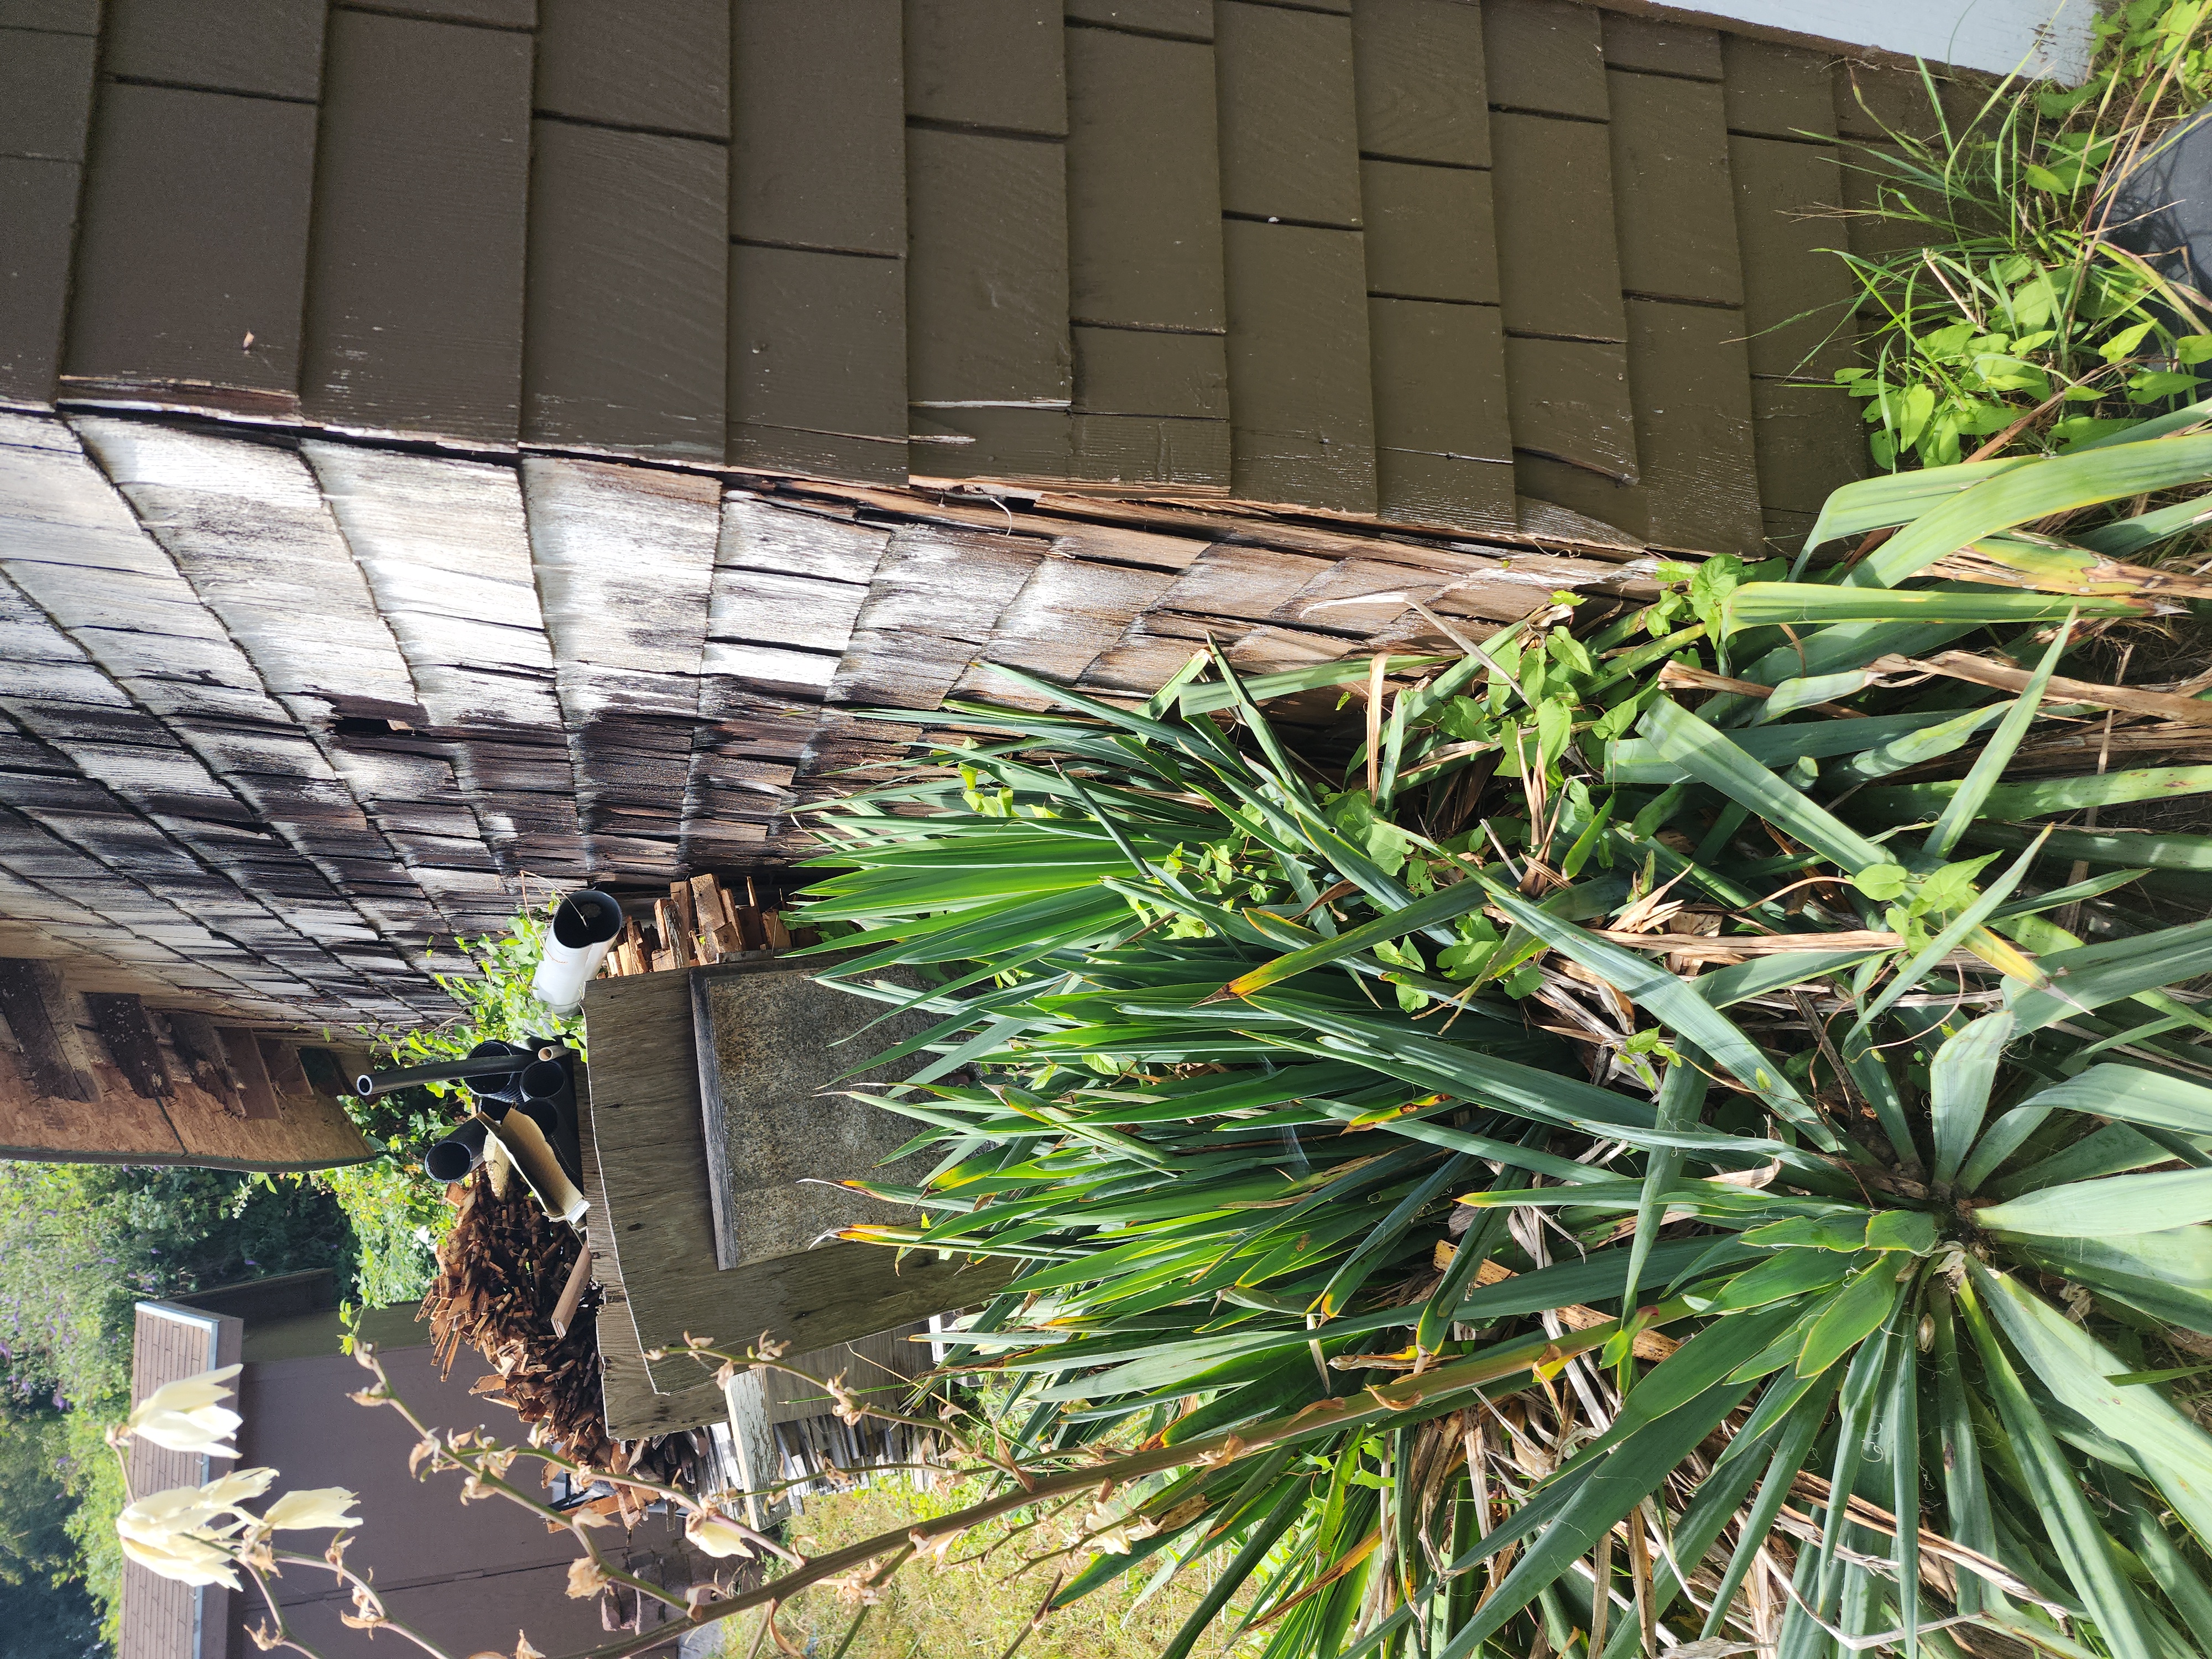
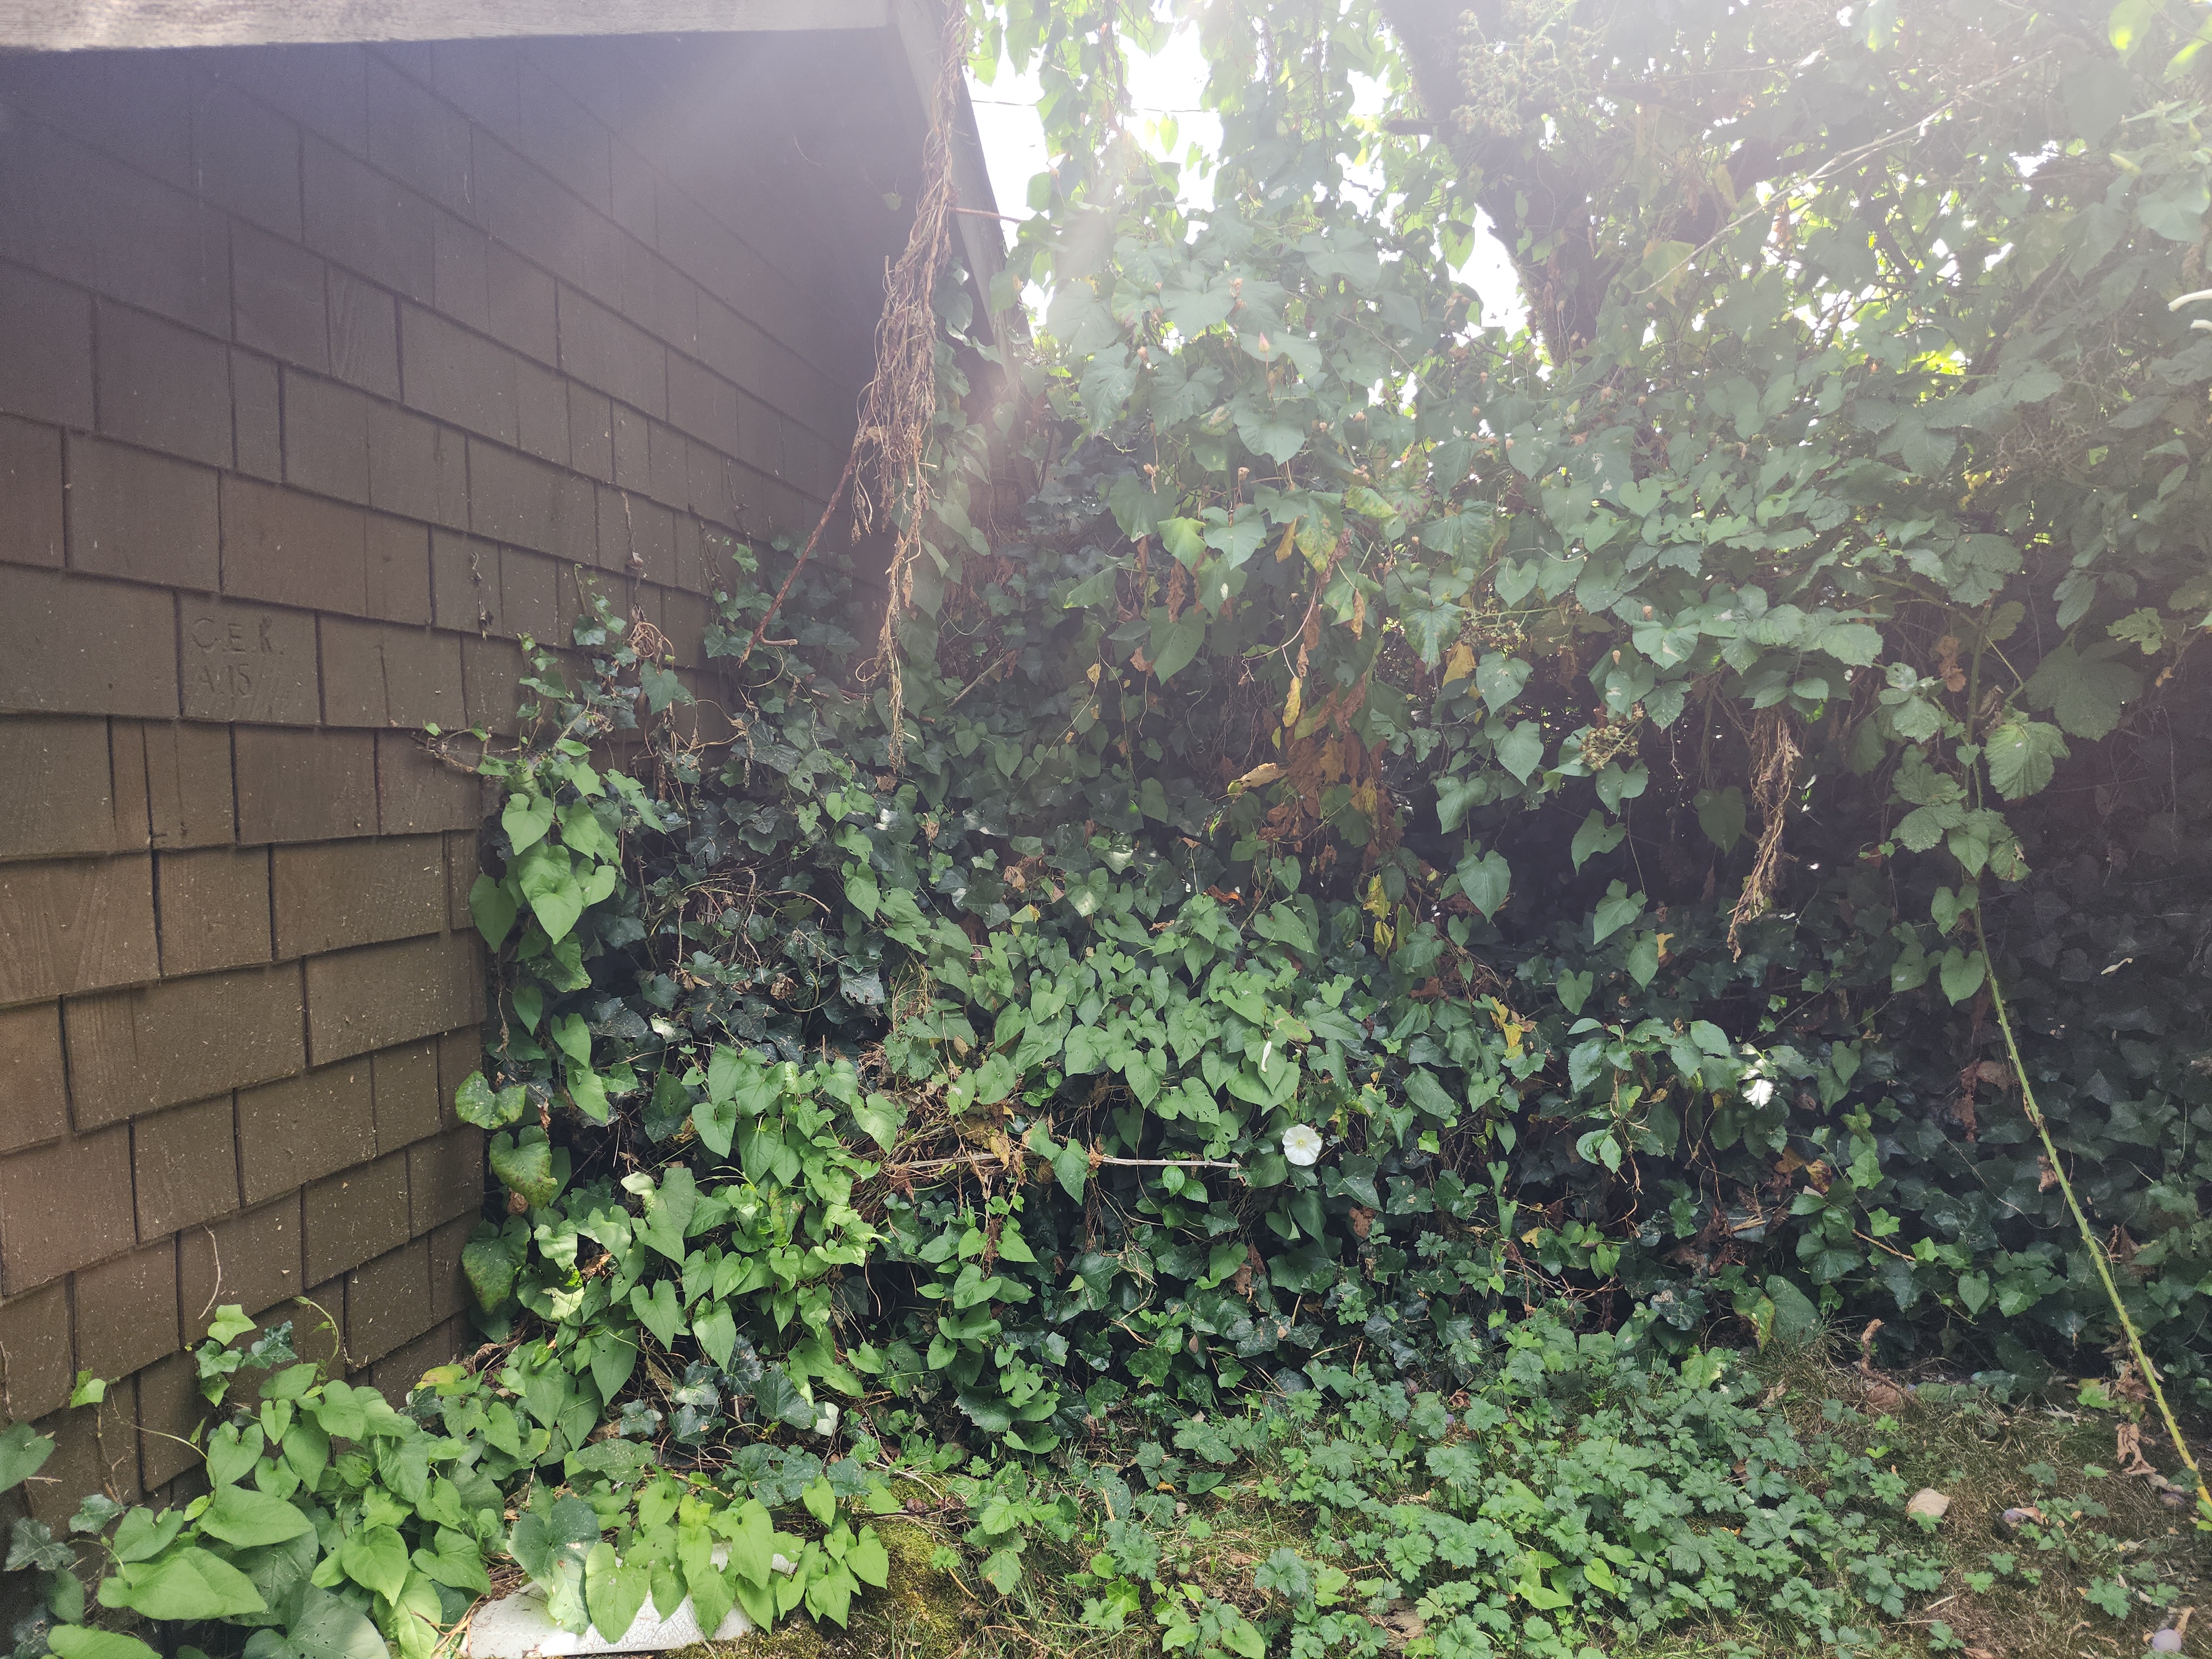
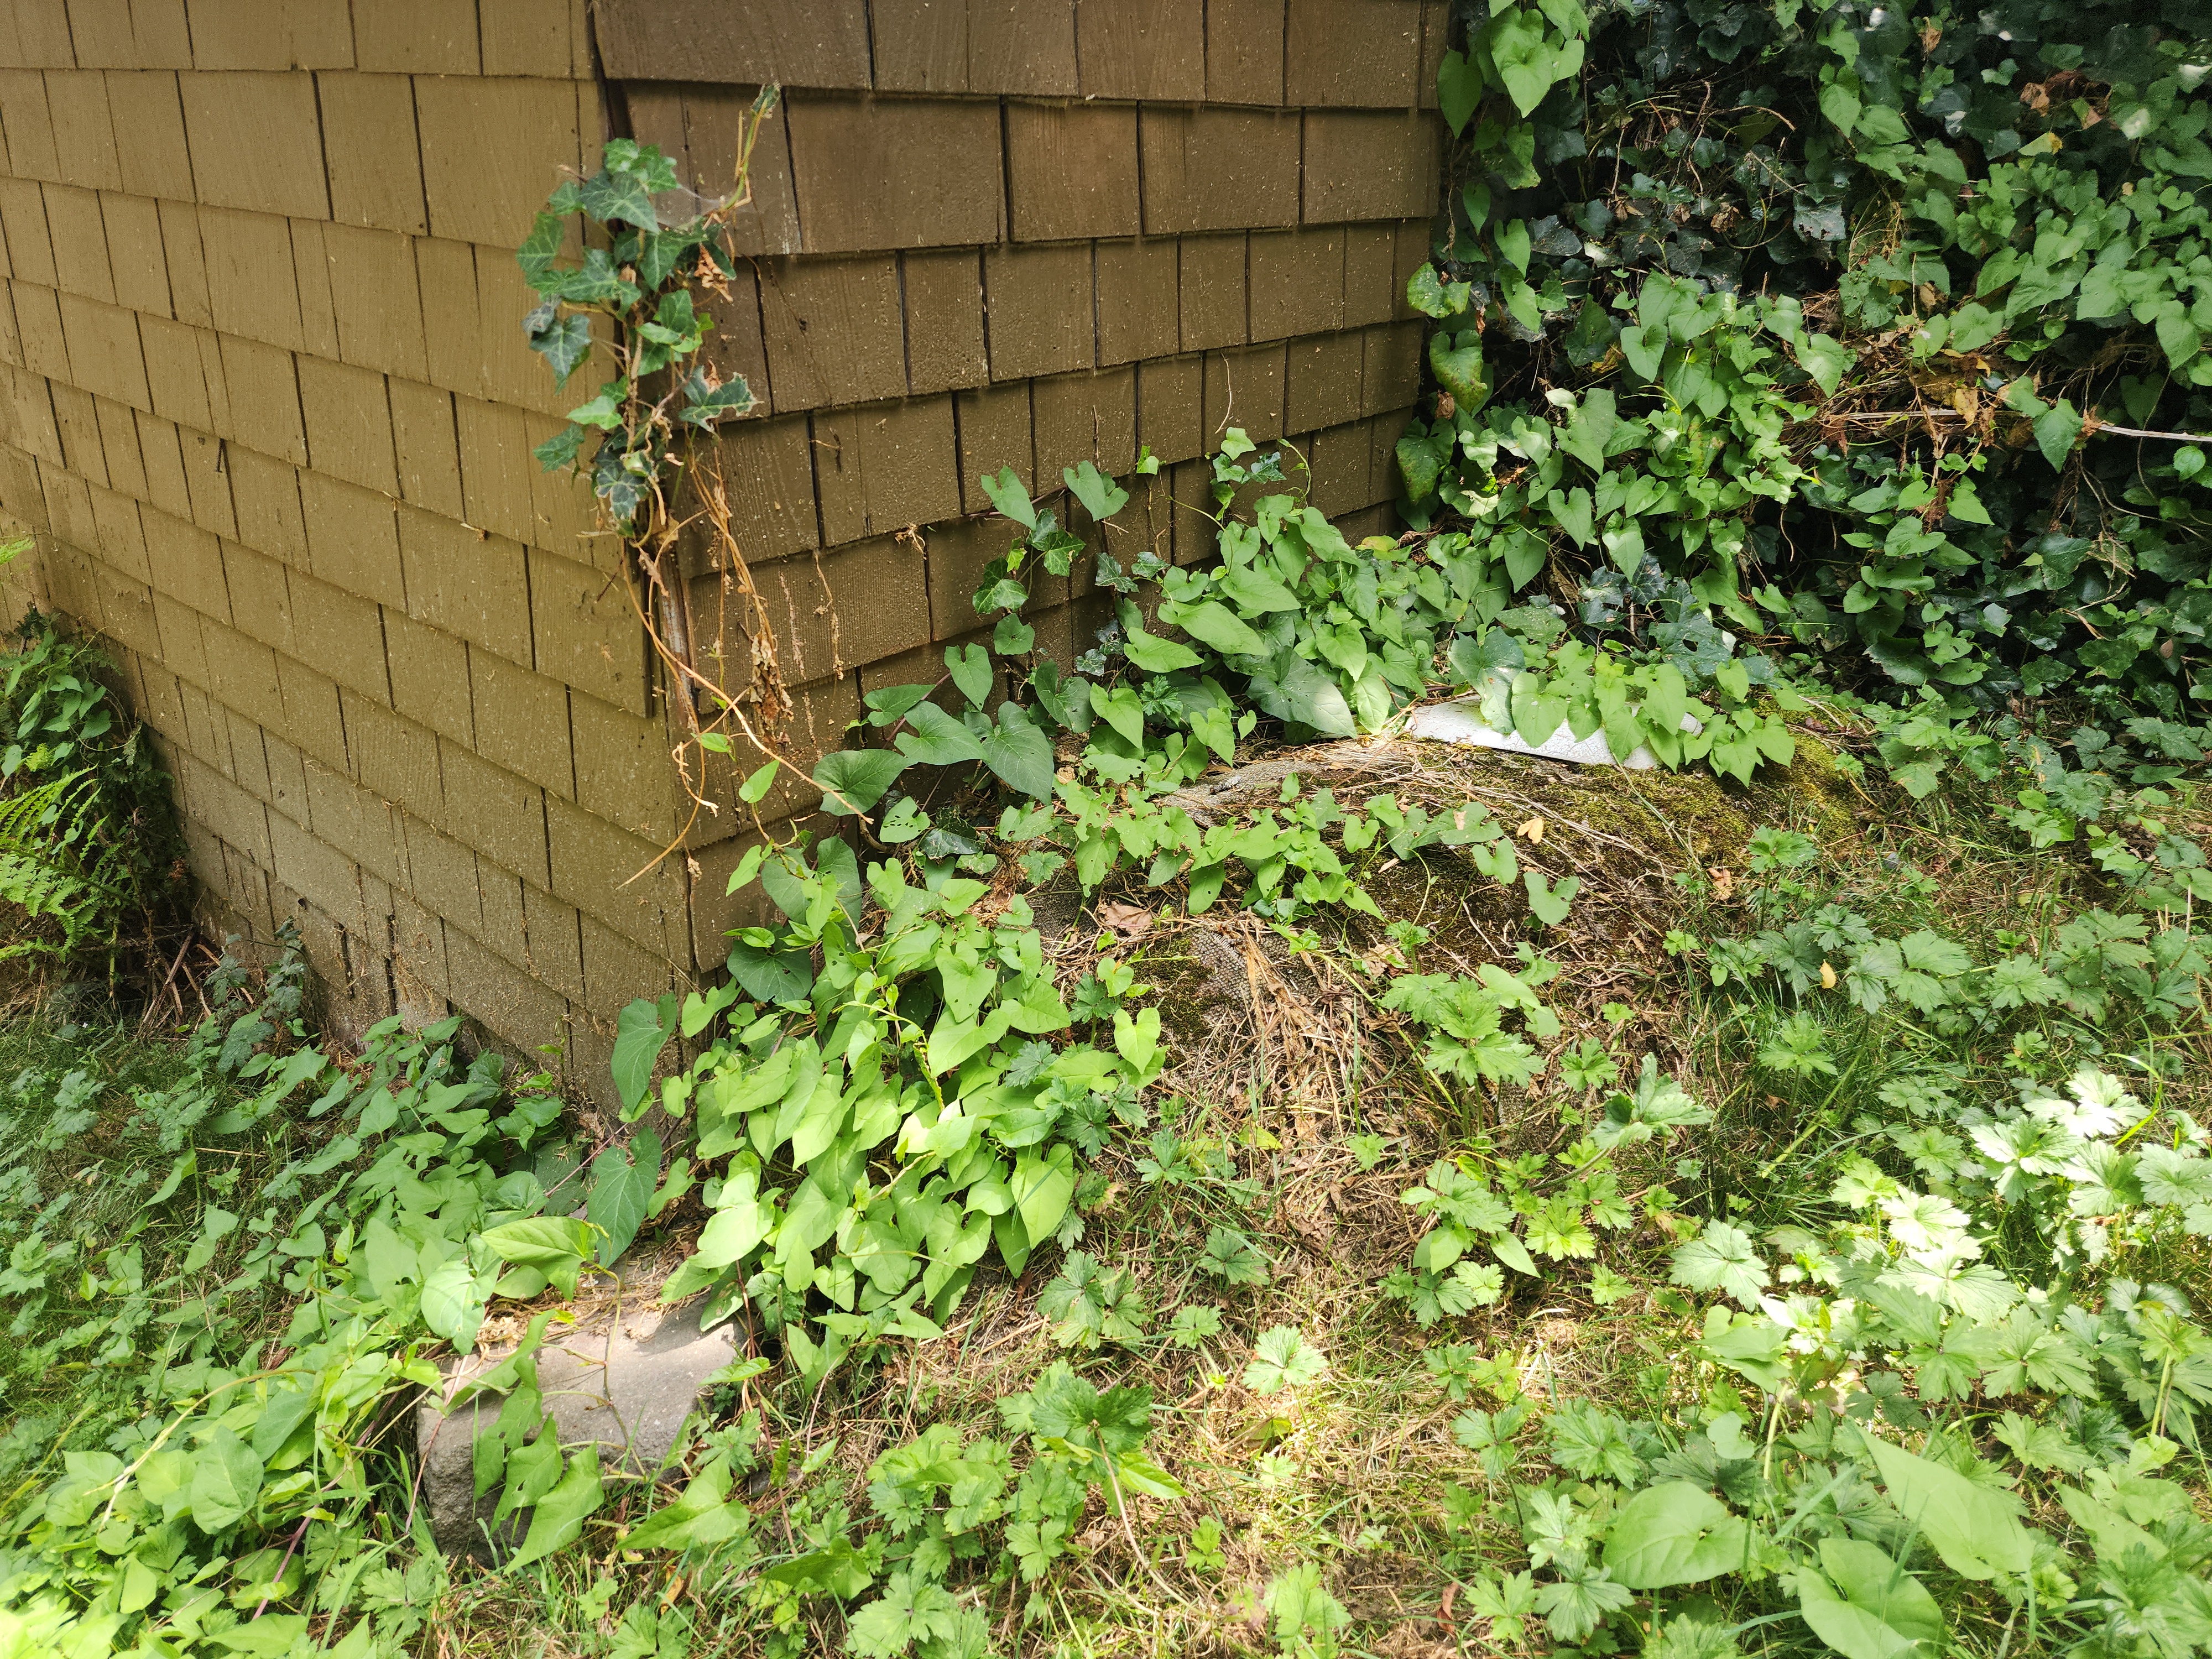
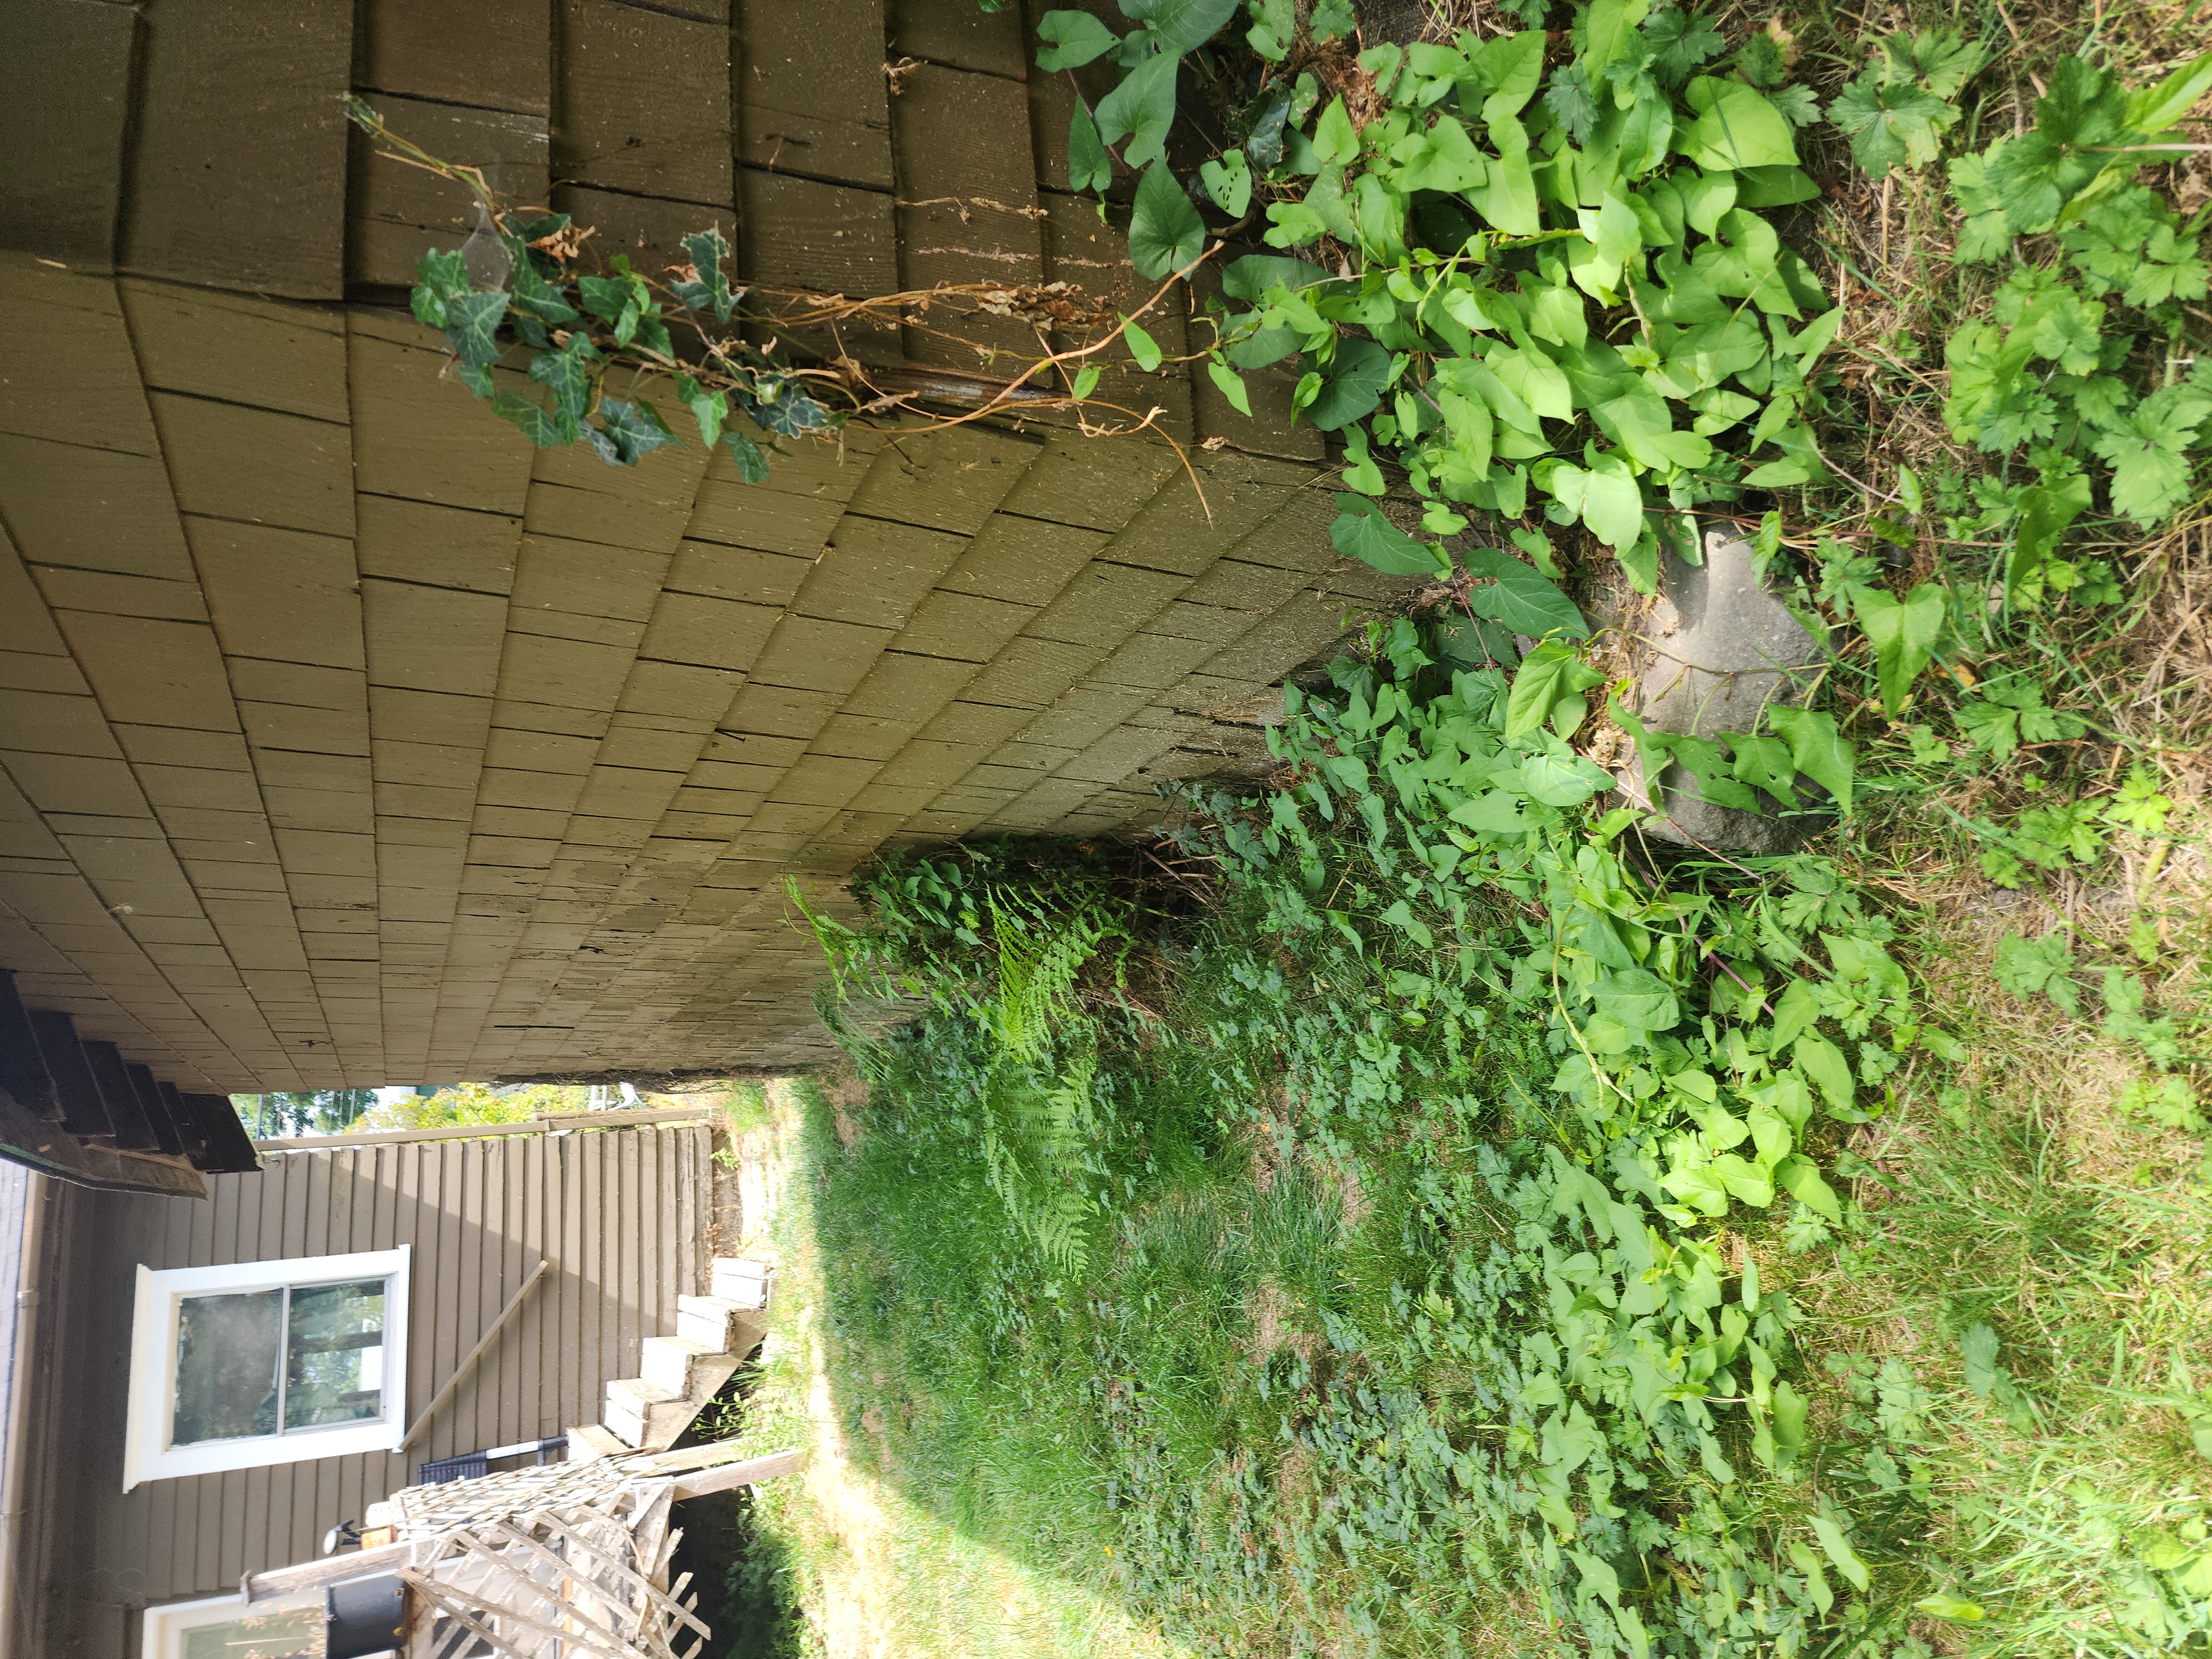
Vegetation was touching--or was in close proximity--to the siding, see photo(s.) This can trap moisture against the siding which is a conducive condition for rot, or allow a pathway onto the roof/into the attic for rodents. Recommend pruning all vegetation back to give at least 12 inches of clearance to the siding. DIY repair.
Contractor:DIY (do it yourself) - EDPB-5 Exteriors, Decks, Porches, and Balconies:
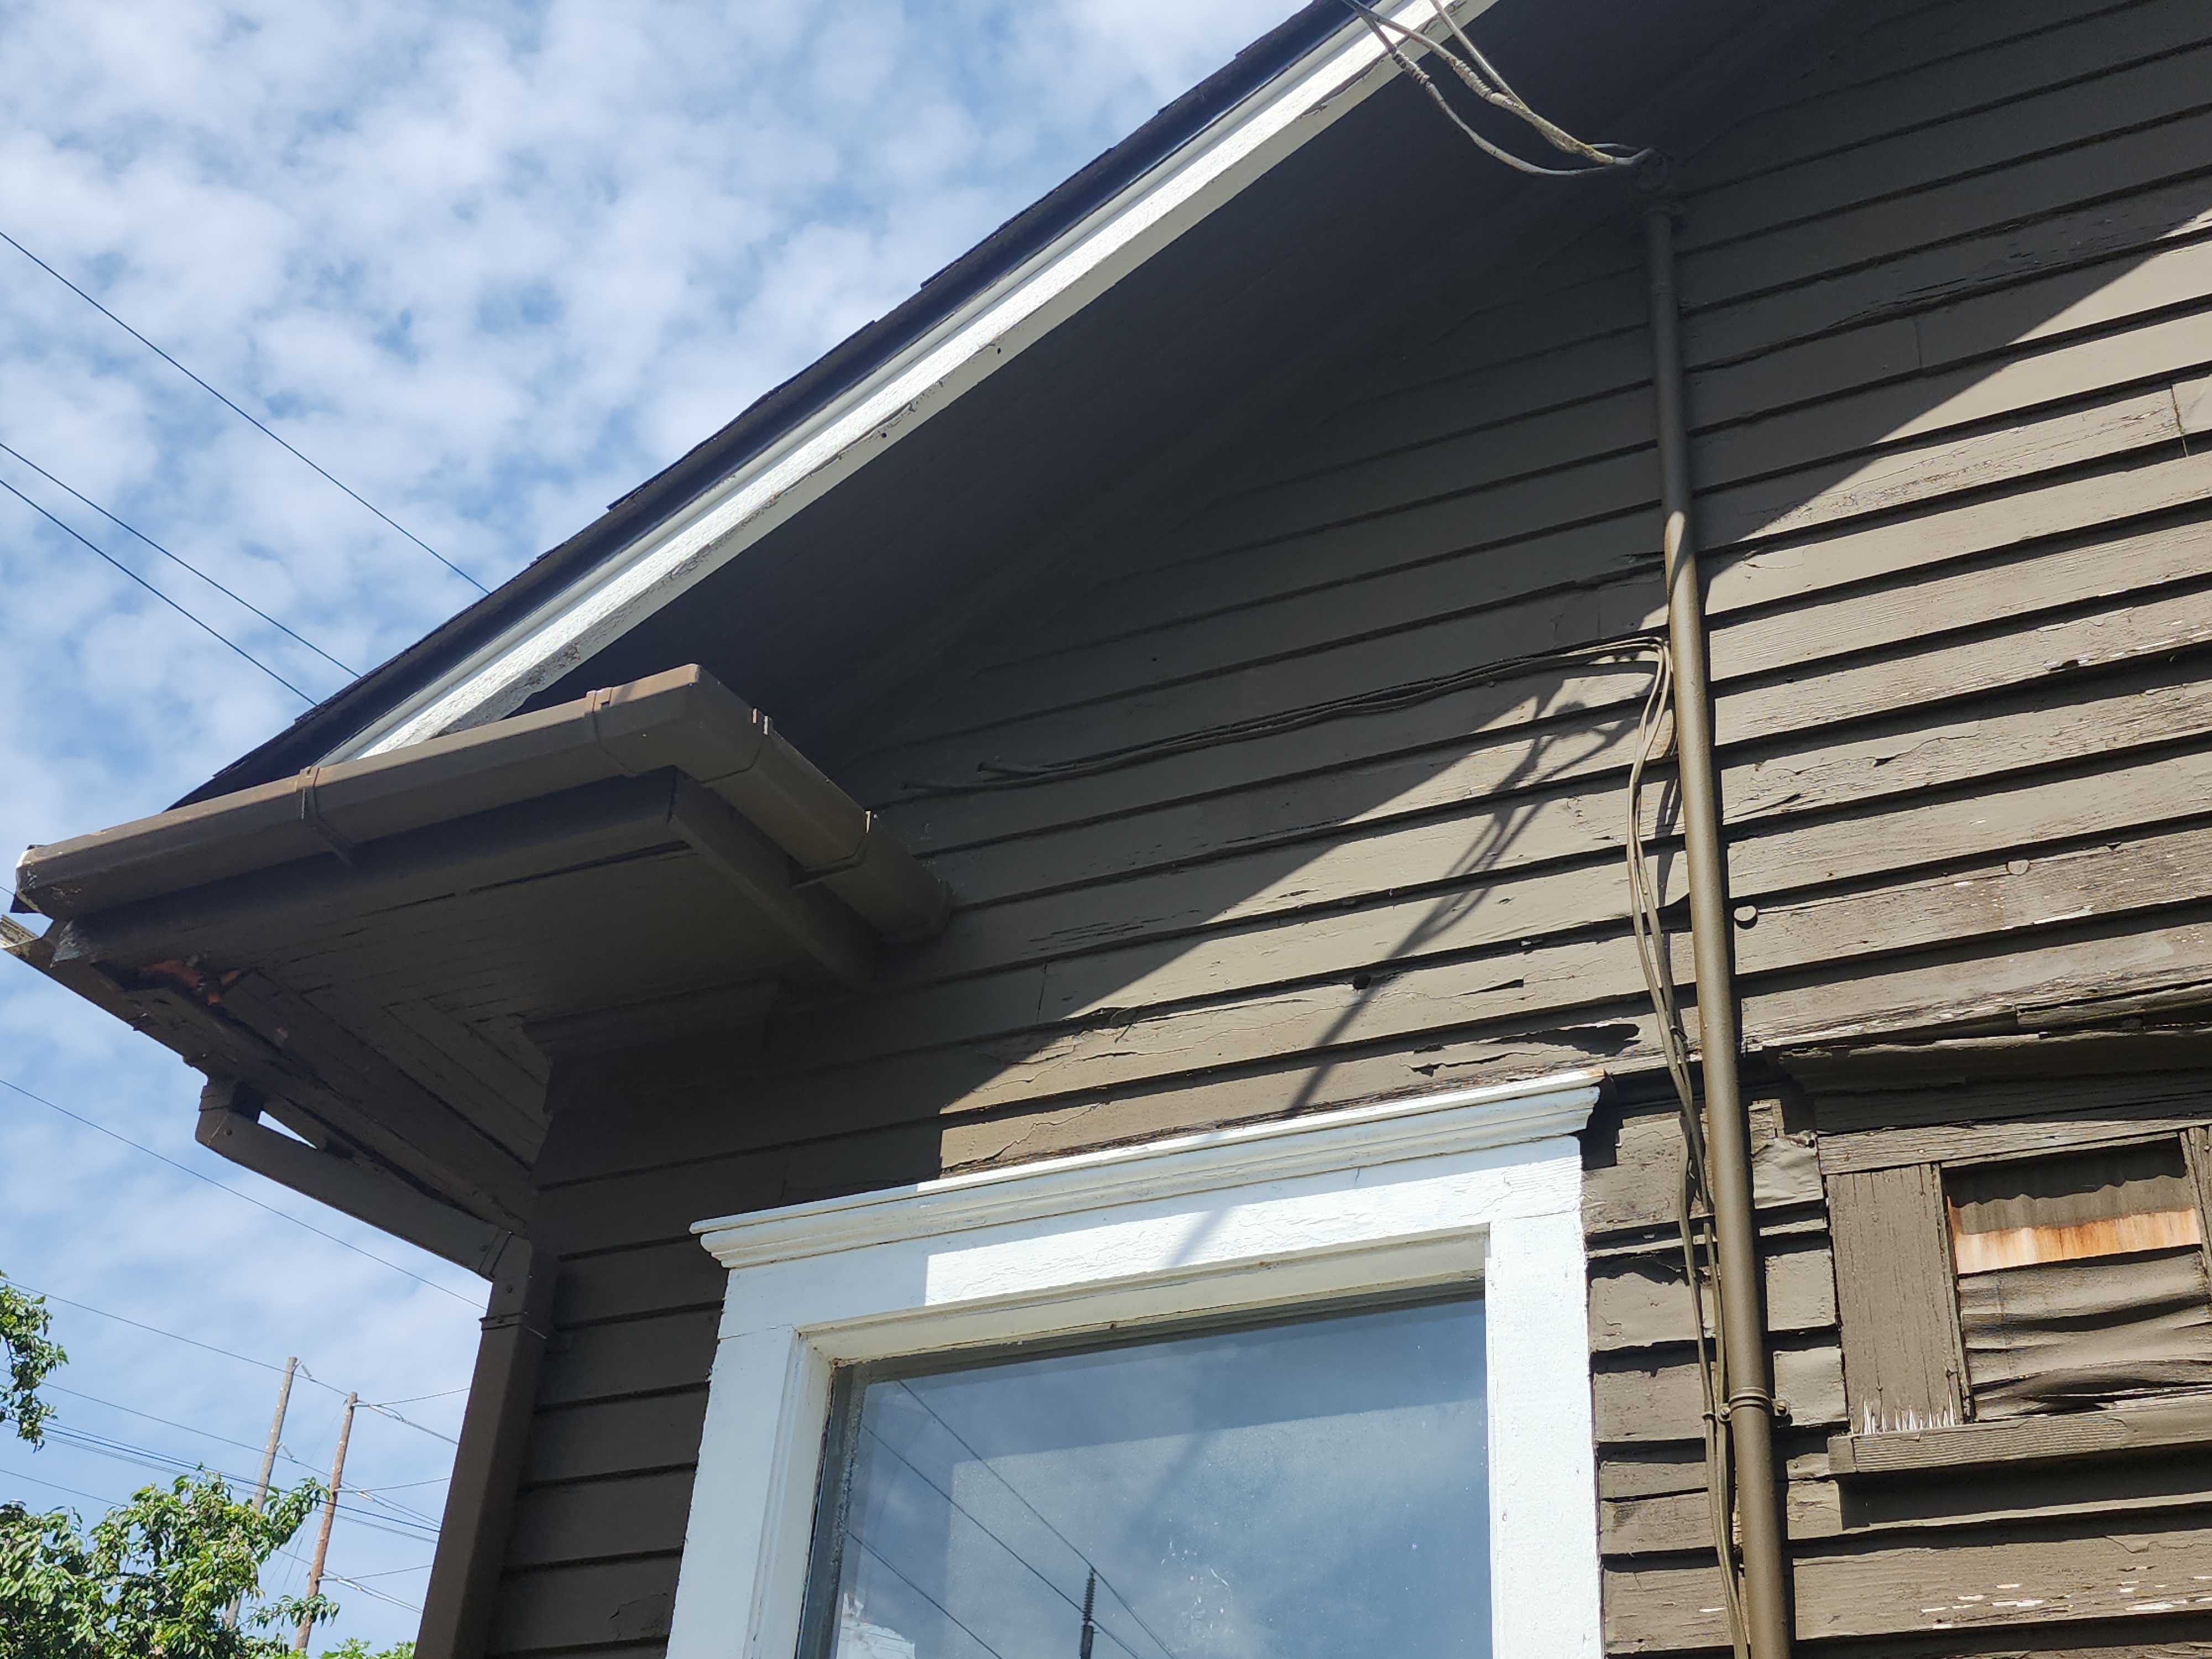
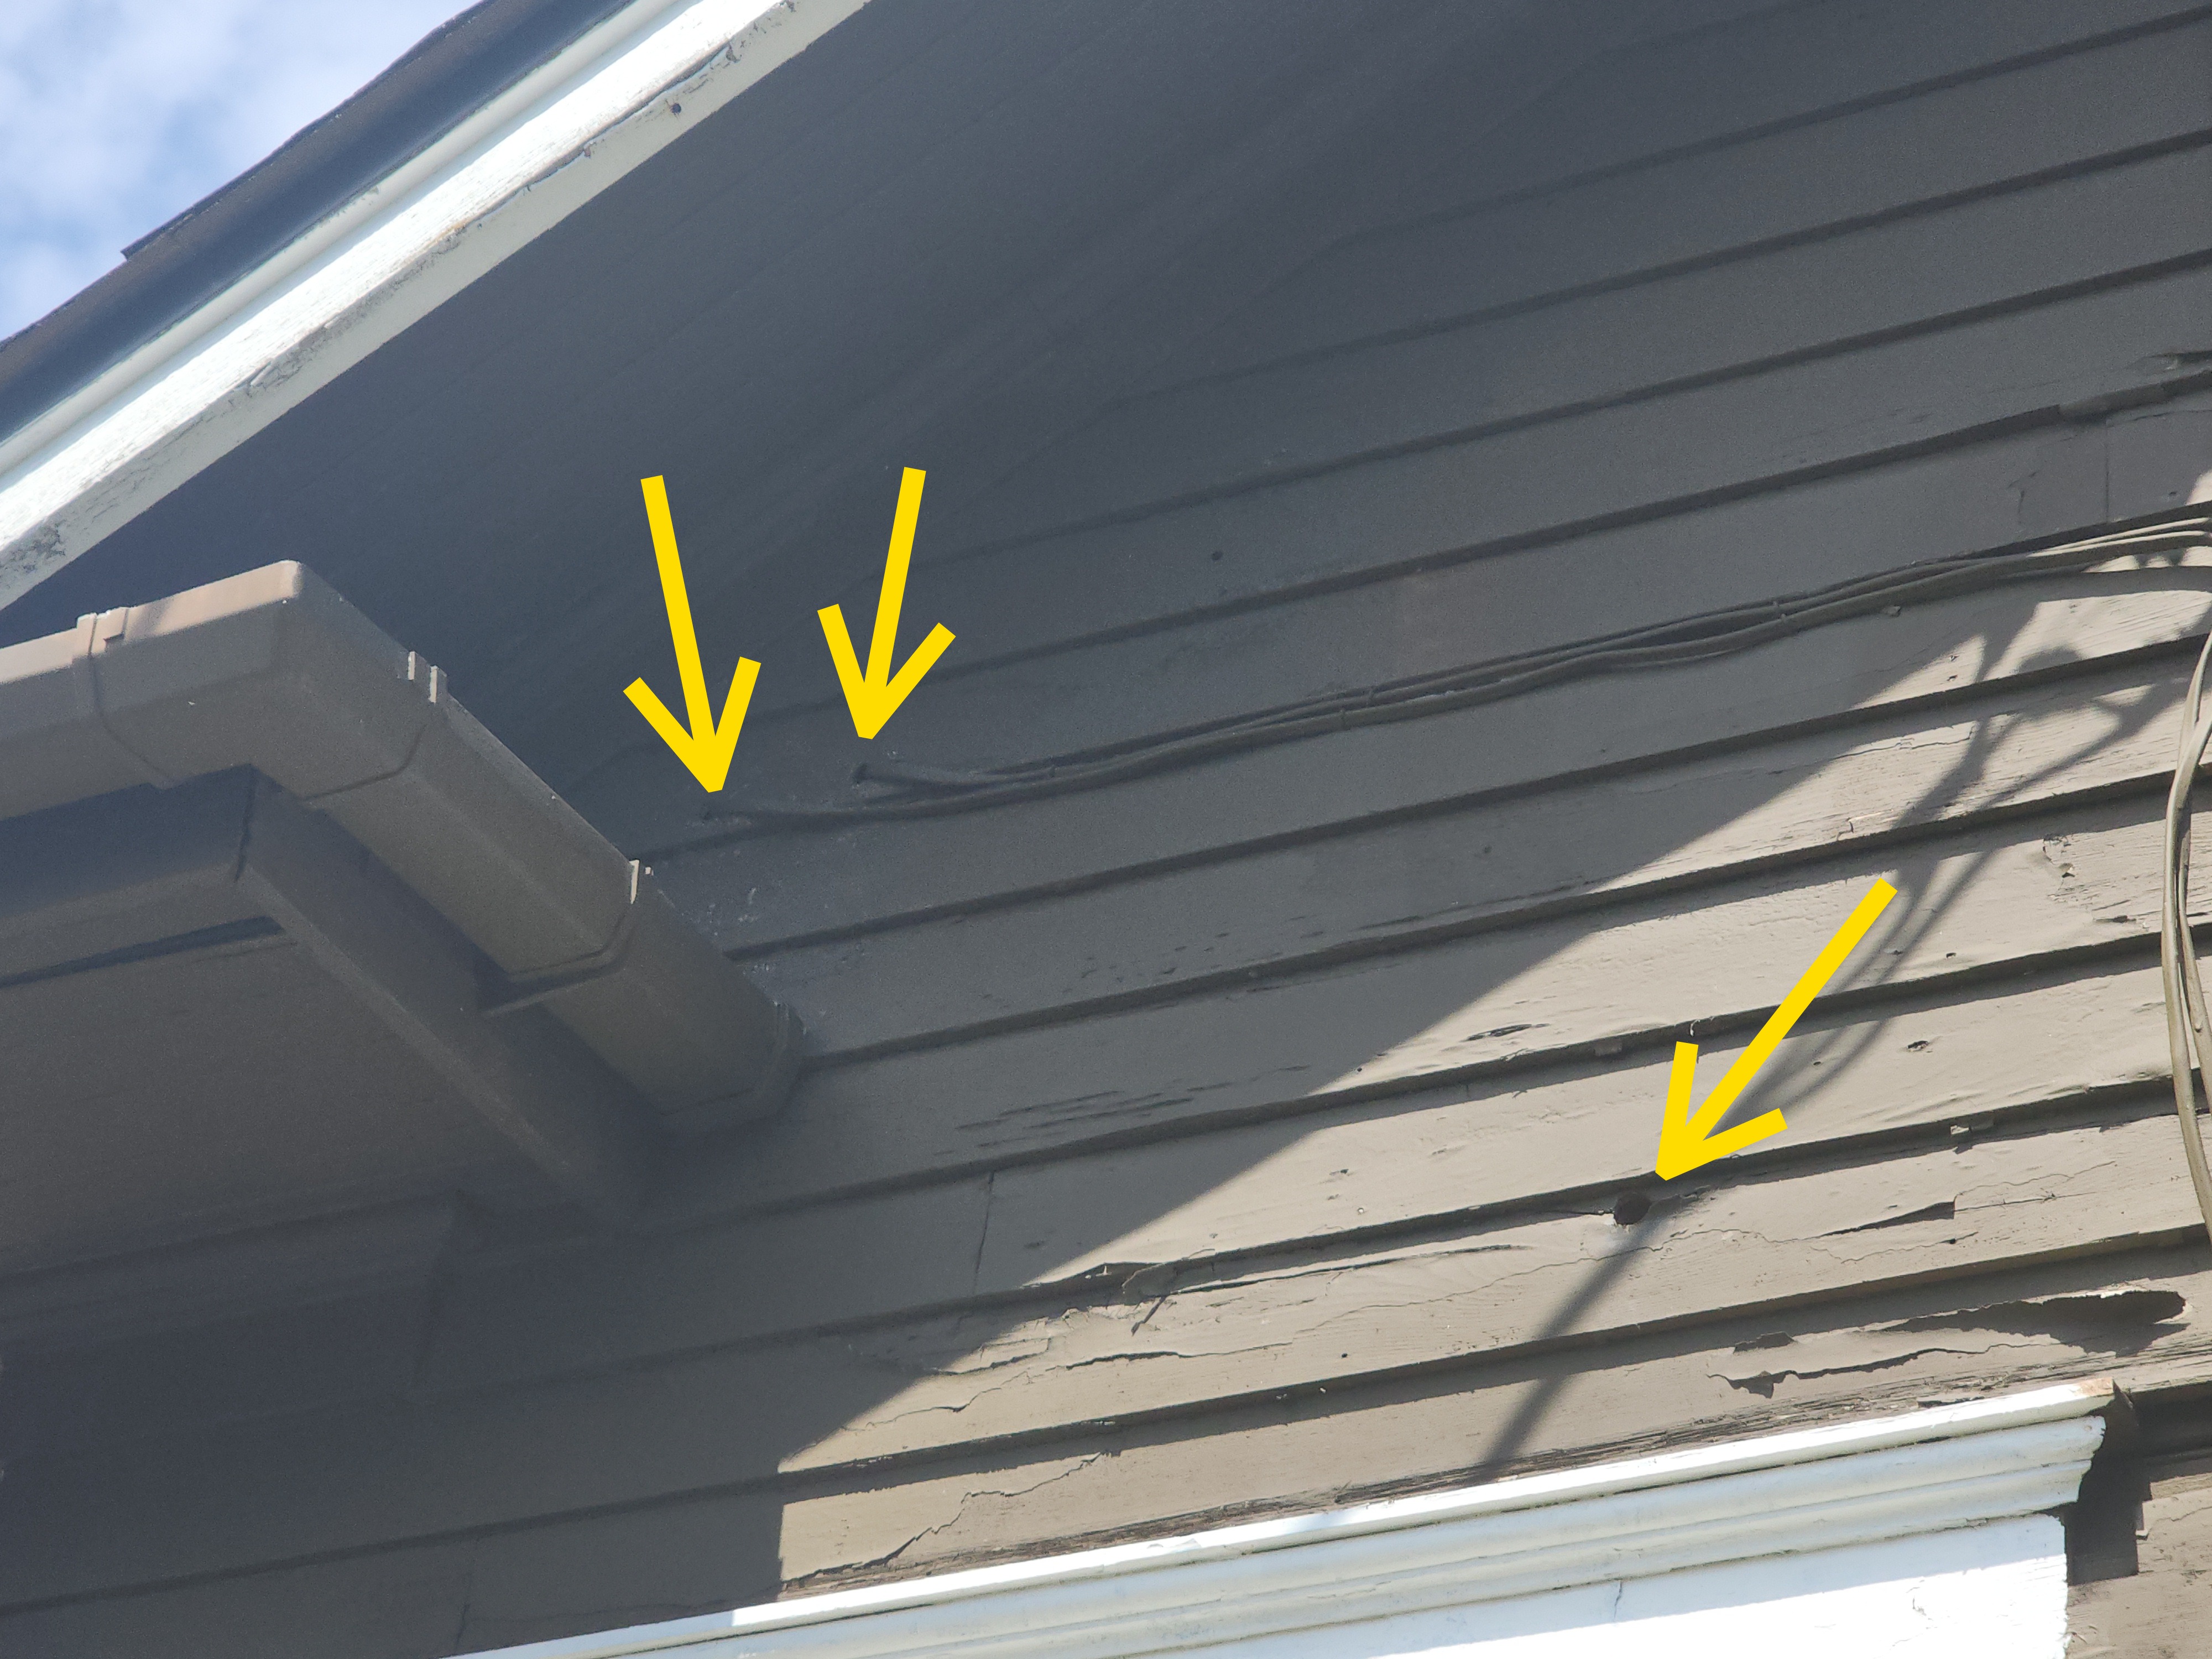
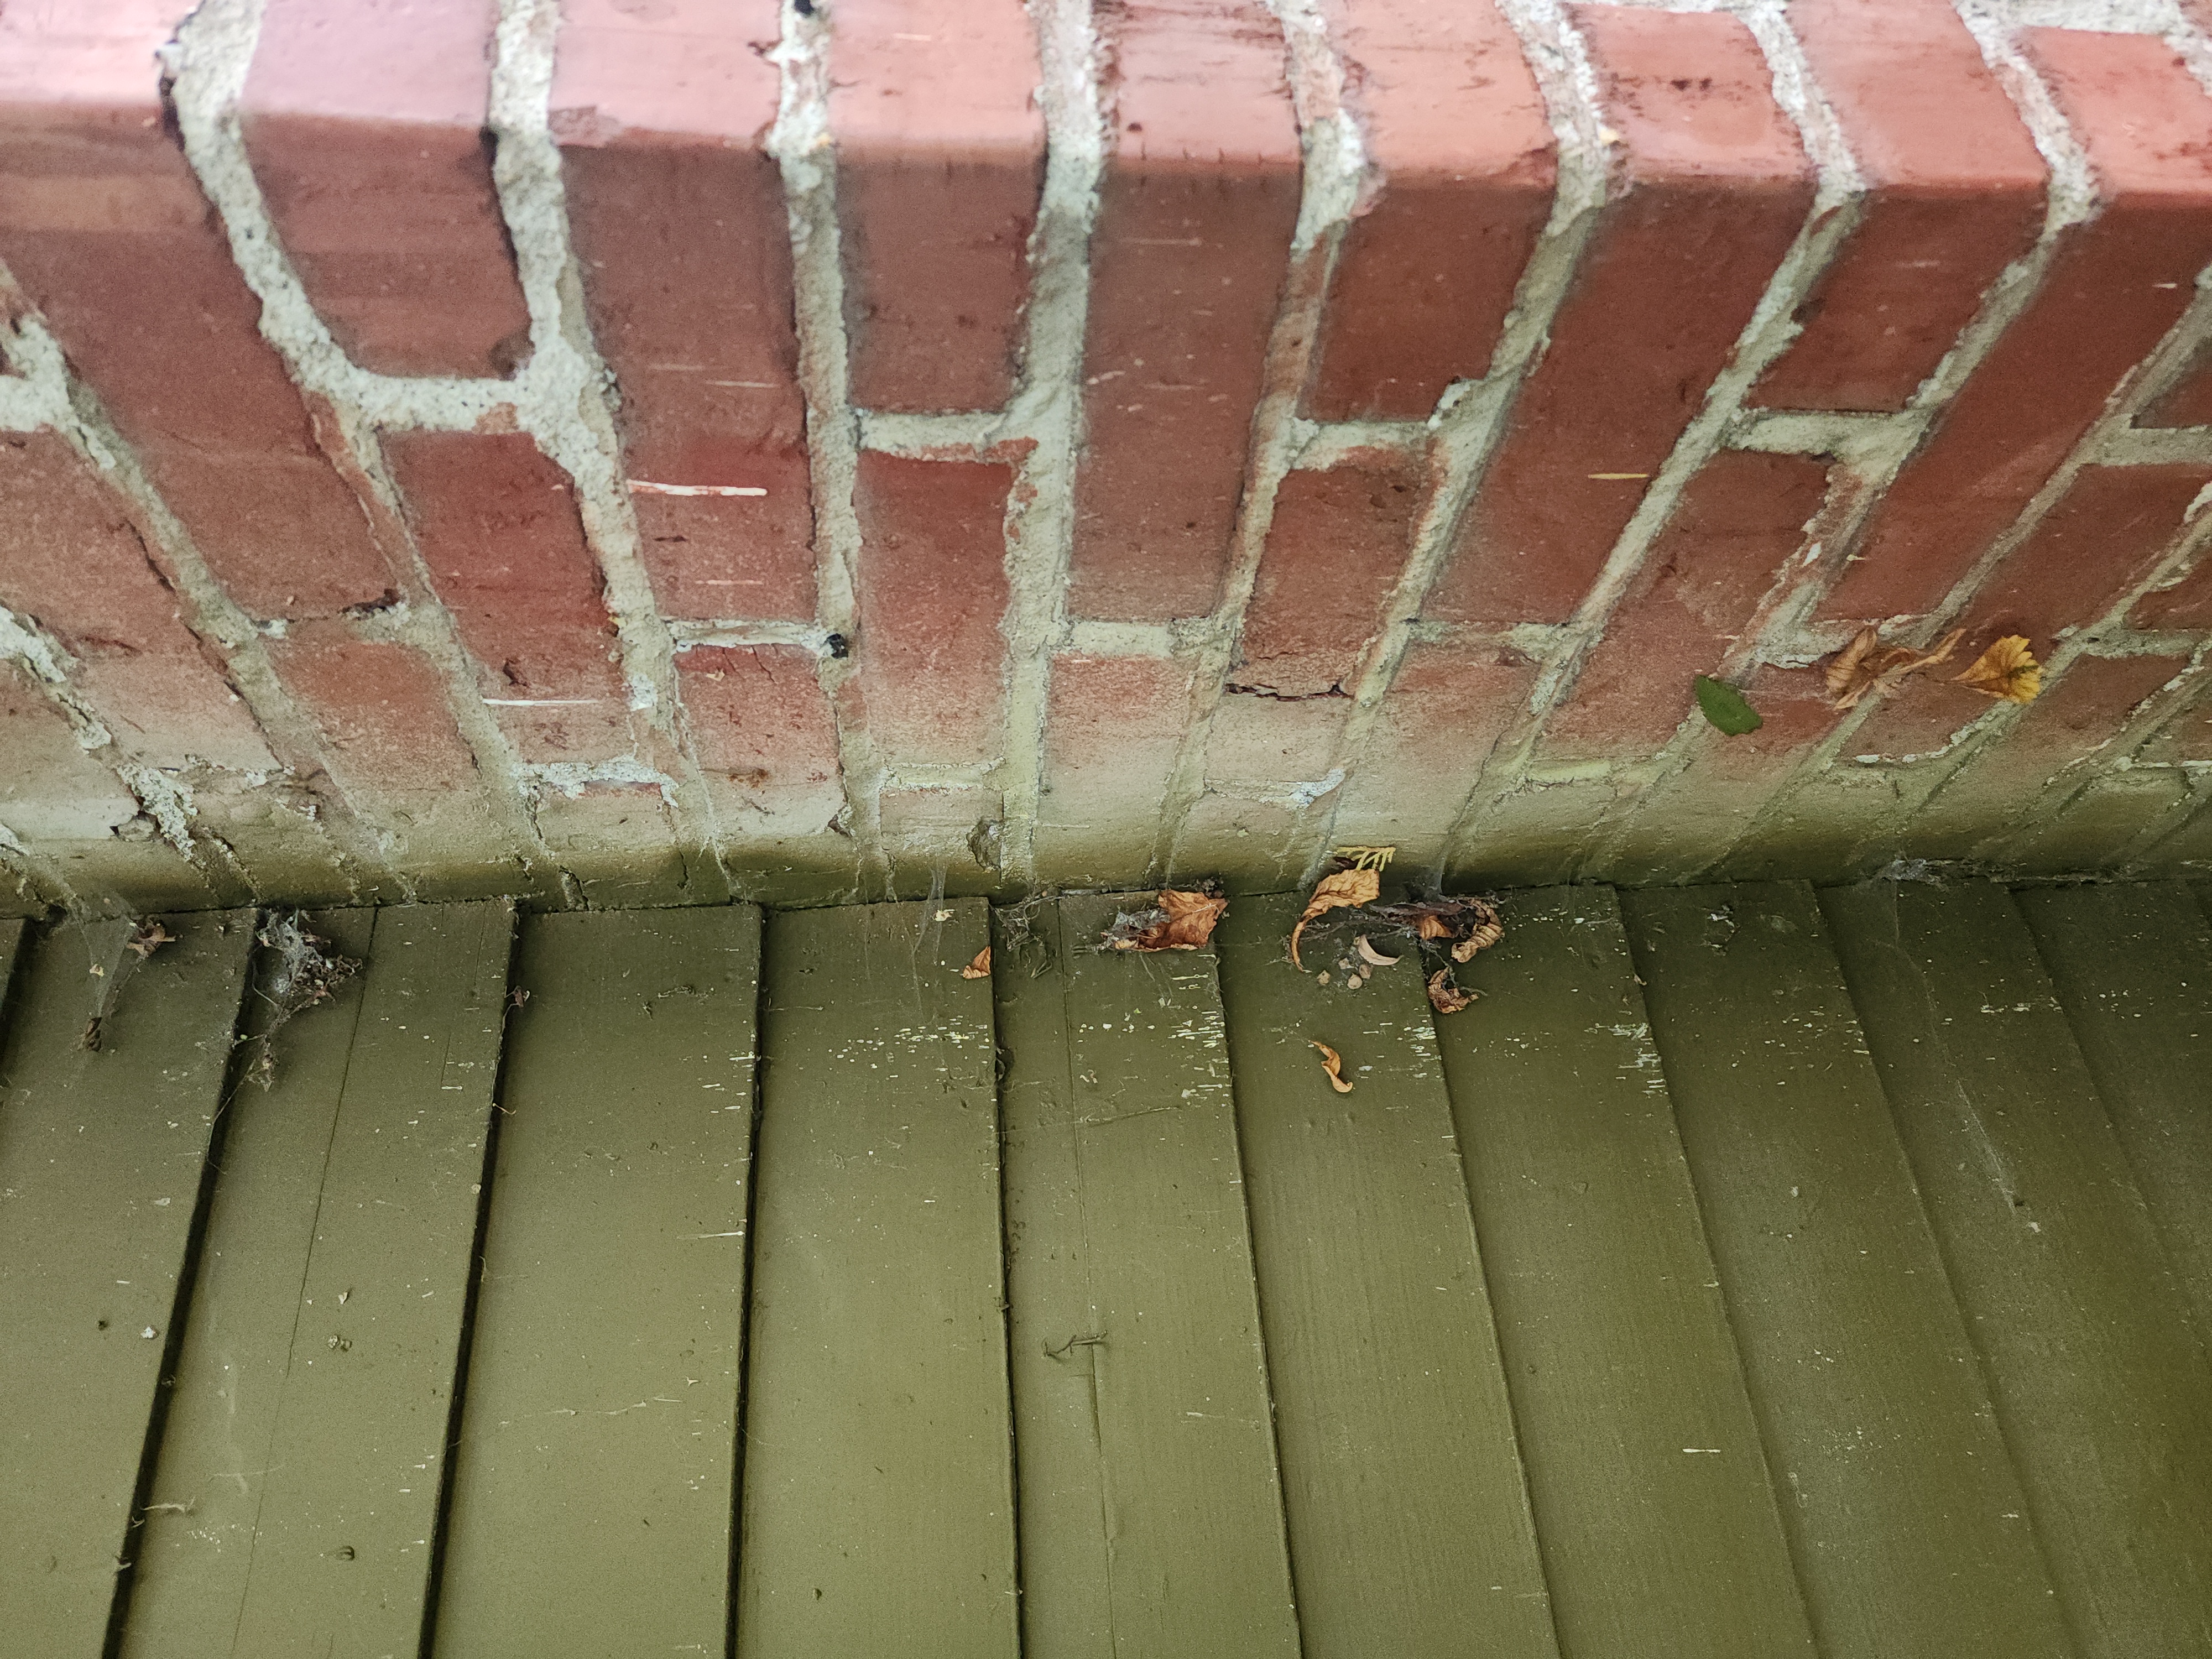
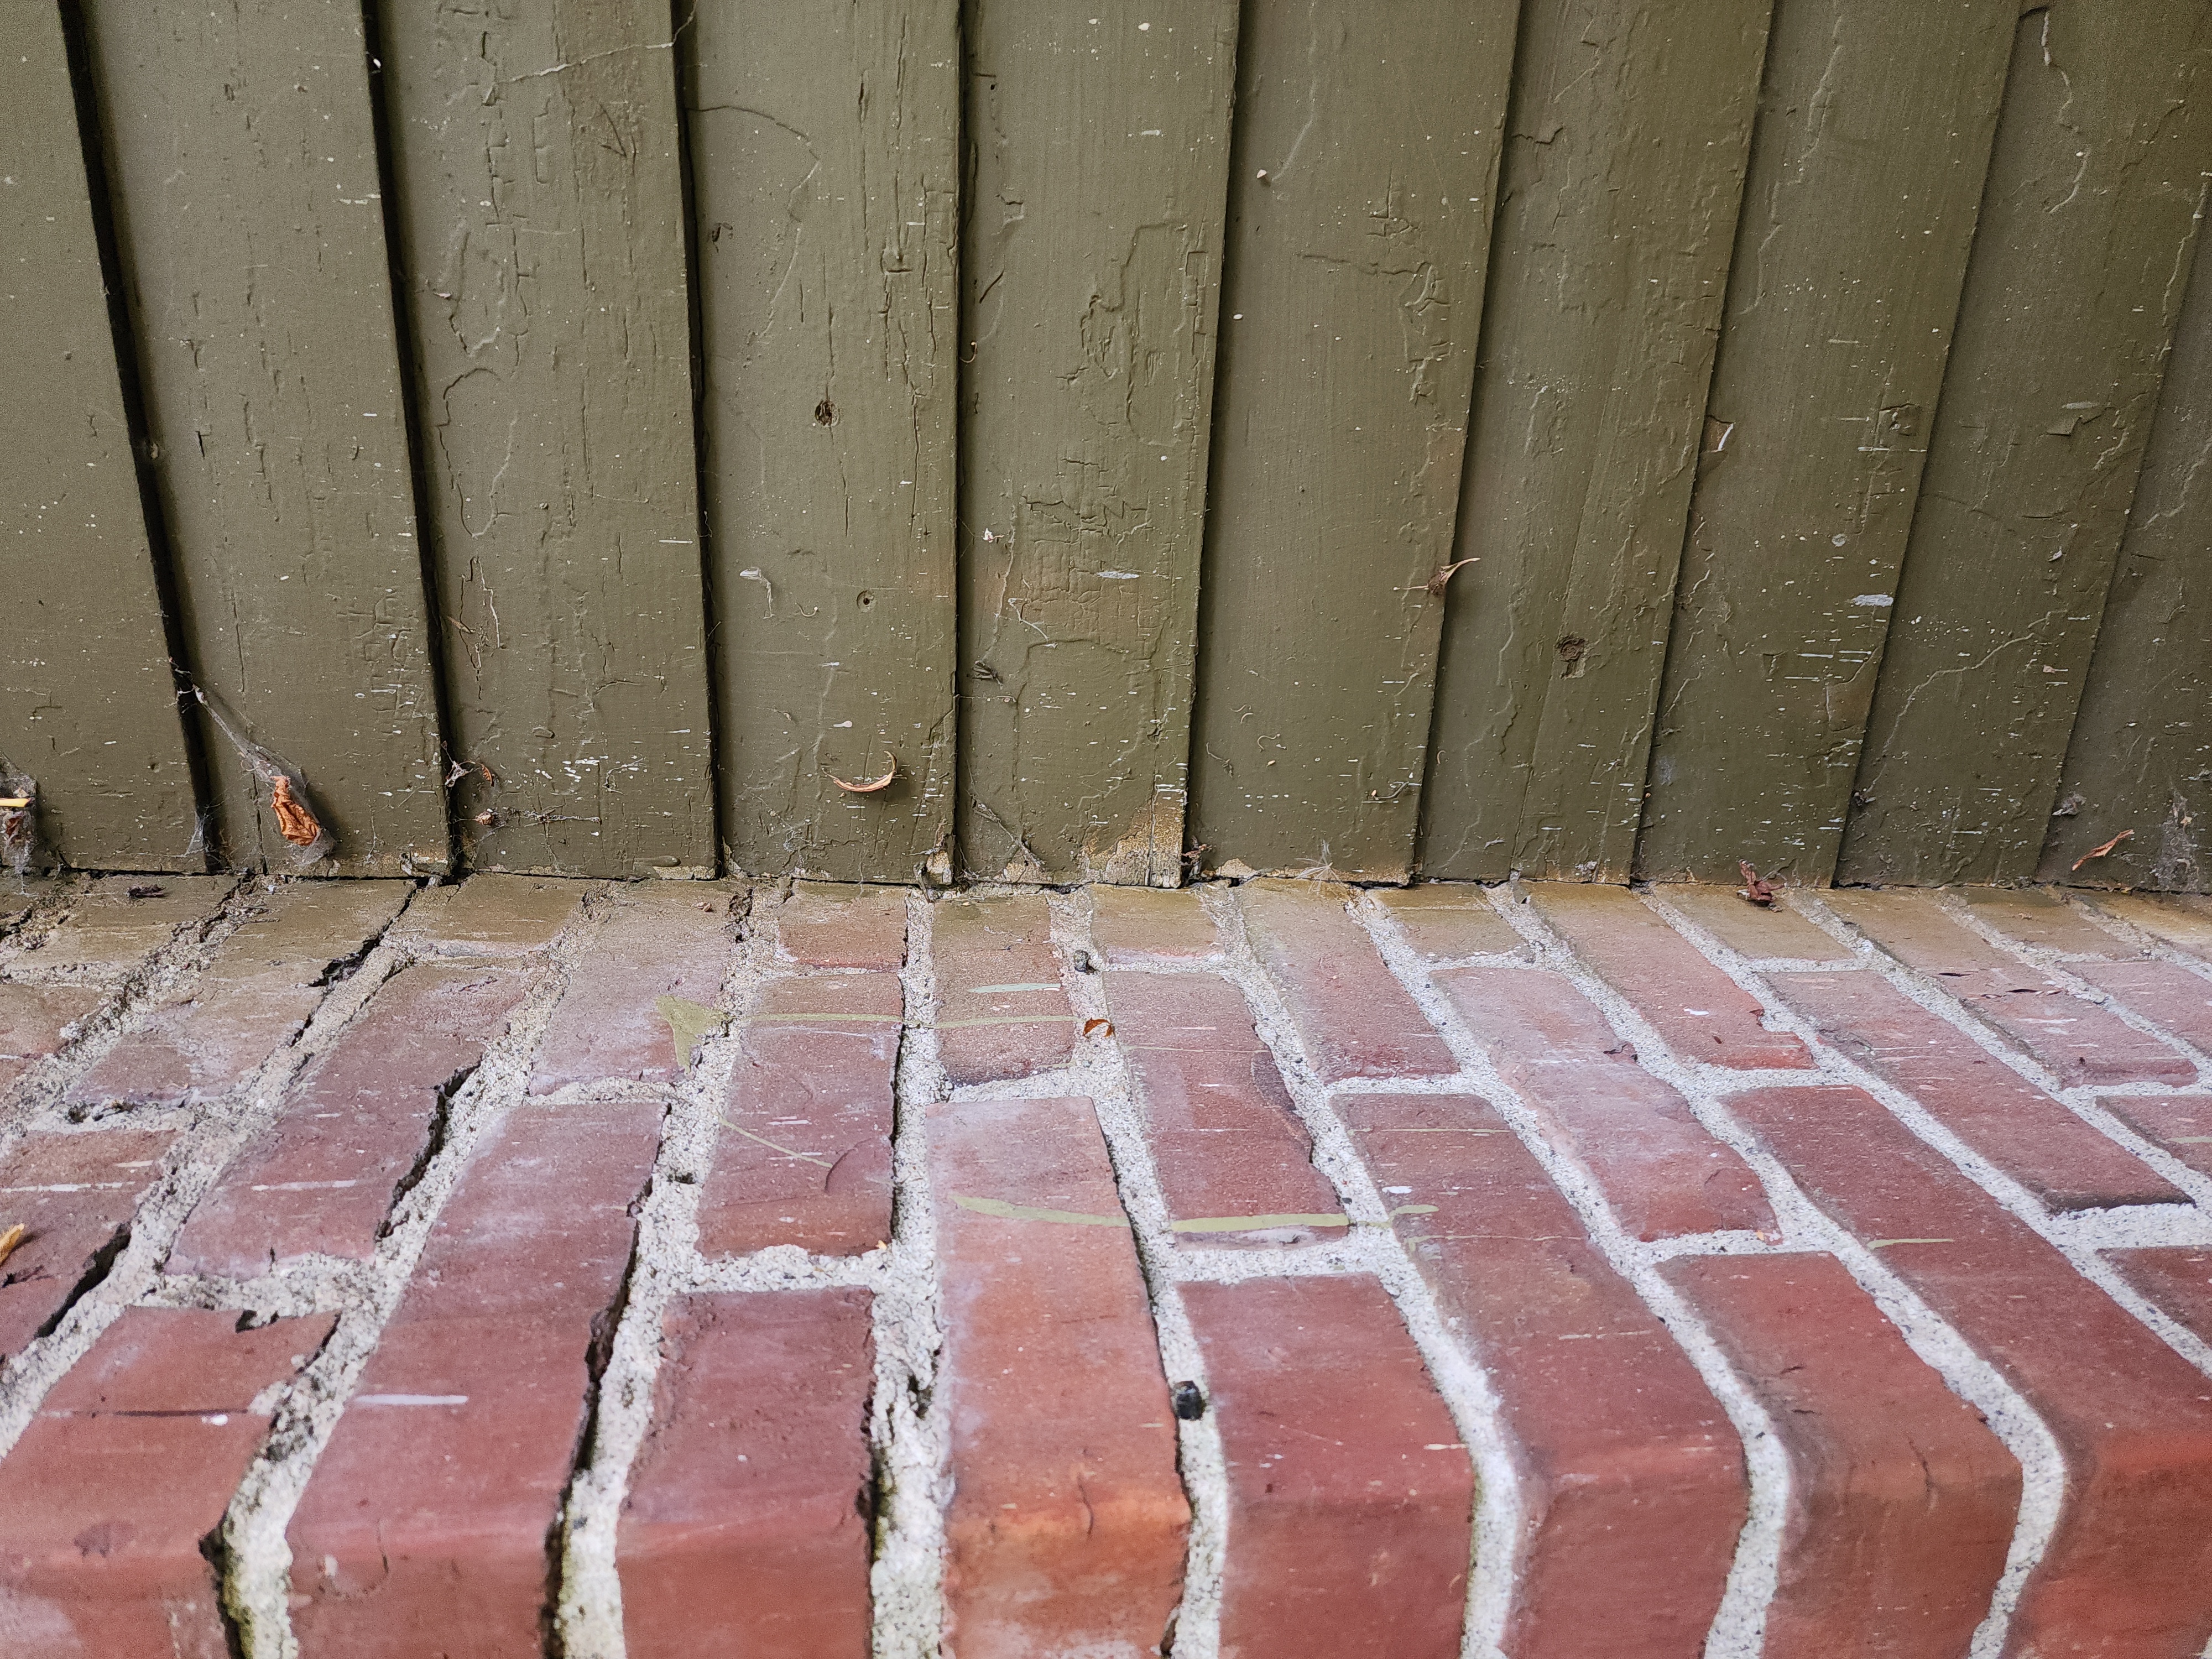
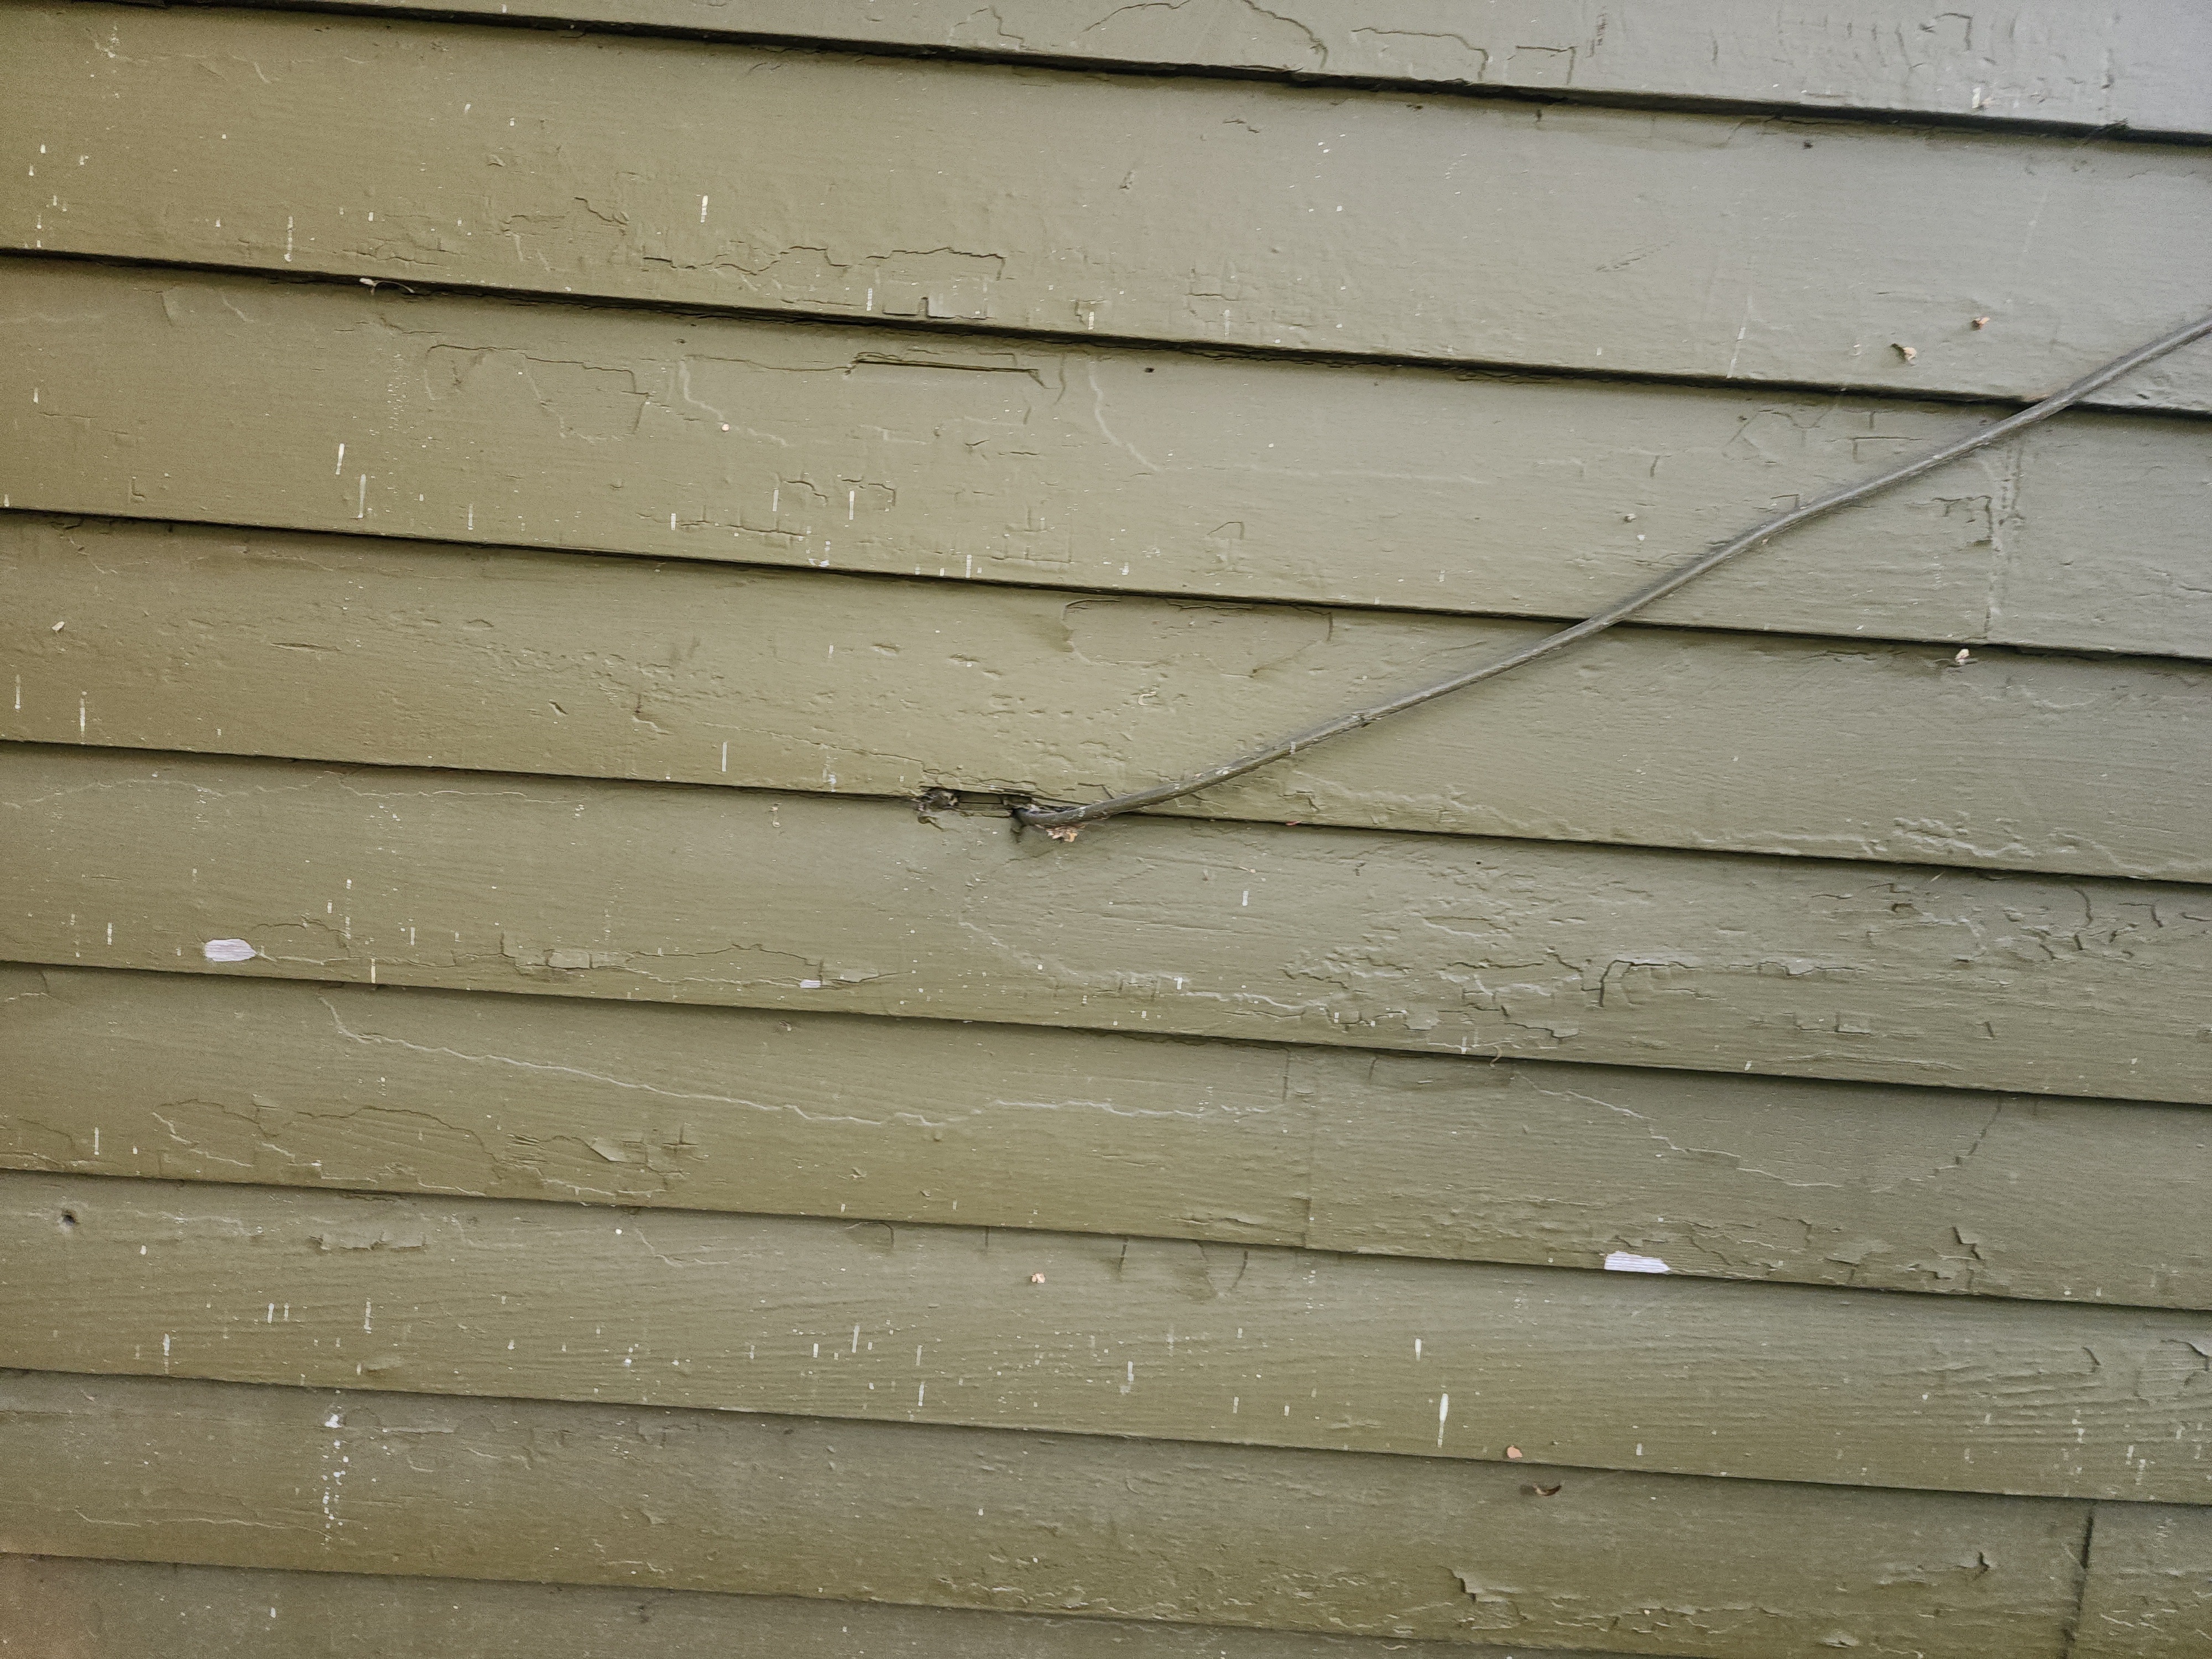
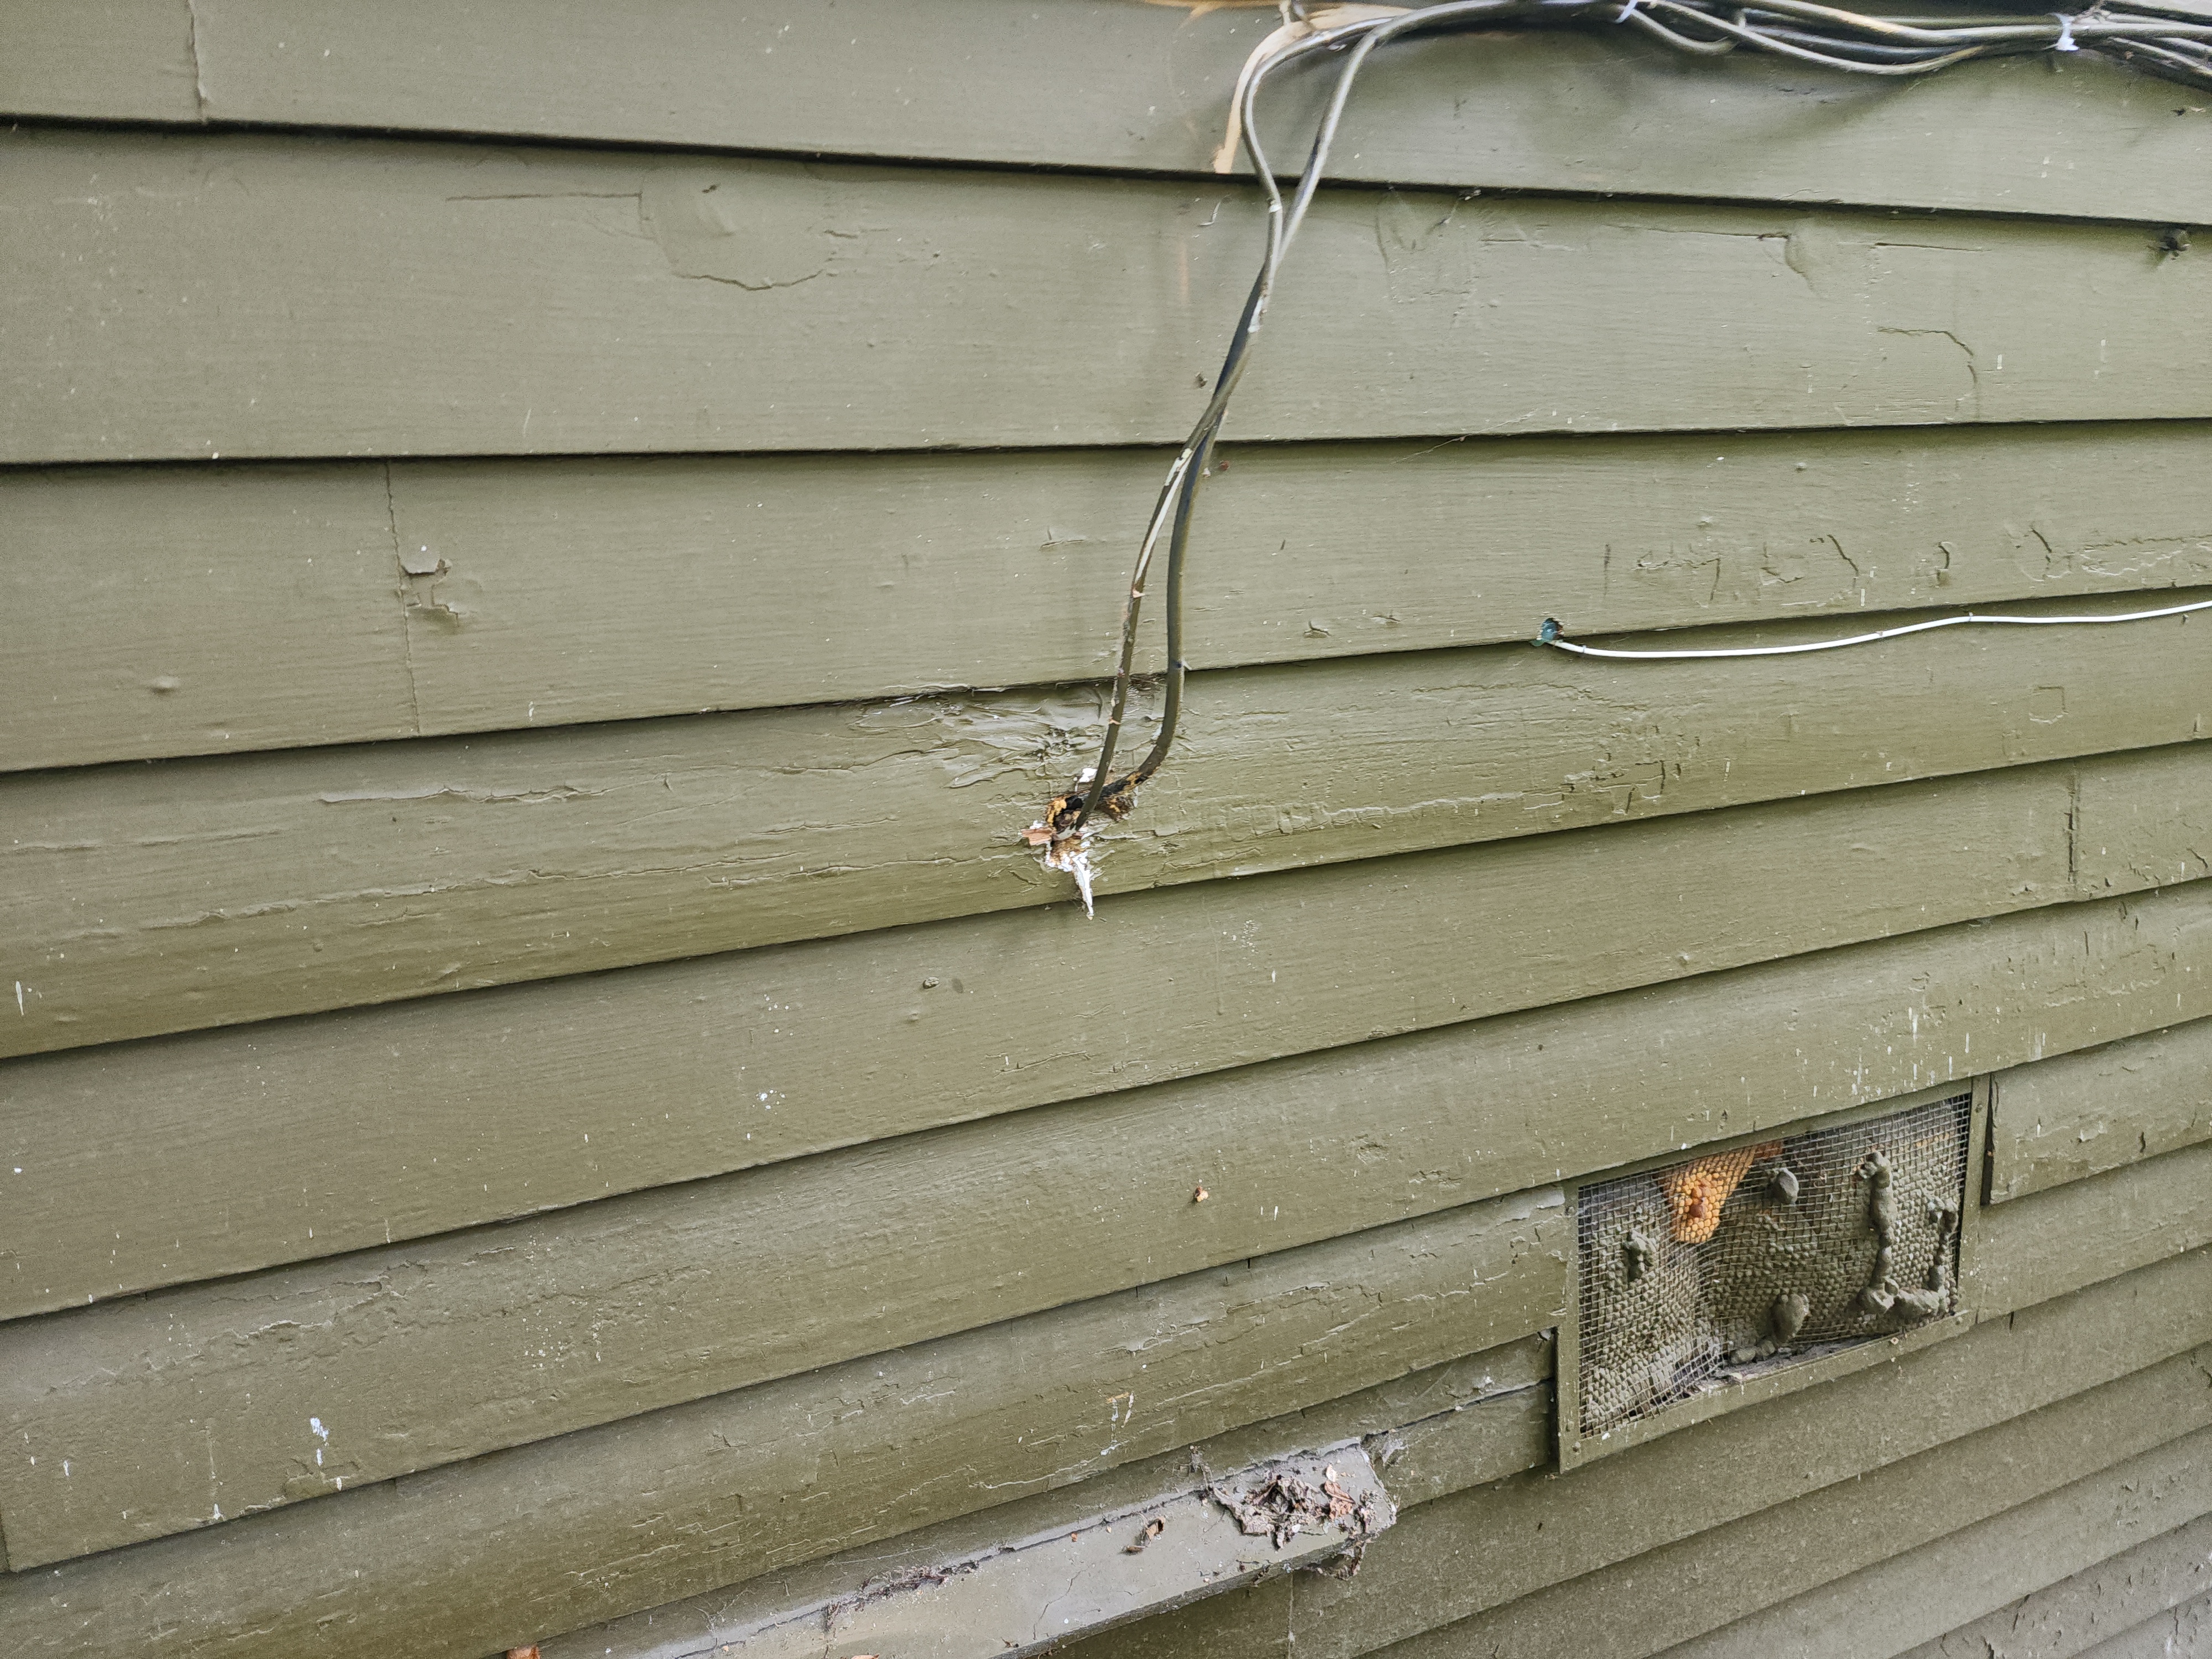
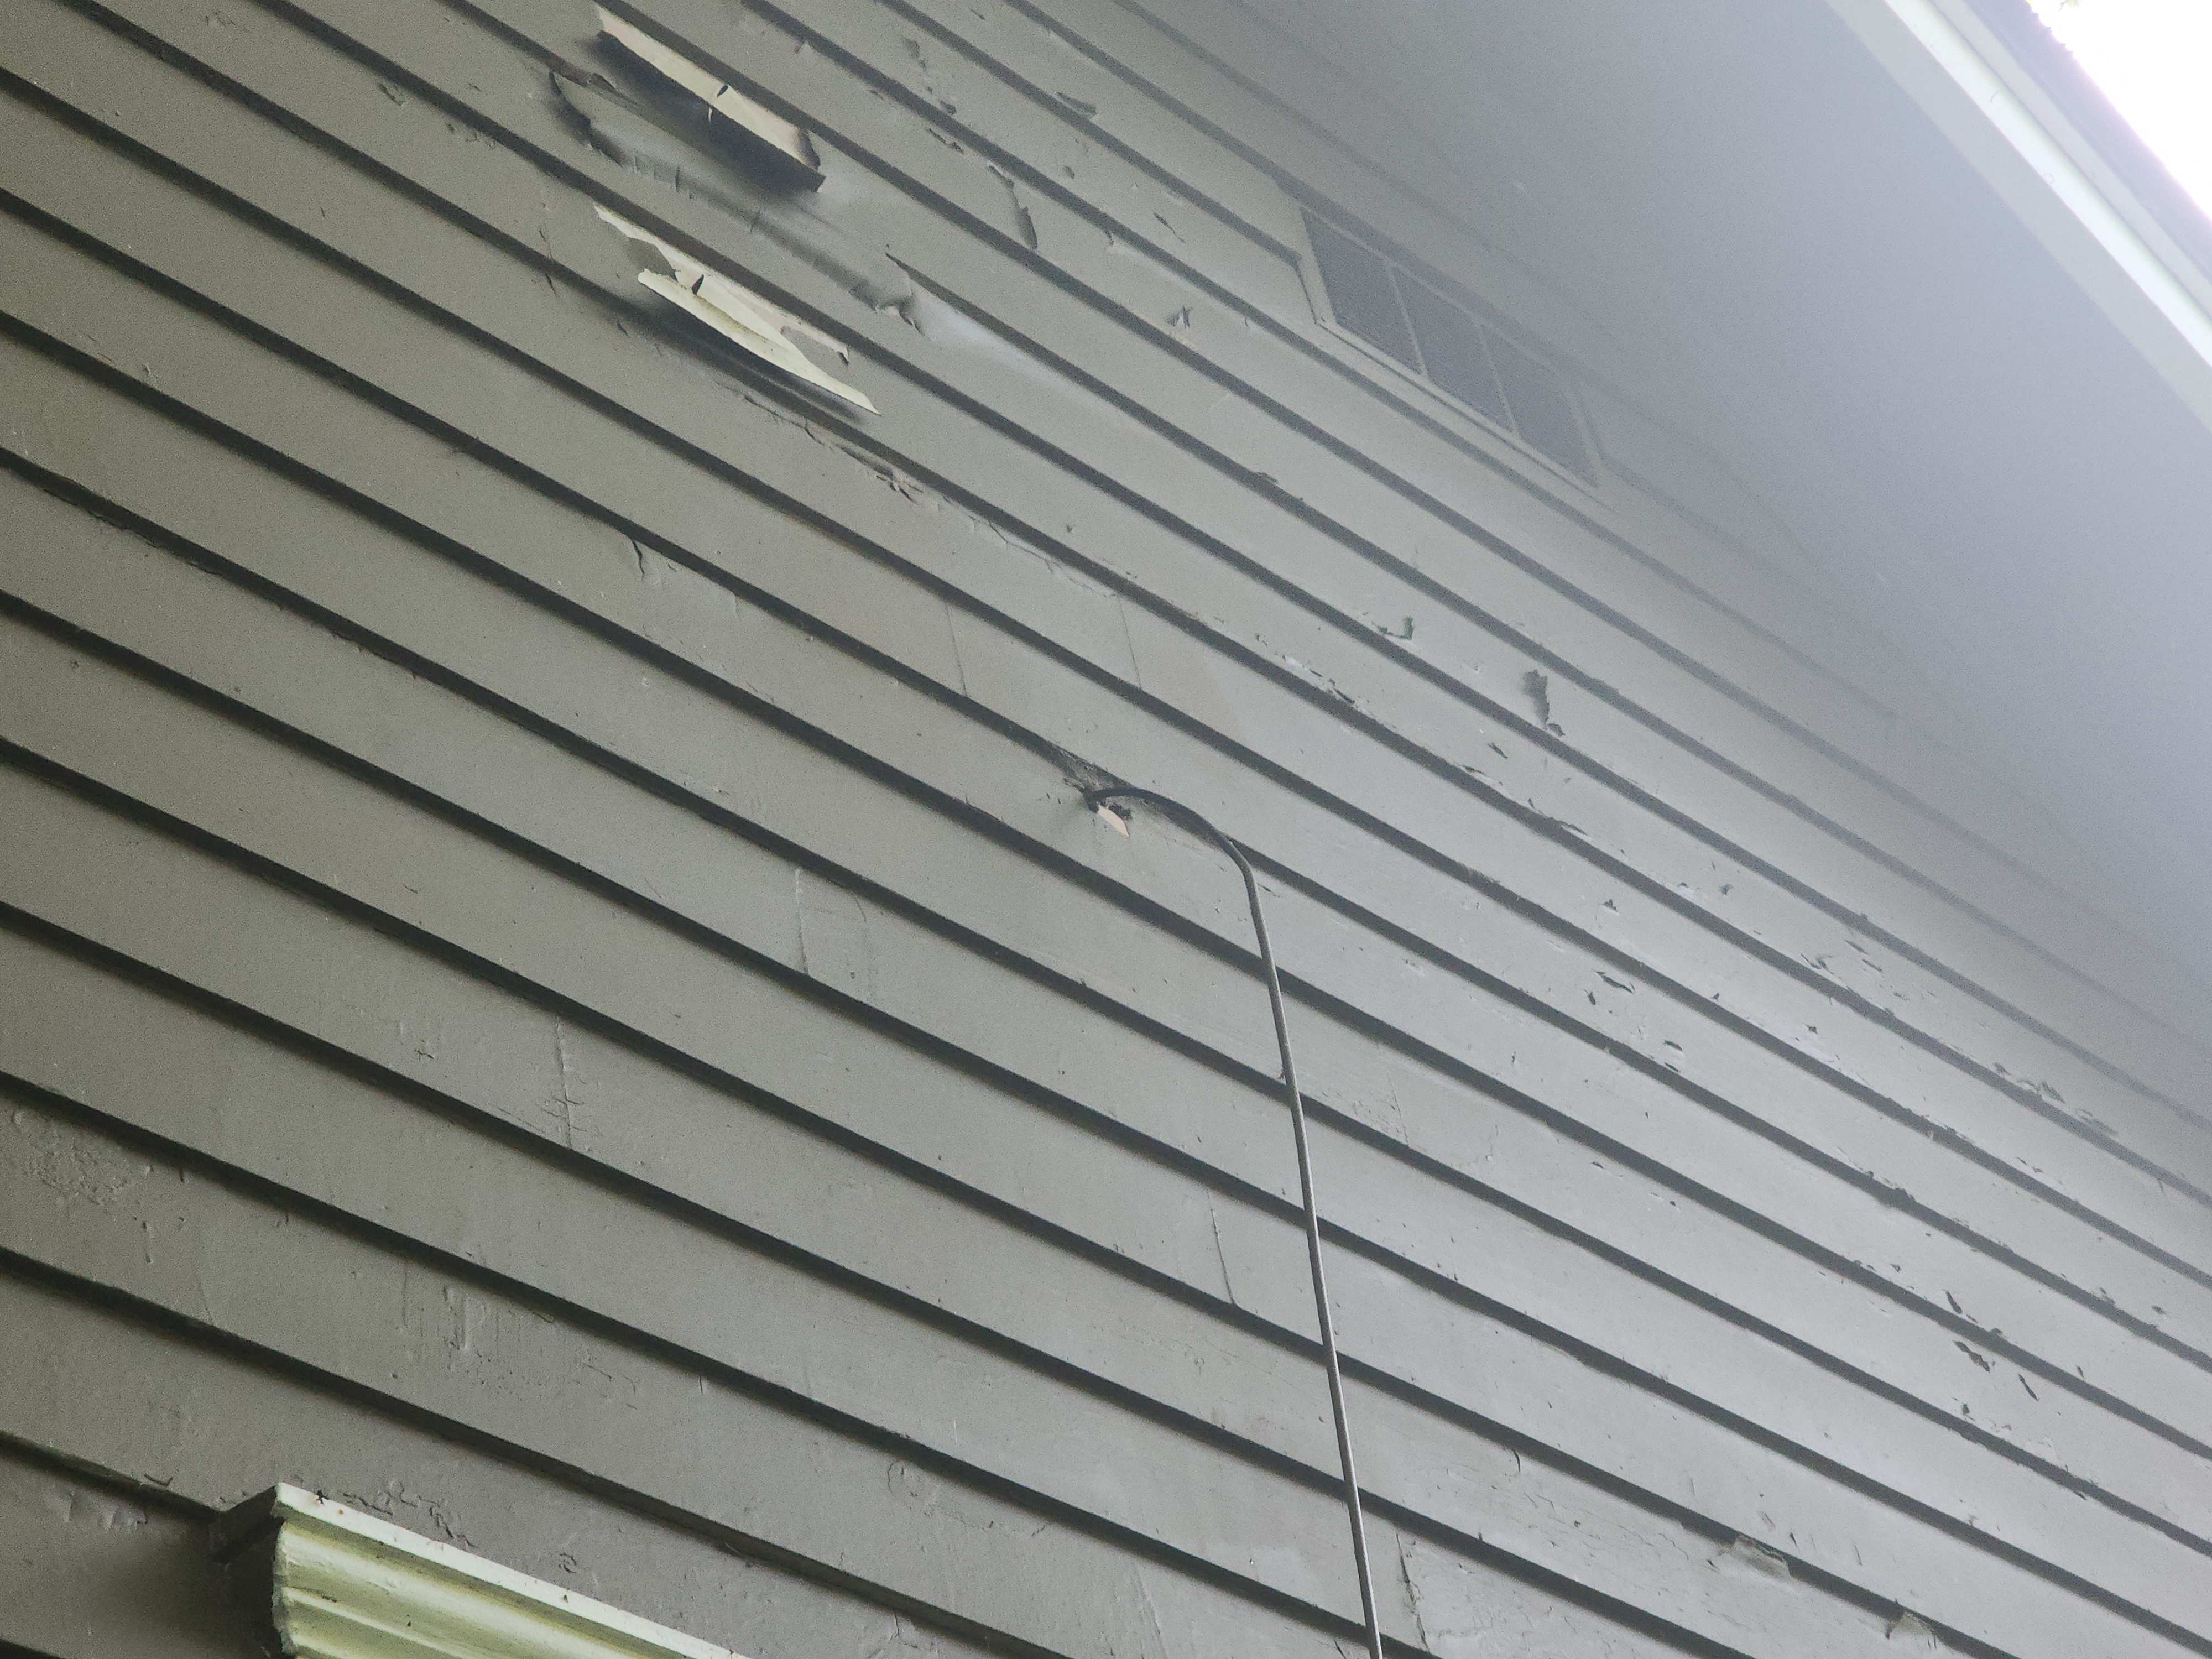
Some areas of siding needed resealing, see photo(s.) Worn gaps in sealants are a conducive condition for rot and pests as they allow water to penetrate into, or behind, the siding. This is normally a DIY repair using exterior grade caulk, though larger gaps may need repair by a qualified contractor.
Contractor:DIY (do it yourself)General Contractor - RCG-5 Roof, Chimney, and Gutters:
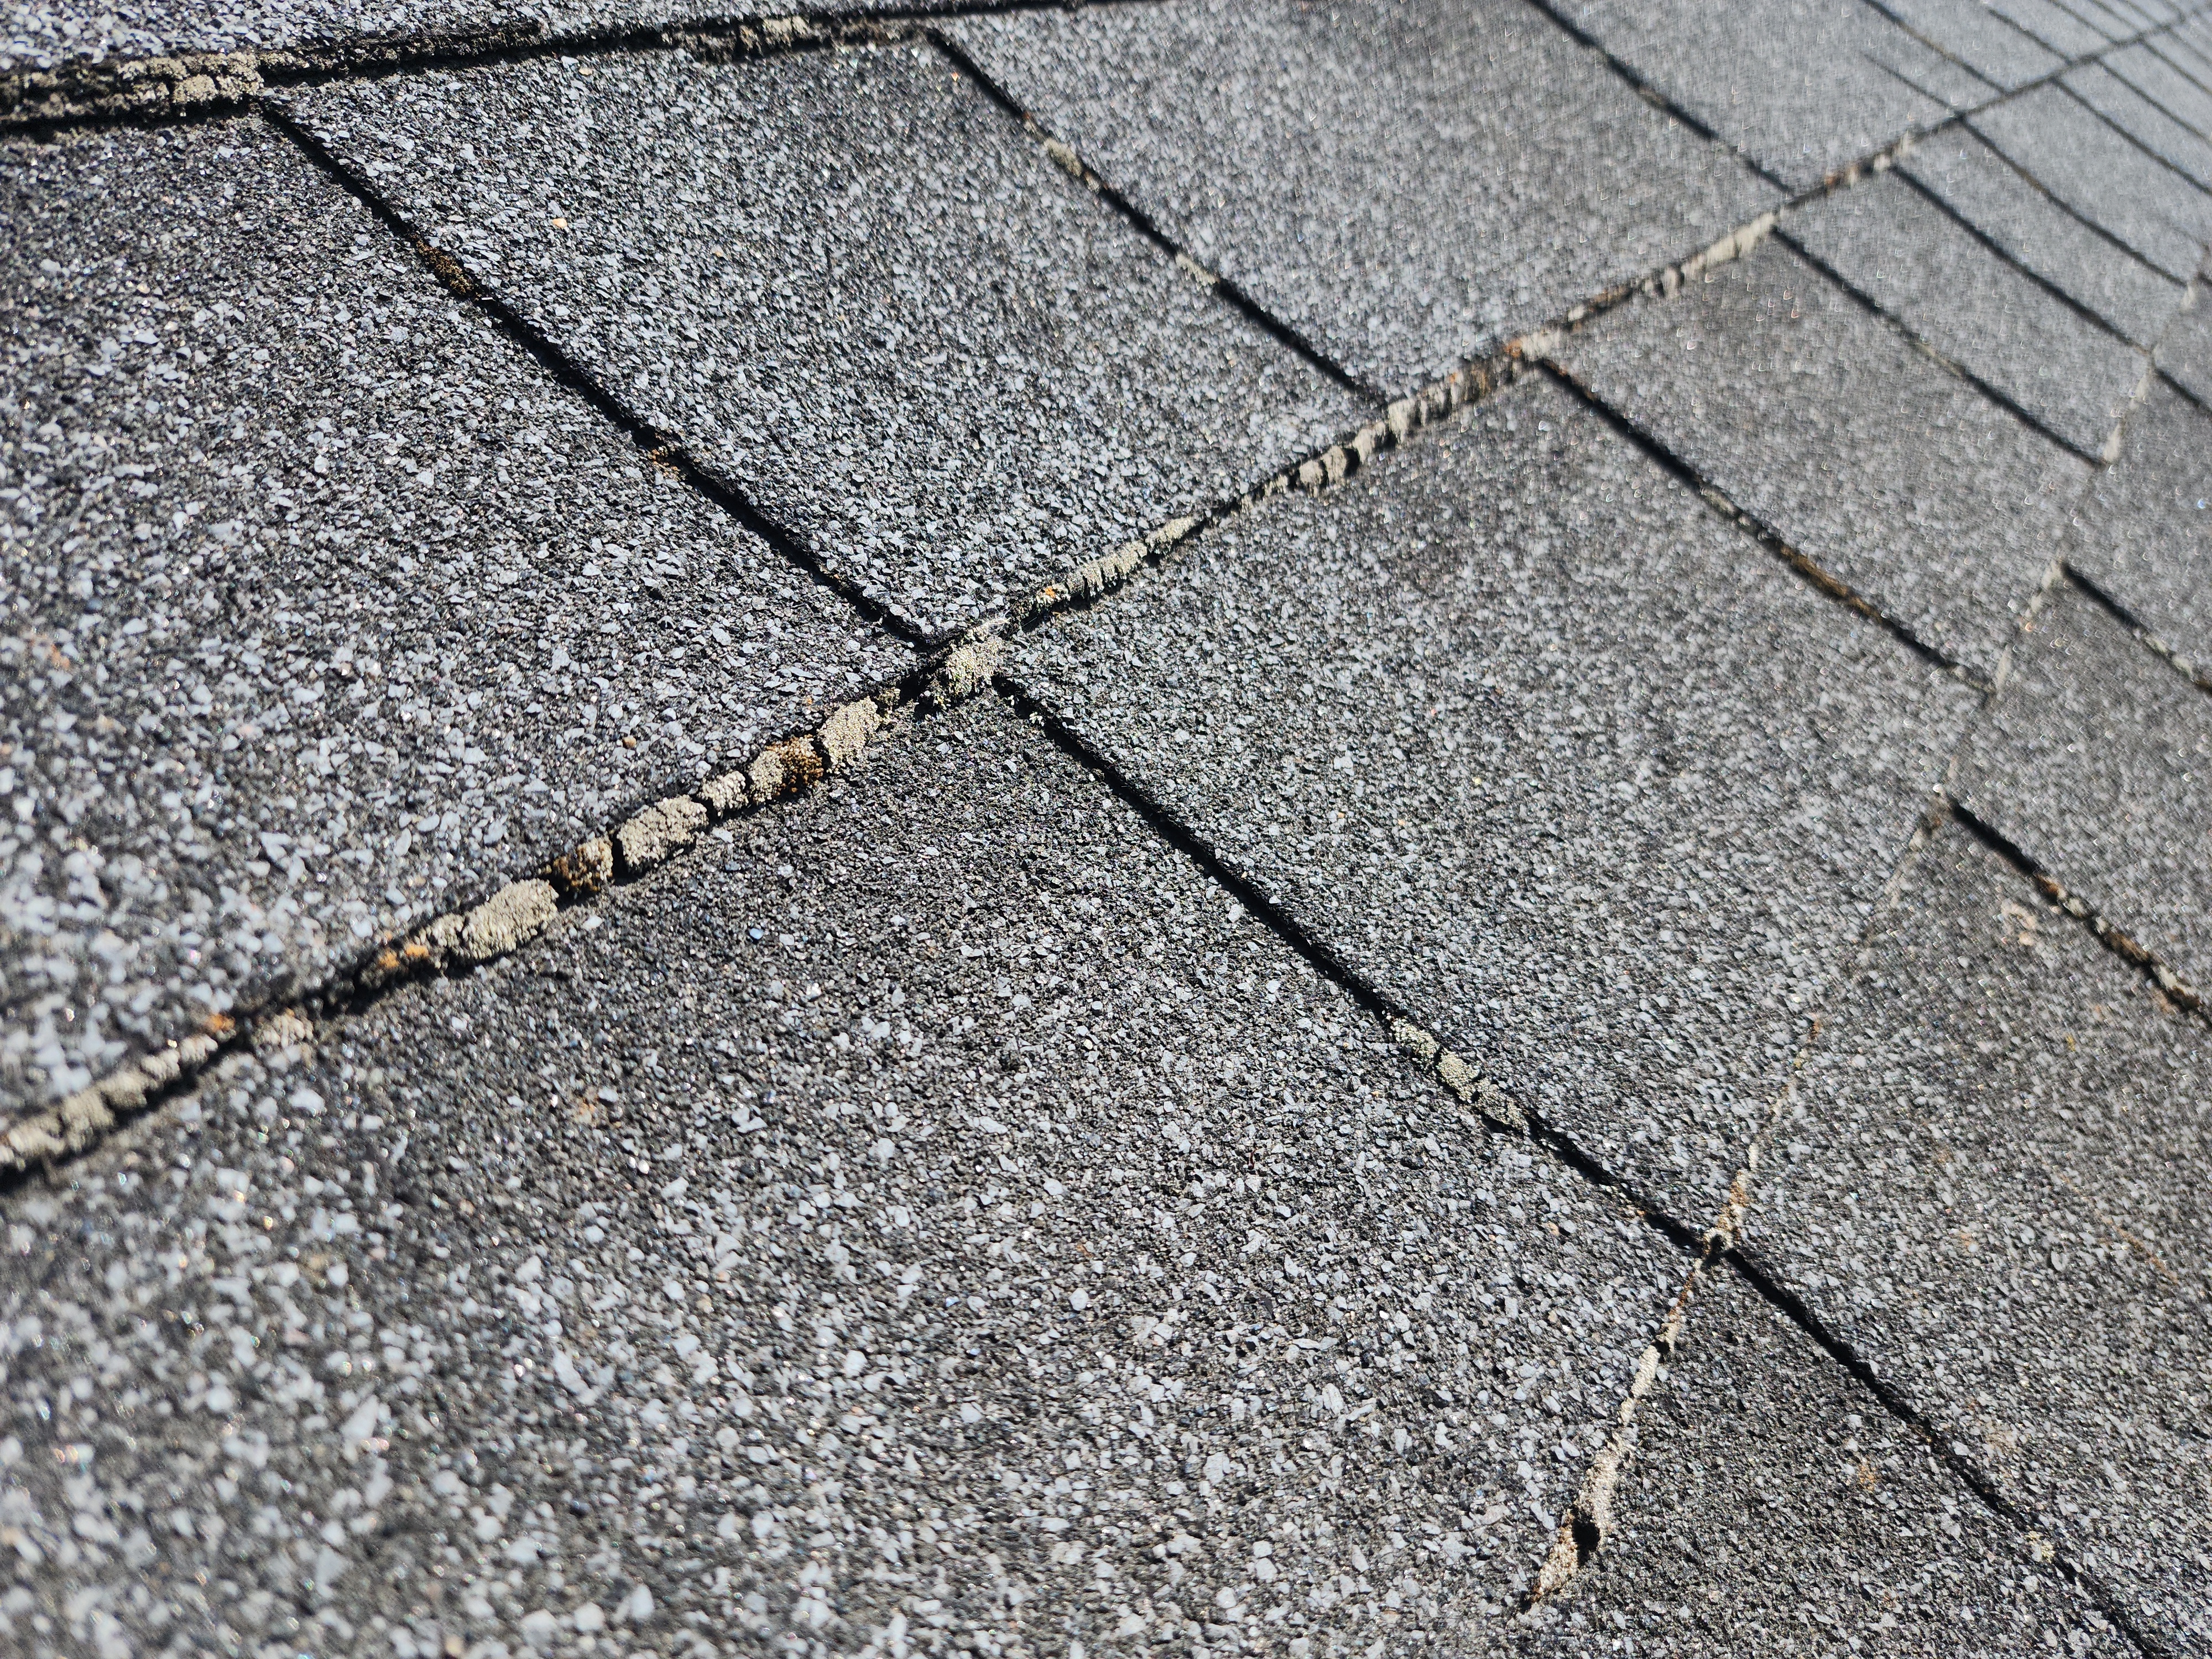
There was moss on the roof. Moss growth is common in our climate, and most often grows in shady areas (mostly on north facing roof surfaces or under vegetation.) This can lead to the premature failure of the roof and subsequent leaks. Recommend regularly treating moss during its growing season (wet months) with a moss killer. This is generally a DIY repair, though the height and pitch of the roof may require a qualified contractor.
Contractor:DIY (do it yourself) - RCG-6 Roof, Chimney, and Gutters:
Tree debris was observed on the roof. This can damage the roof surface and increase the chance of leaks. Recommend removing to prevent damage to roofing. DIY repair.
Contractor:DIY (do it yourself) - RCG-12 Roof, Chimney, and Gutters:
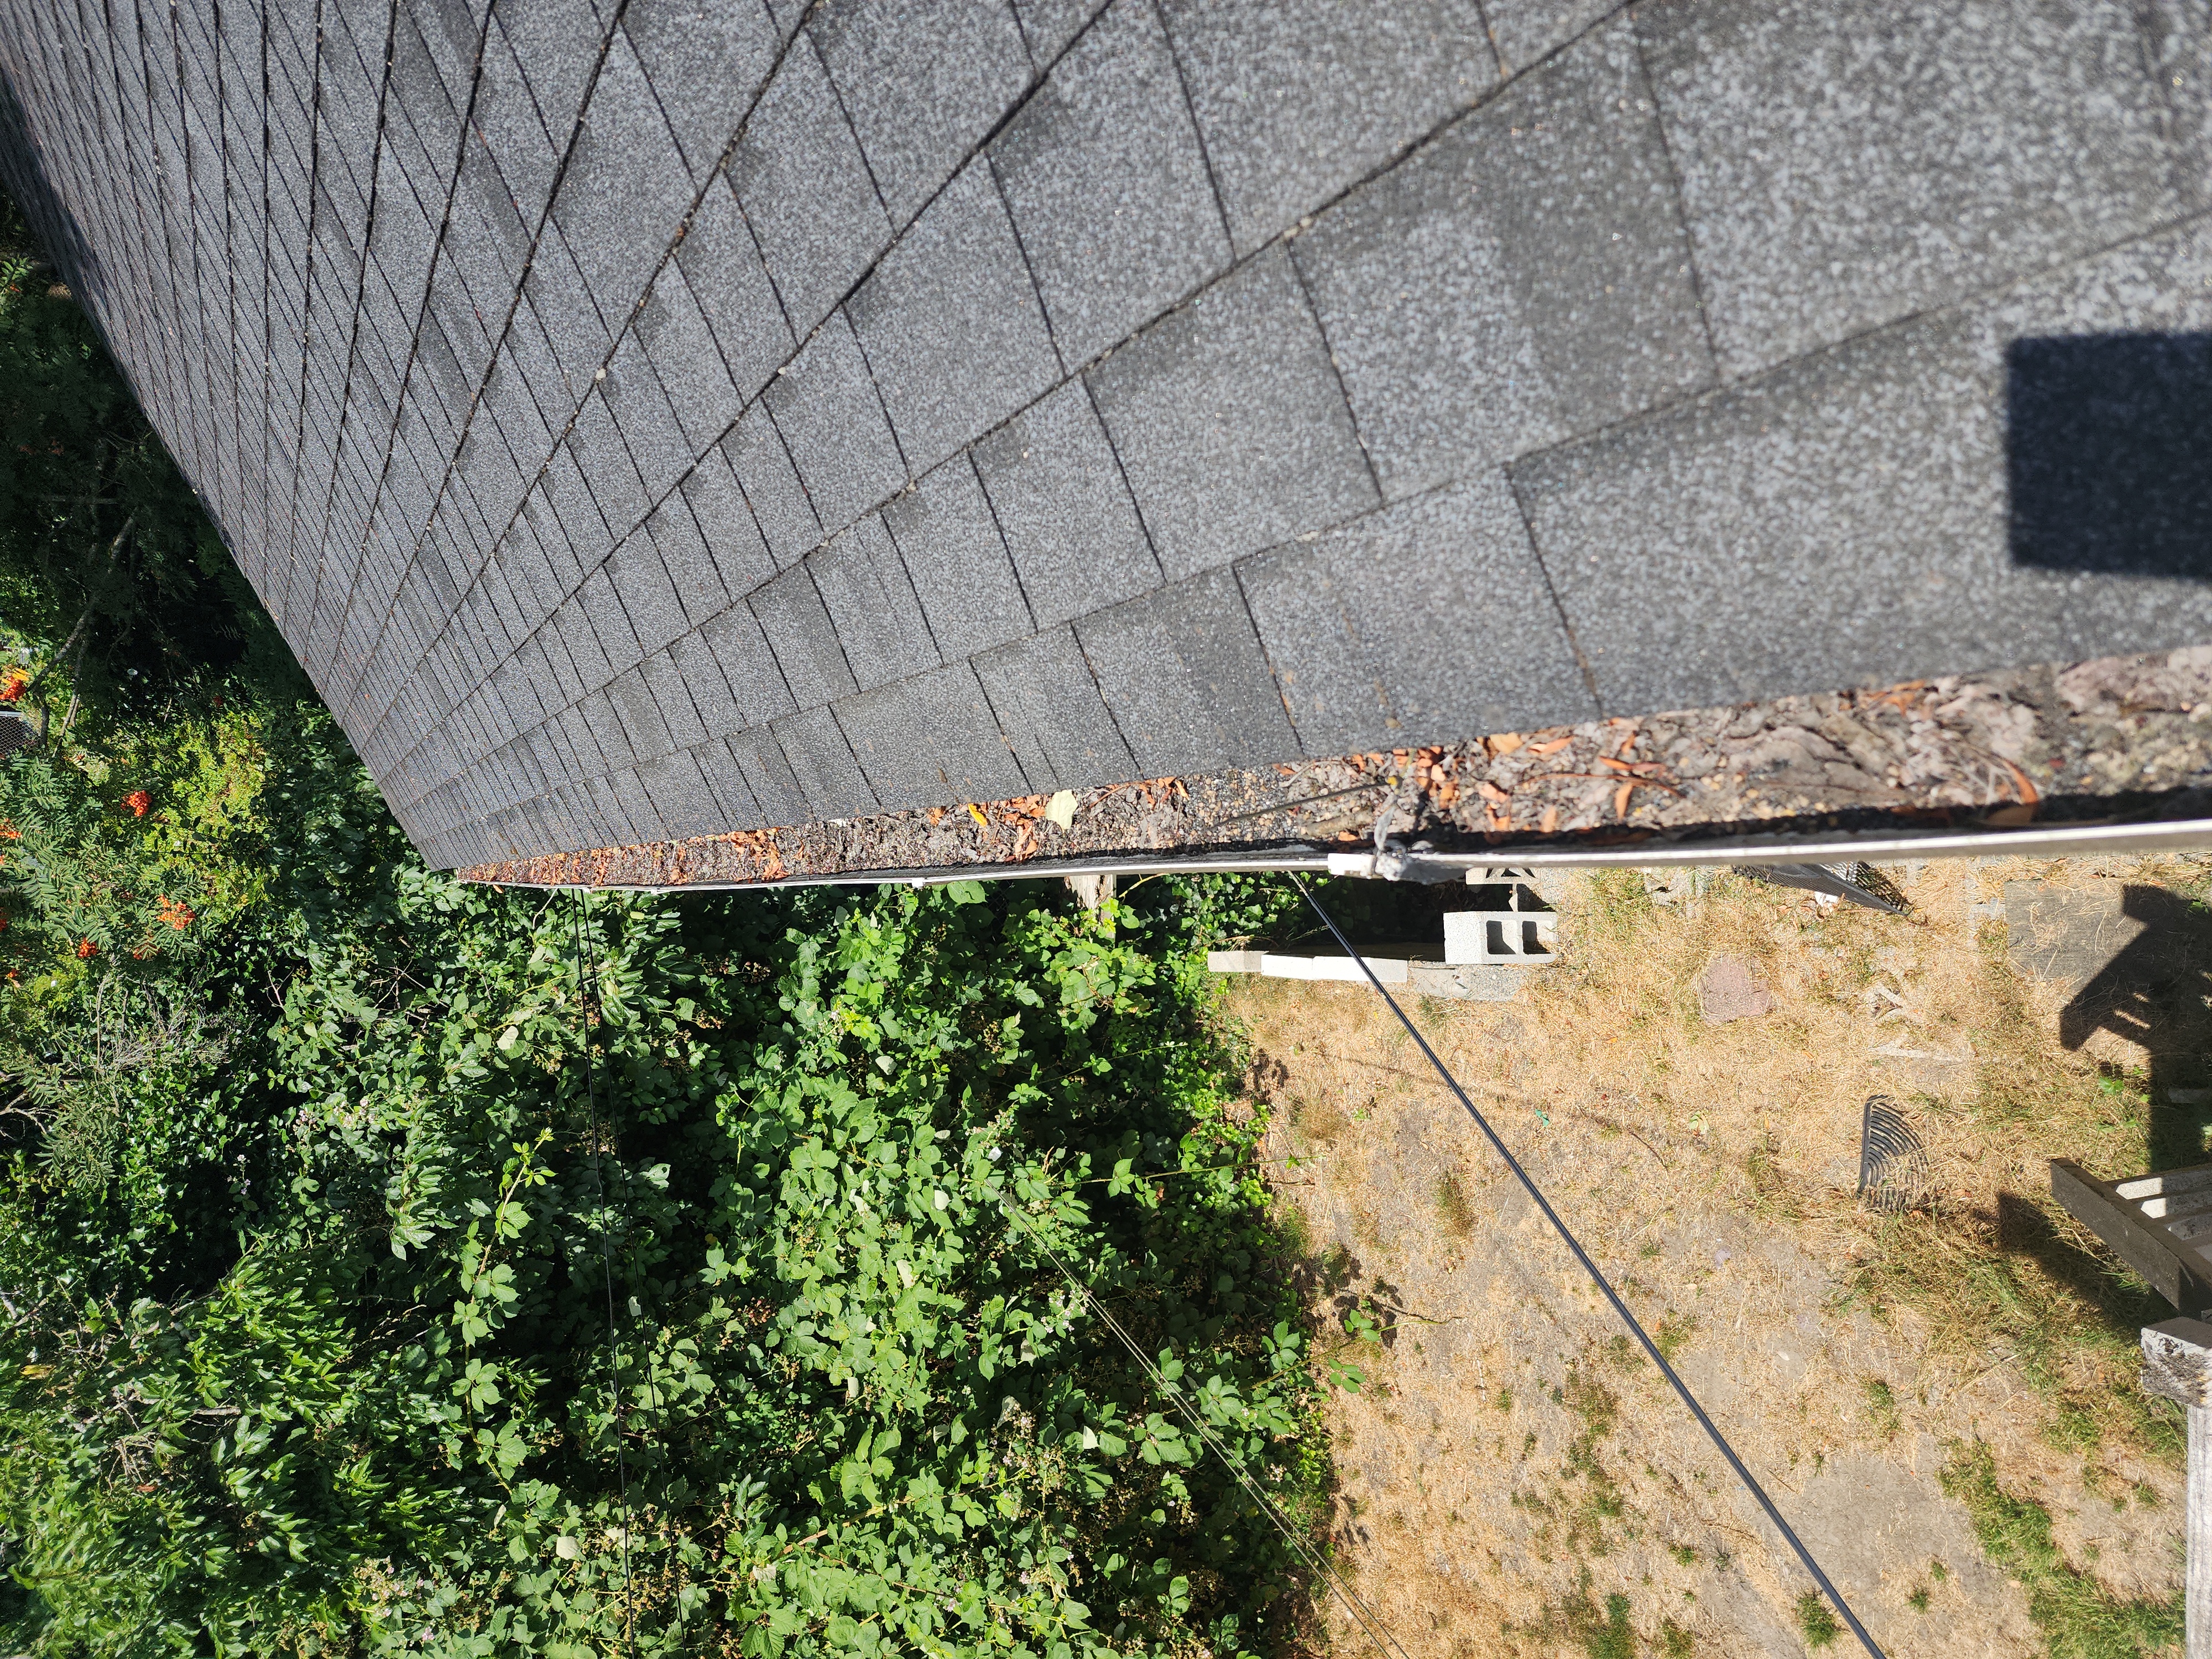
Gutters needed to be cleaned, see example photo(s.) Significant amounts of debris were observed. DIY project.
Contractor:DIY (do it yourself) - CSB-19 Common Spaces and Bedrooms:
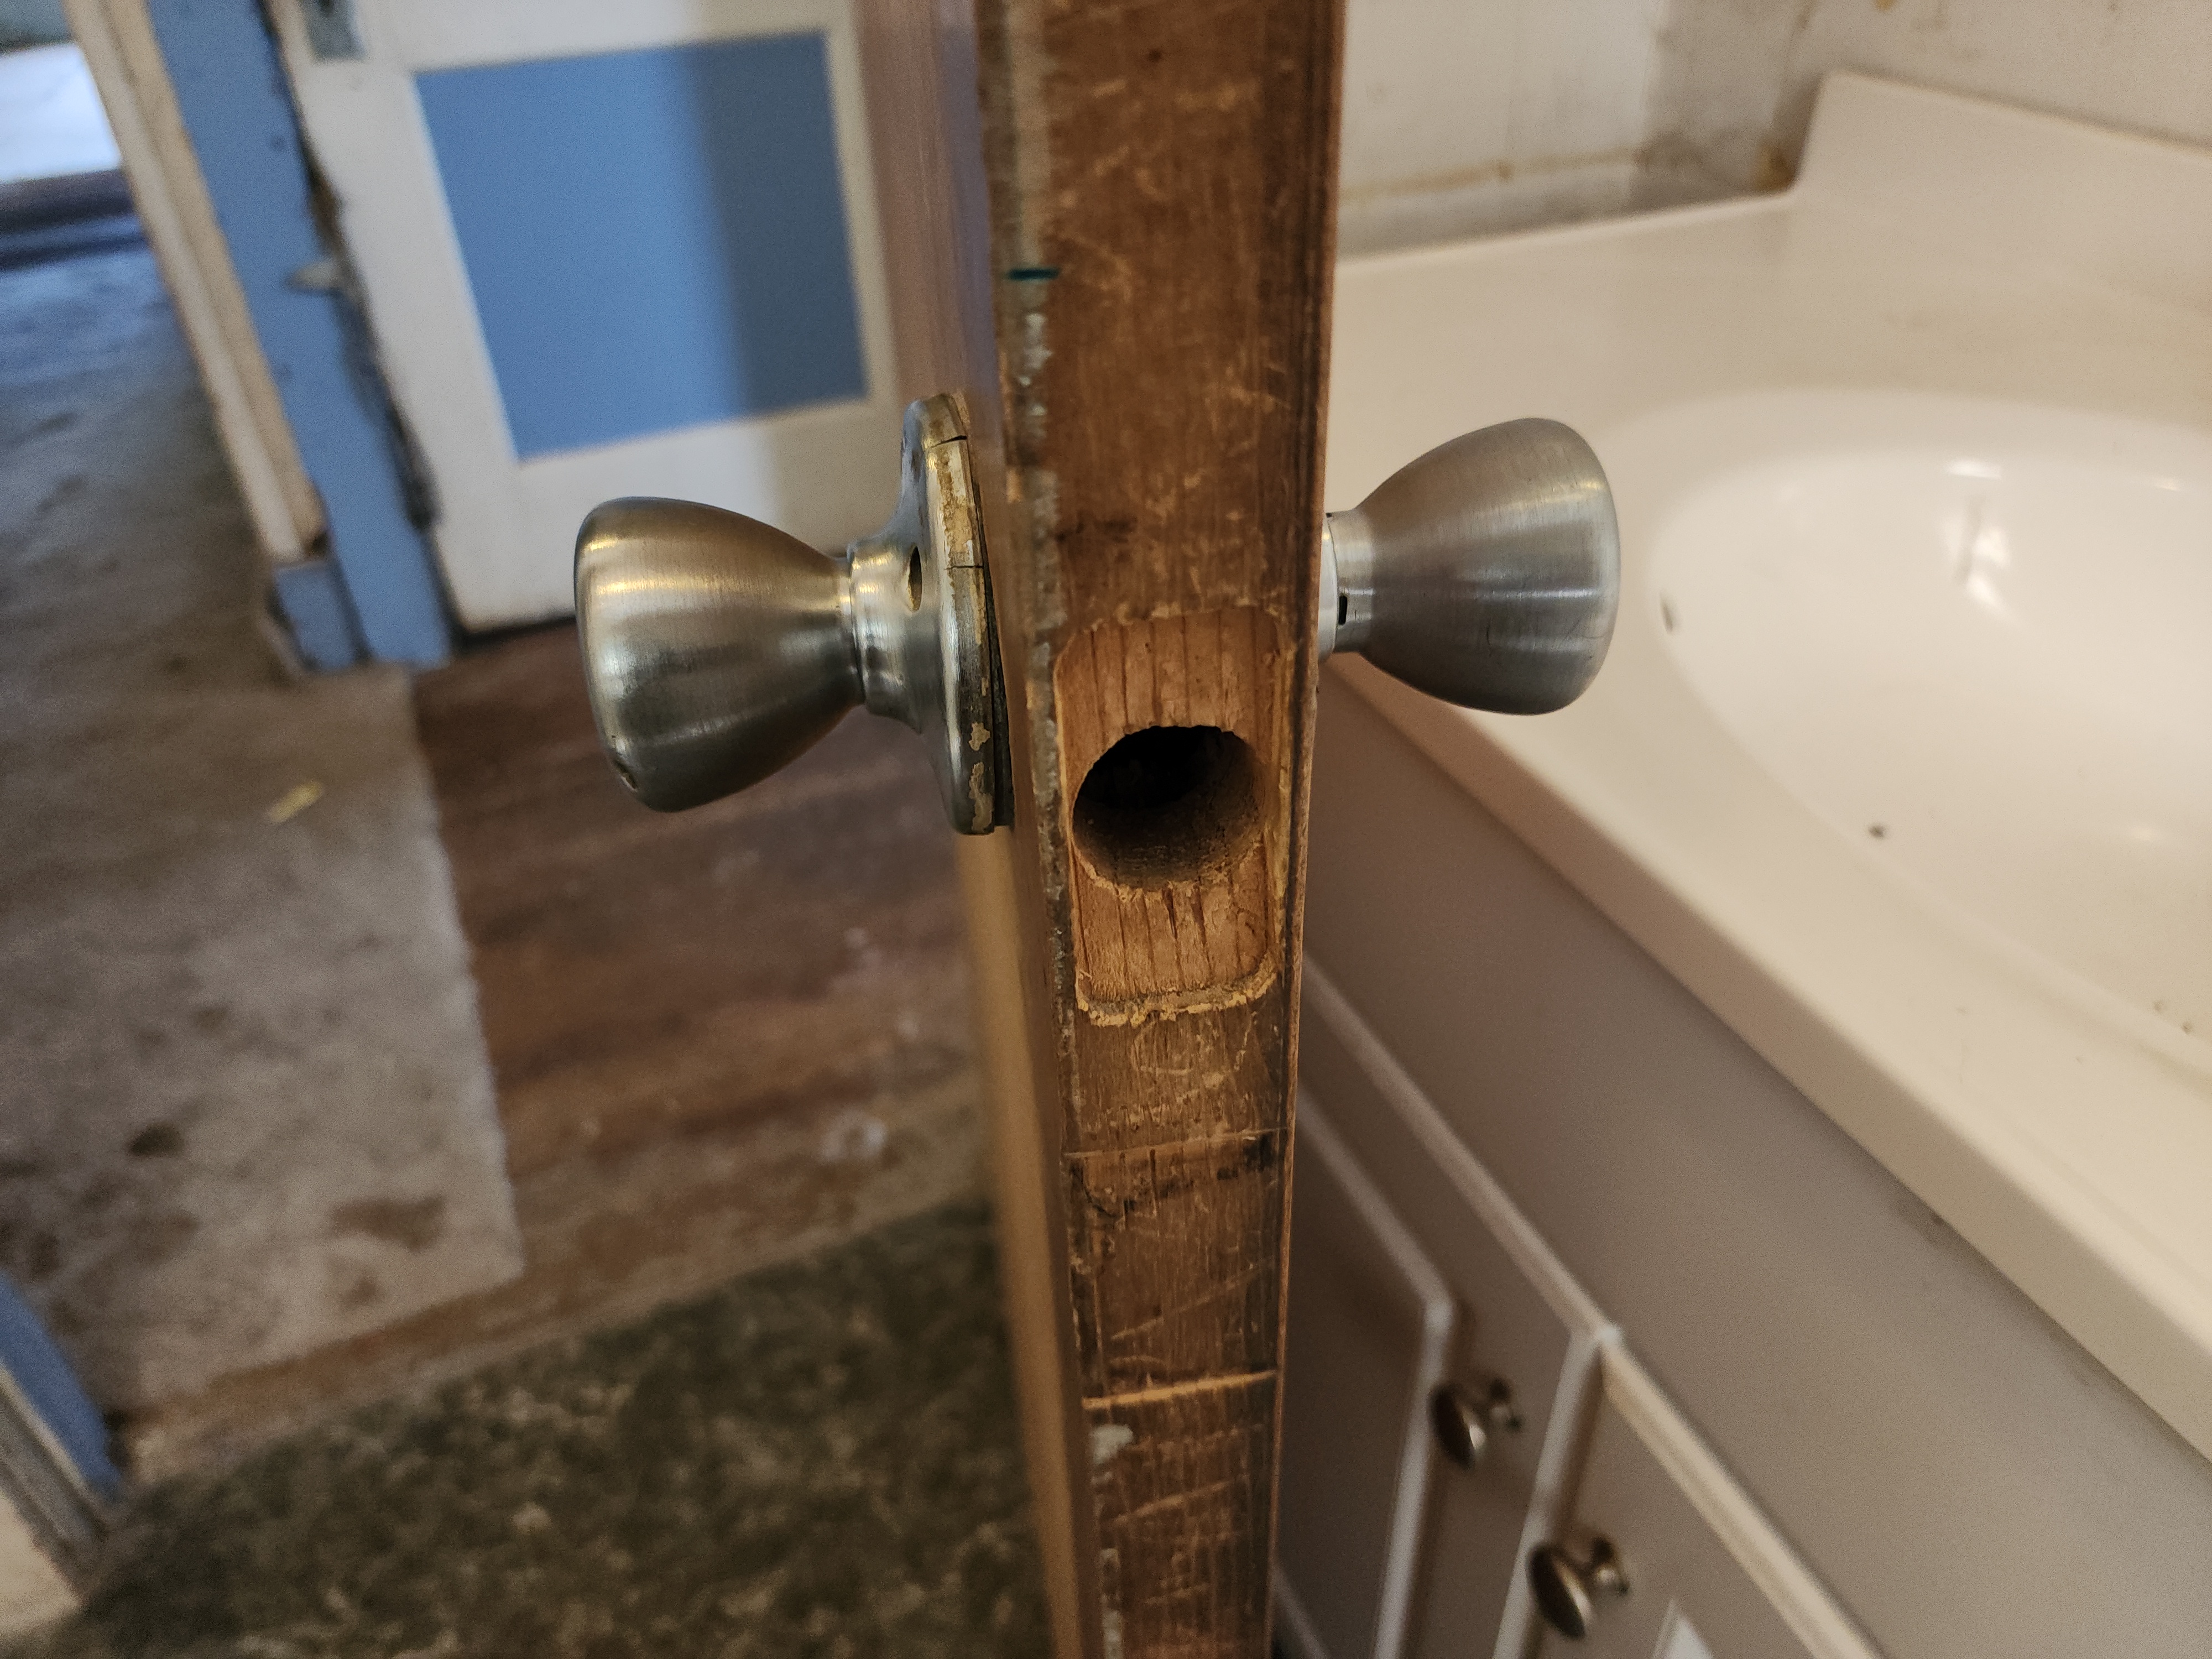
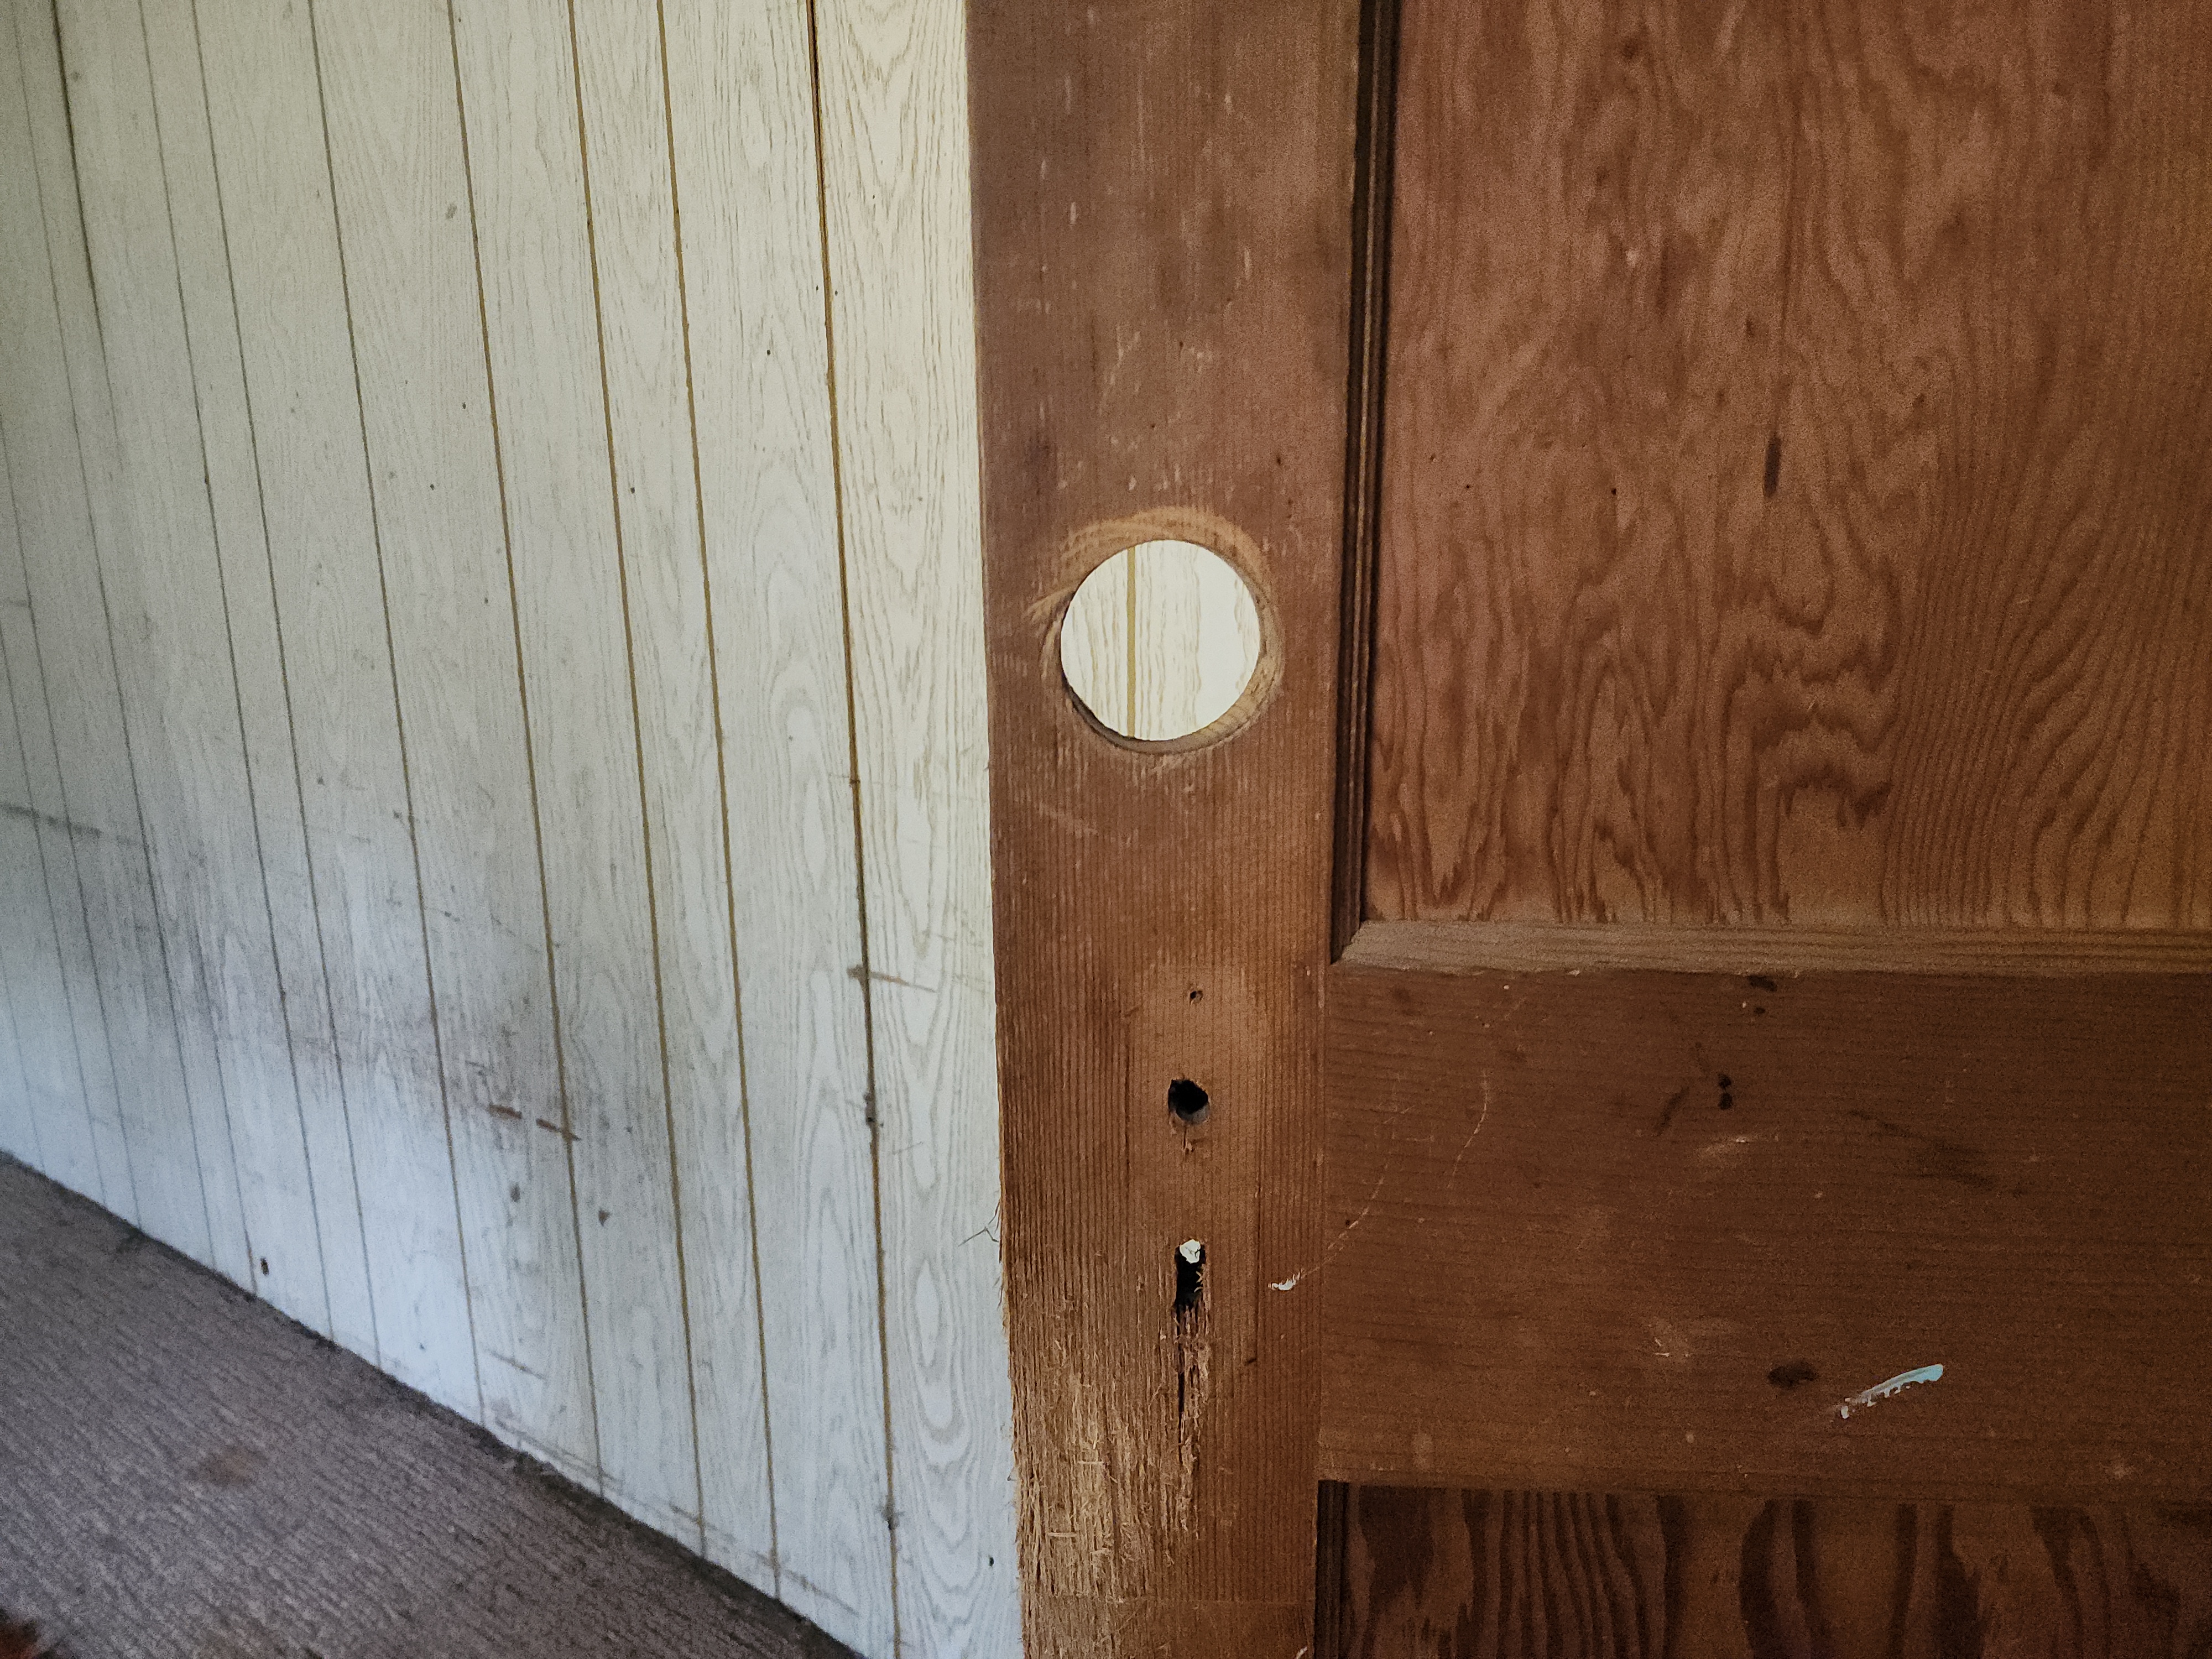
Door(s) was missing a knob, see photo. Recommend installing a knob as a DIY repair.
Contractor:DIY (do it yourself) - B-5 Bathrooms:
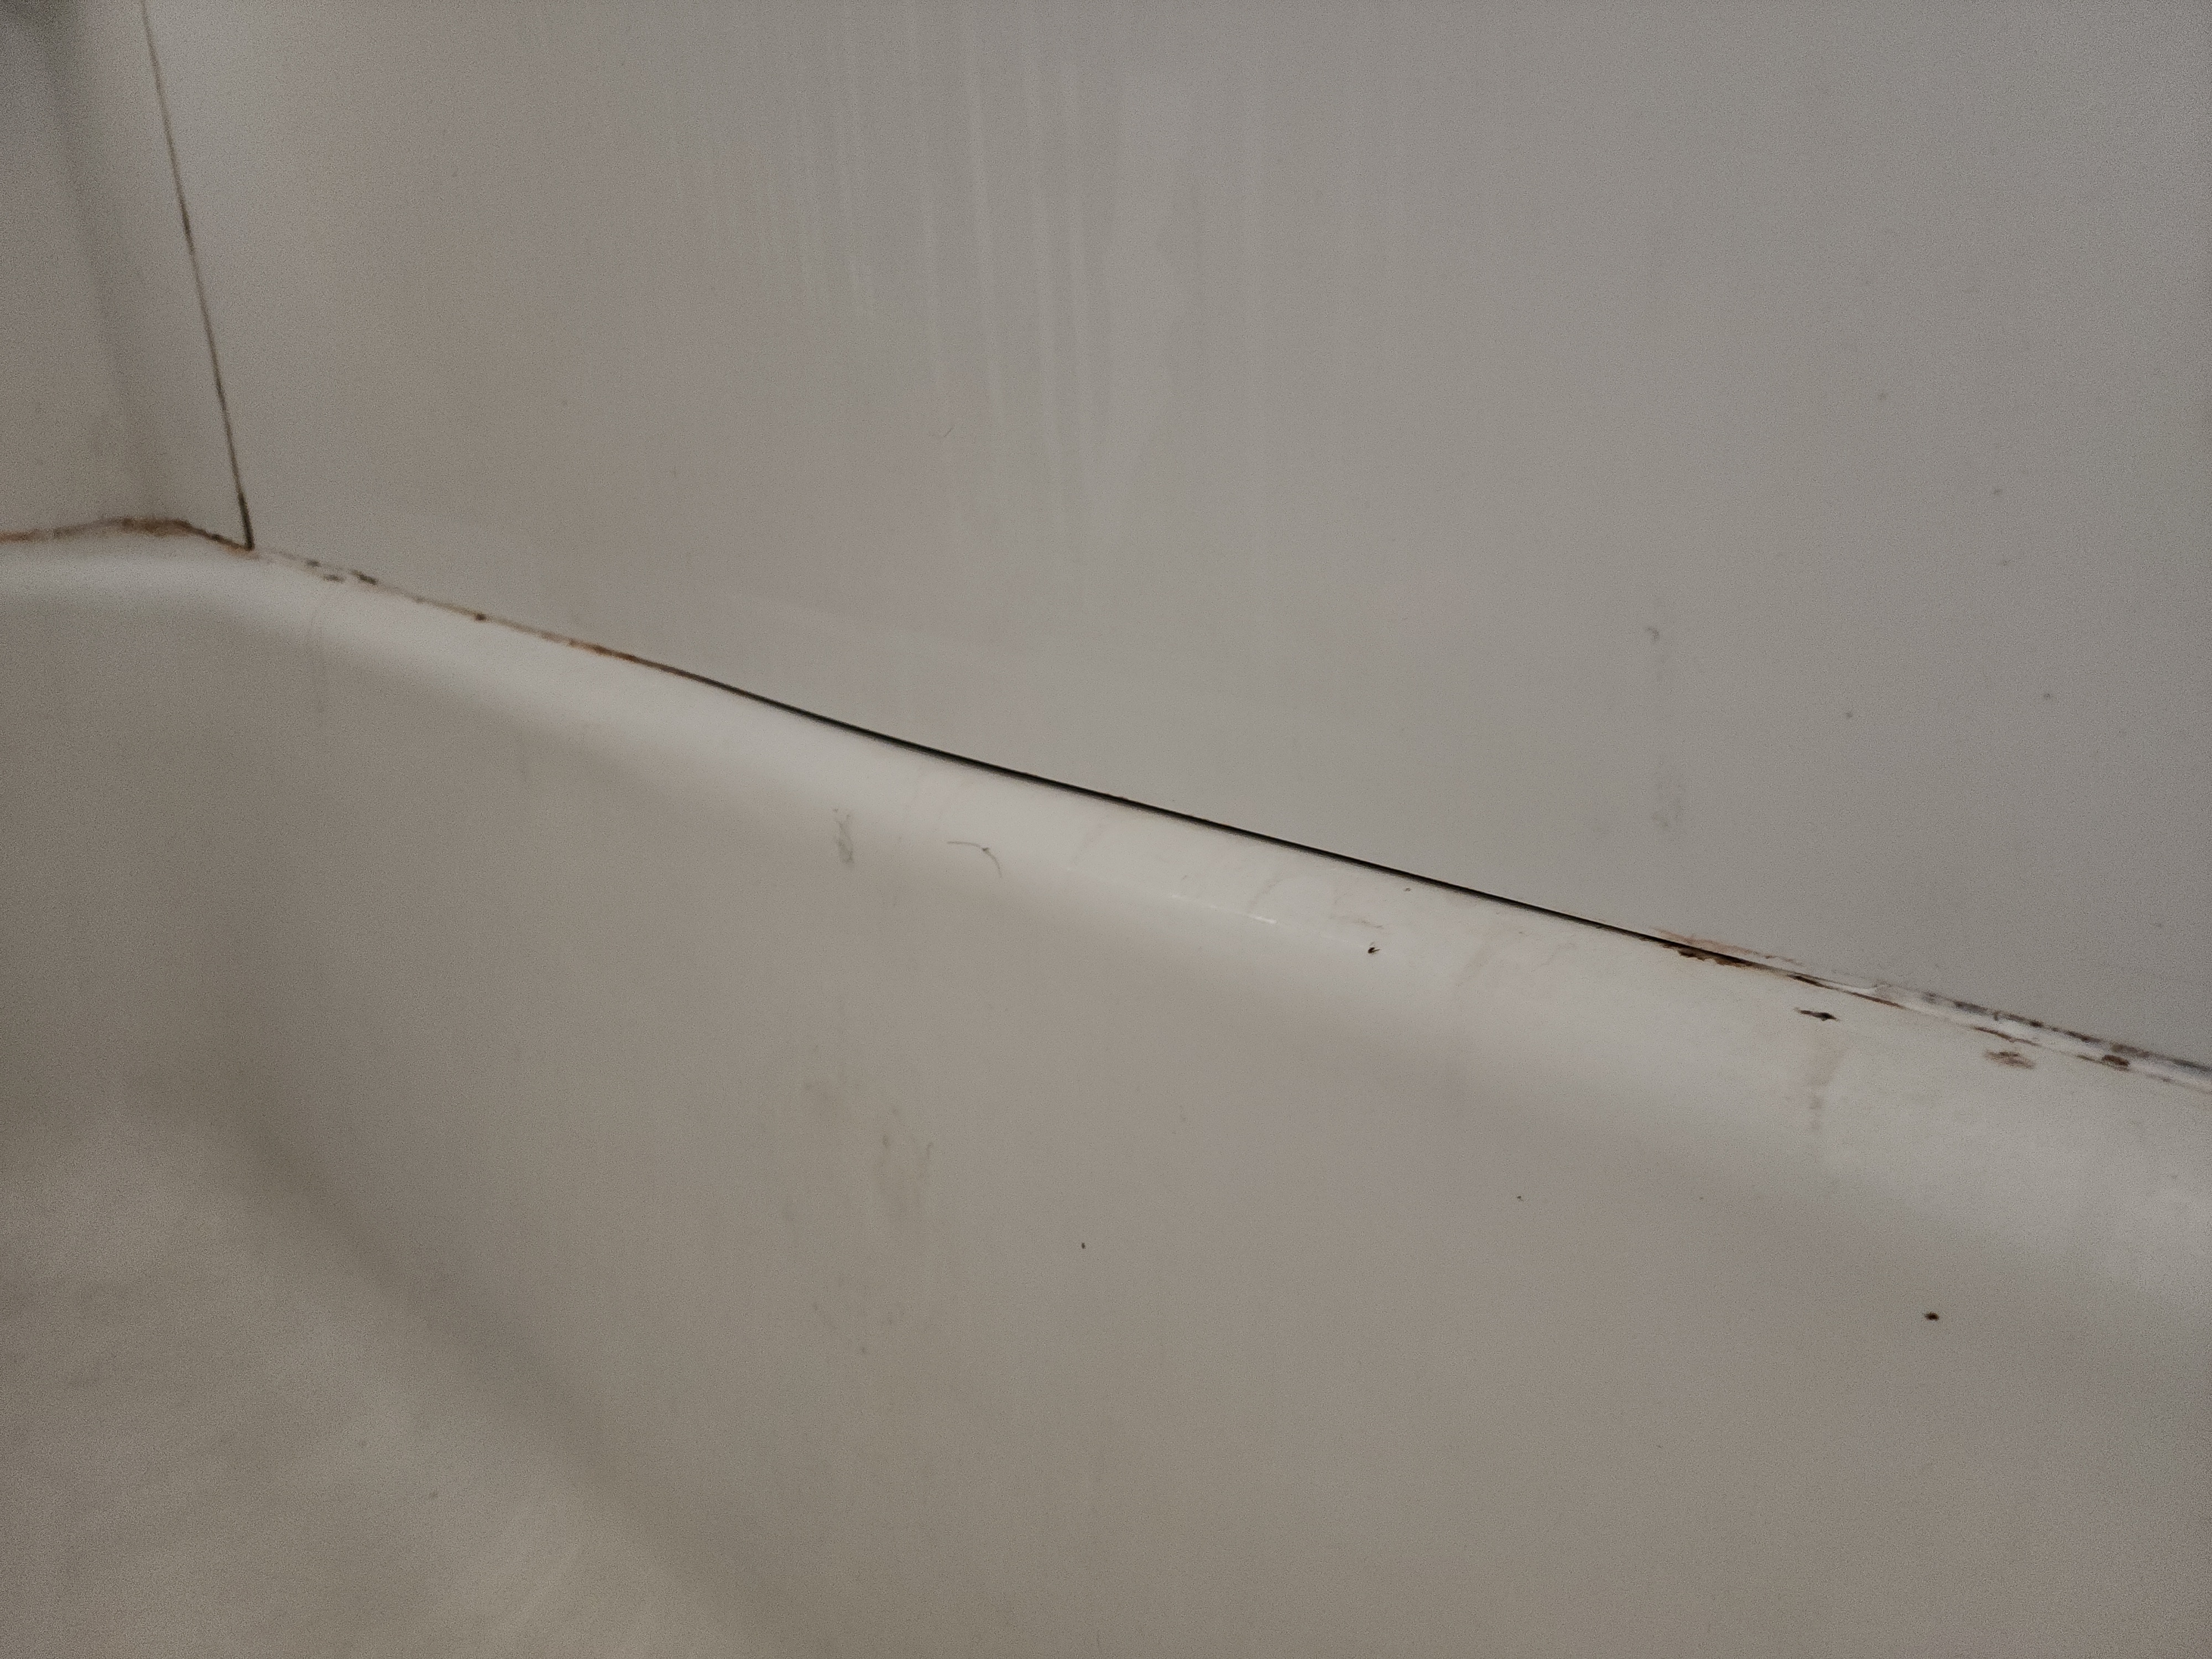
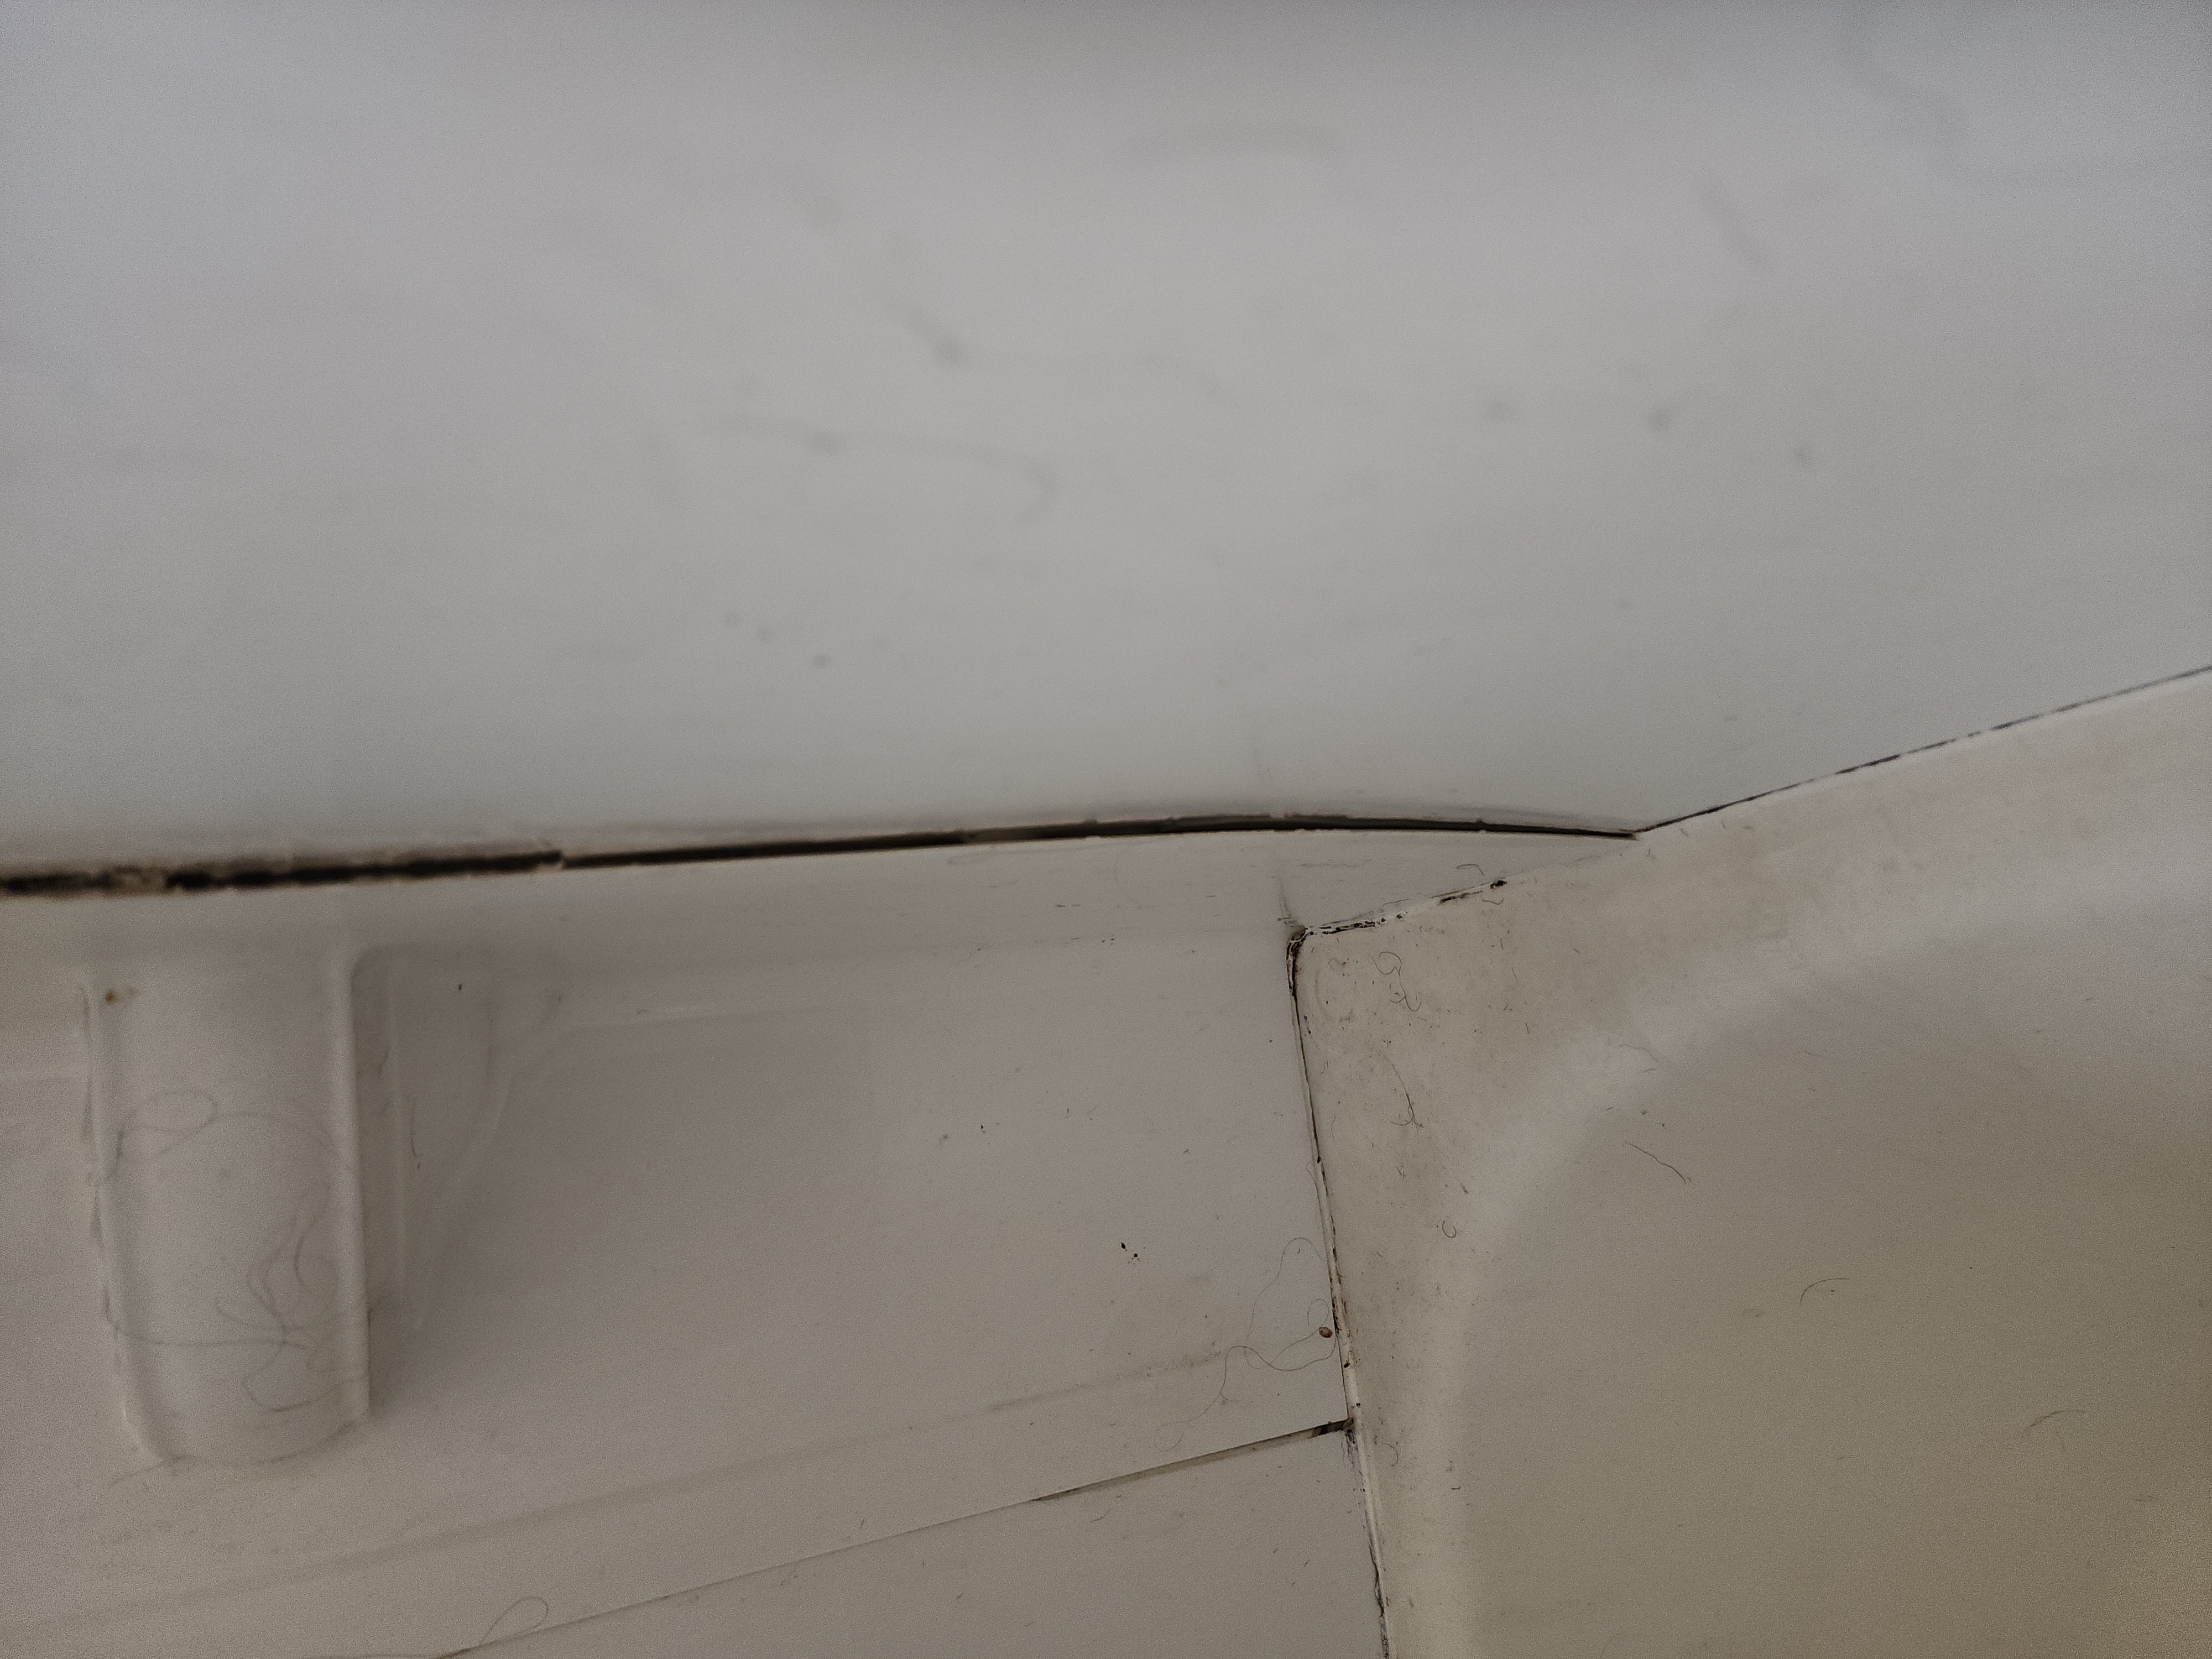
Grout/caulk was worn in tub/shower(s), see example photo(s.) This can allow water to penetrate into the wall. The surface was not spongy, which can be evidence of extreme rot, but there could be damage behind the wall that is impossible to detect during a non-invasive inspection. Recommend repairing as a preventative measure. This is a DIY project. If further evaluation is required, recommend removal of tile and further investigation by a qualified contractor.
Contractor:DIY (do it yourself) - K-8 Kitchen:
An anti-tip bracket was missing from the range installation. Modern building standards recommend that all free-standing, slide-in ranges have an anti-tip device installed. It provides protection for the range tipping forward when excess weight is applied to an open oven door (example: kid climbing on the open door.) Anti-tip brackets are carried by any Home Depot-type store and are a DIY installation.
Contractor:DIY (do it yourself) - SCSB-15 Structure and Crawl Space / Basement:
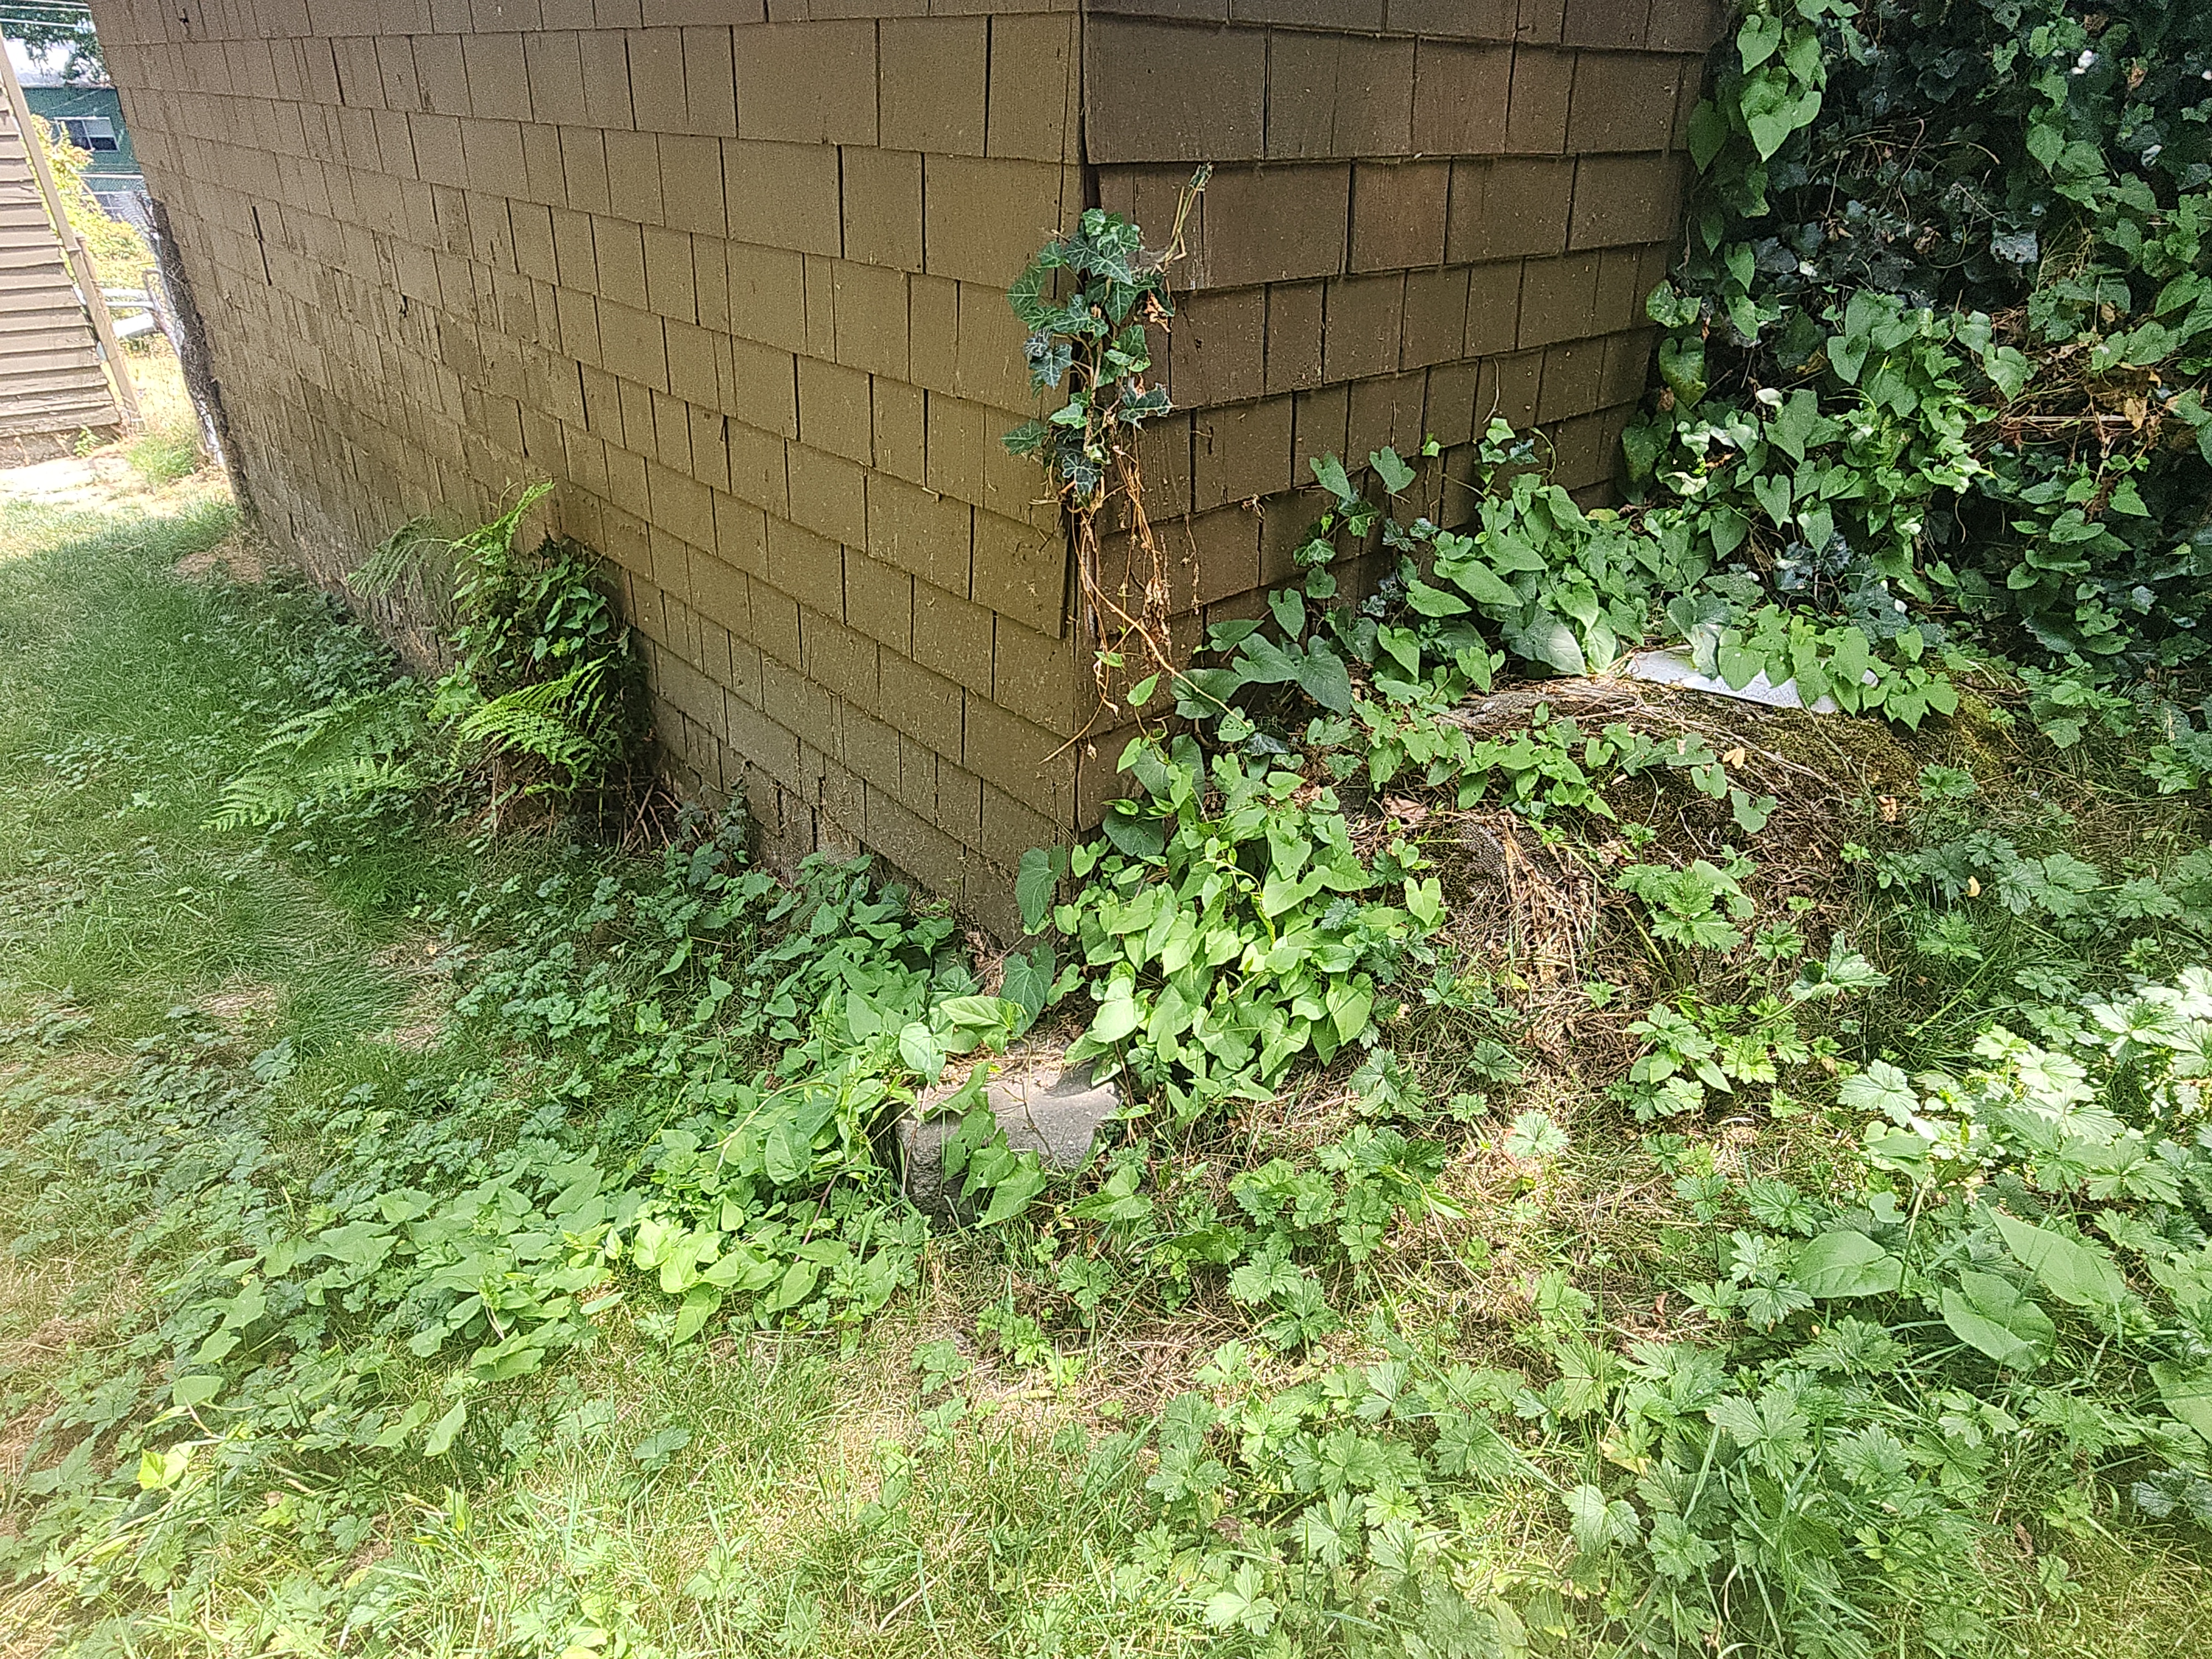
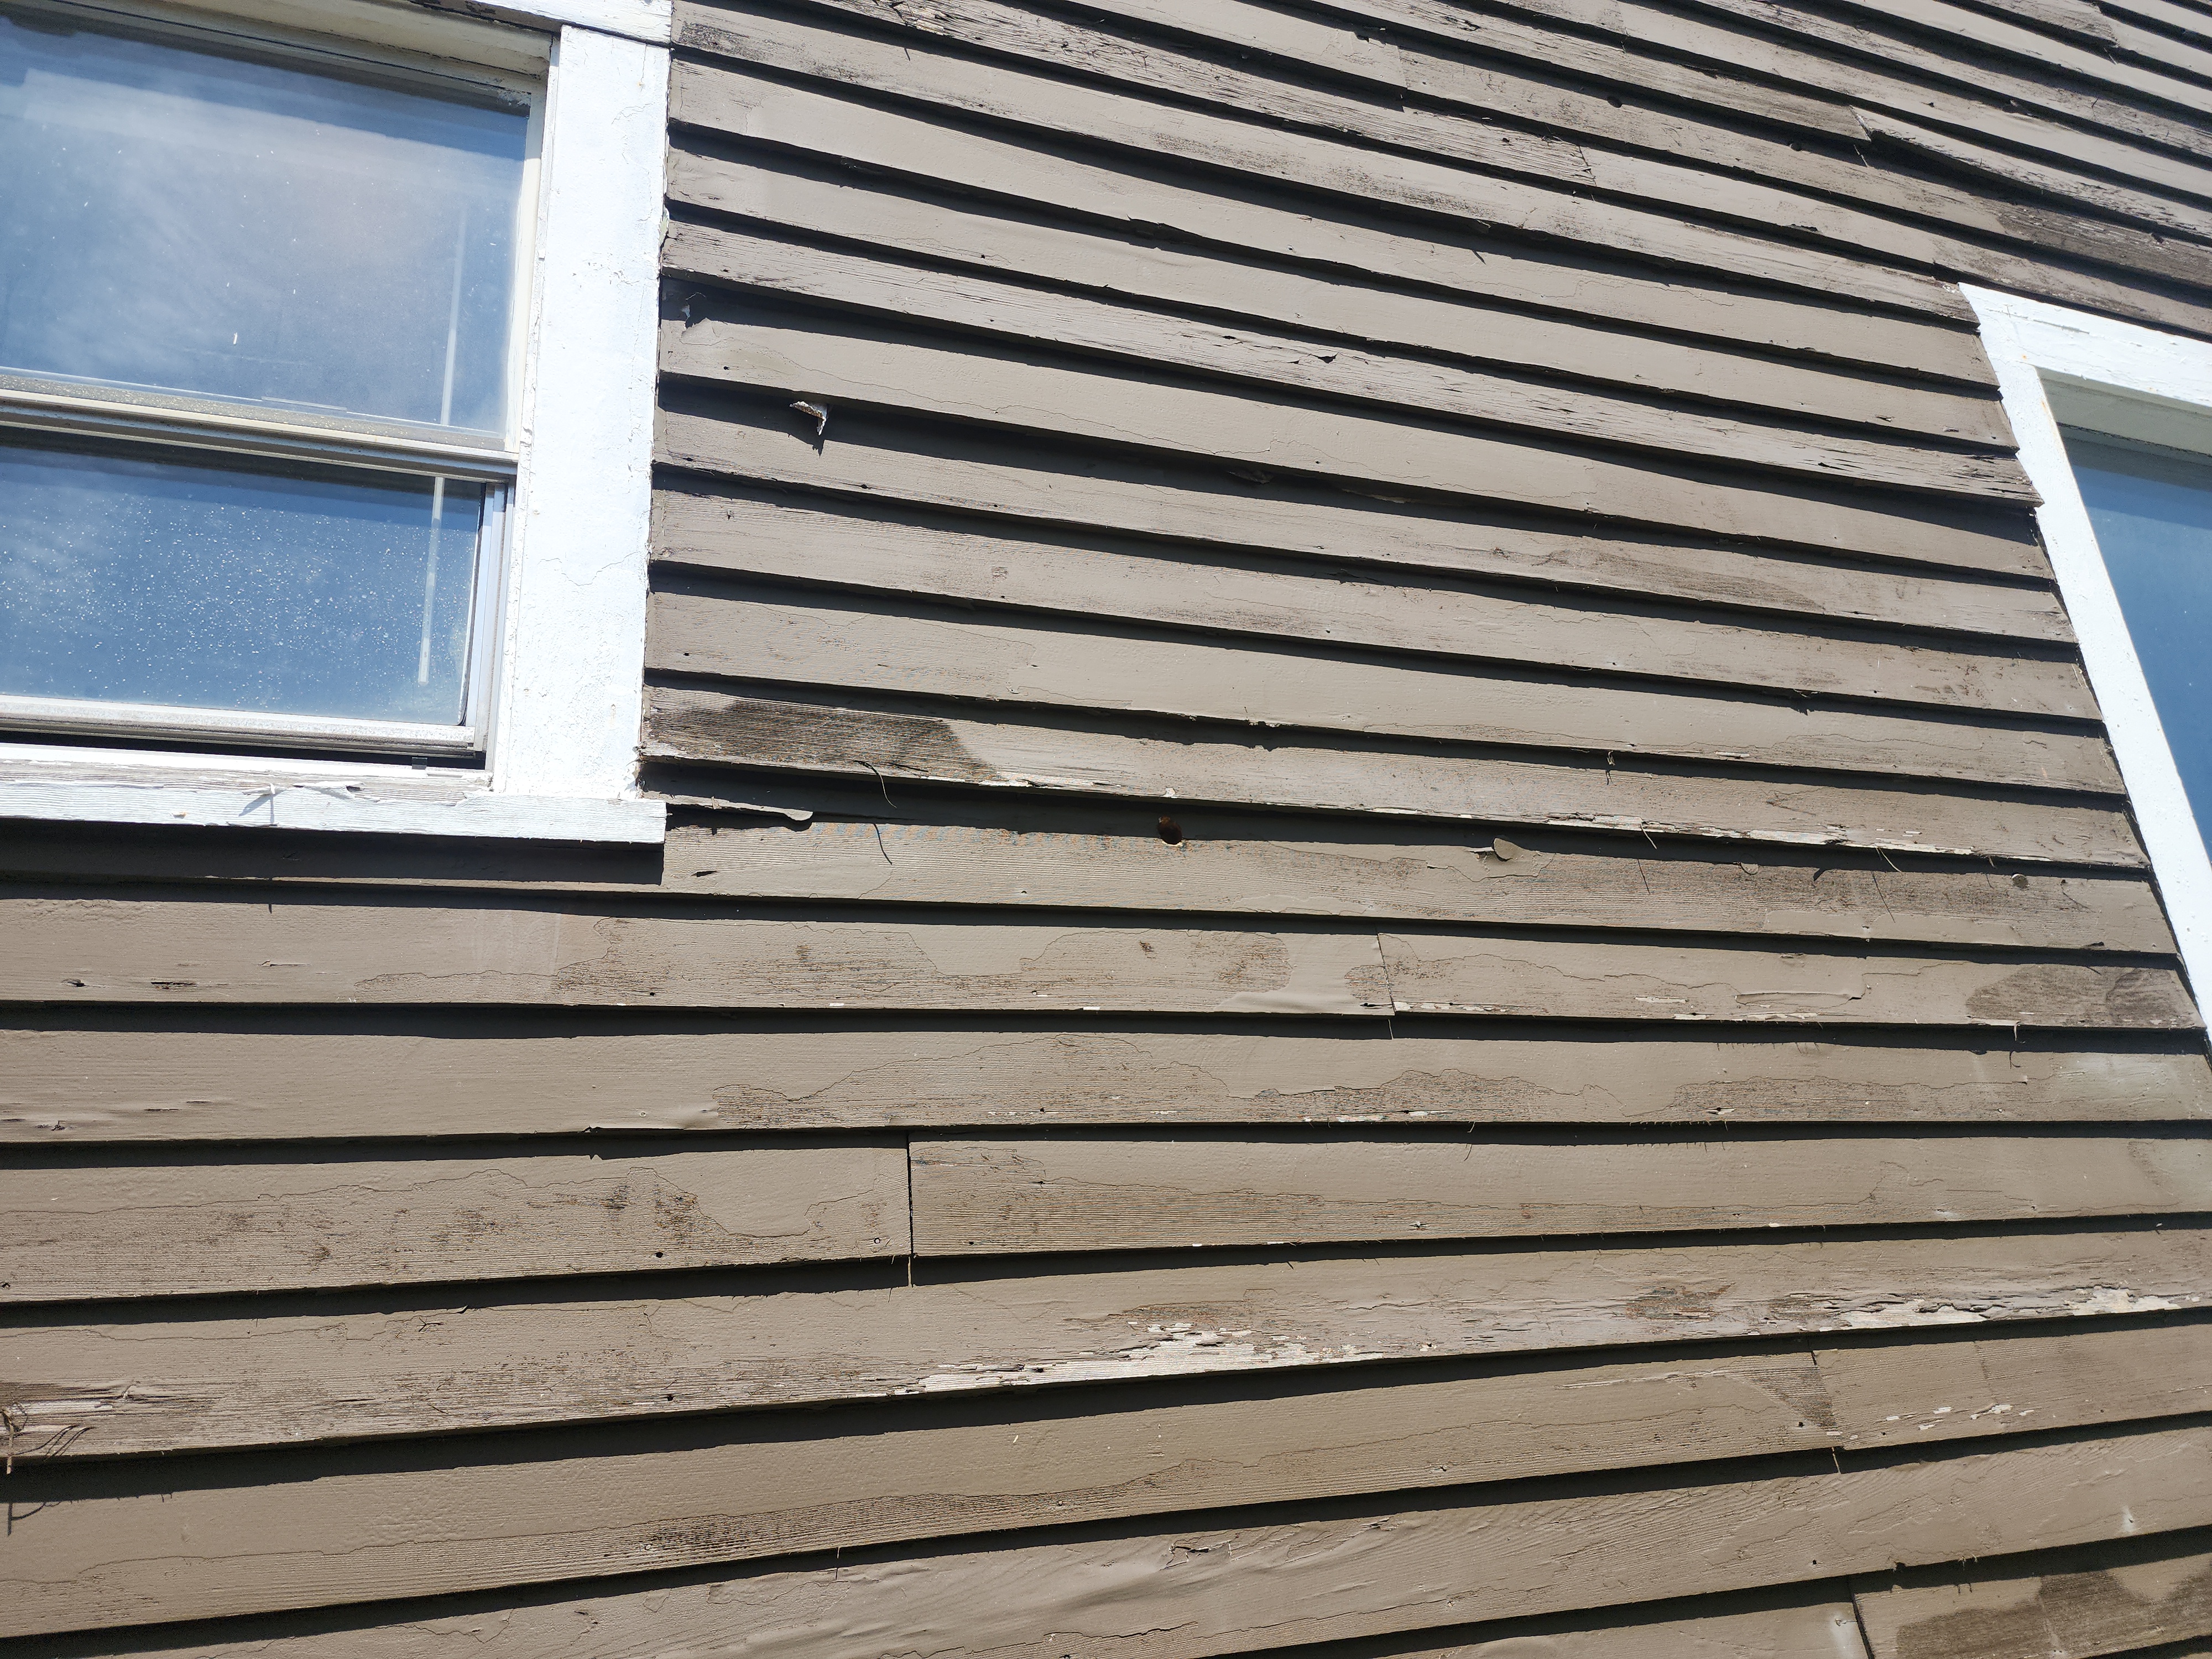
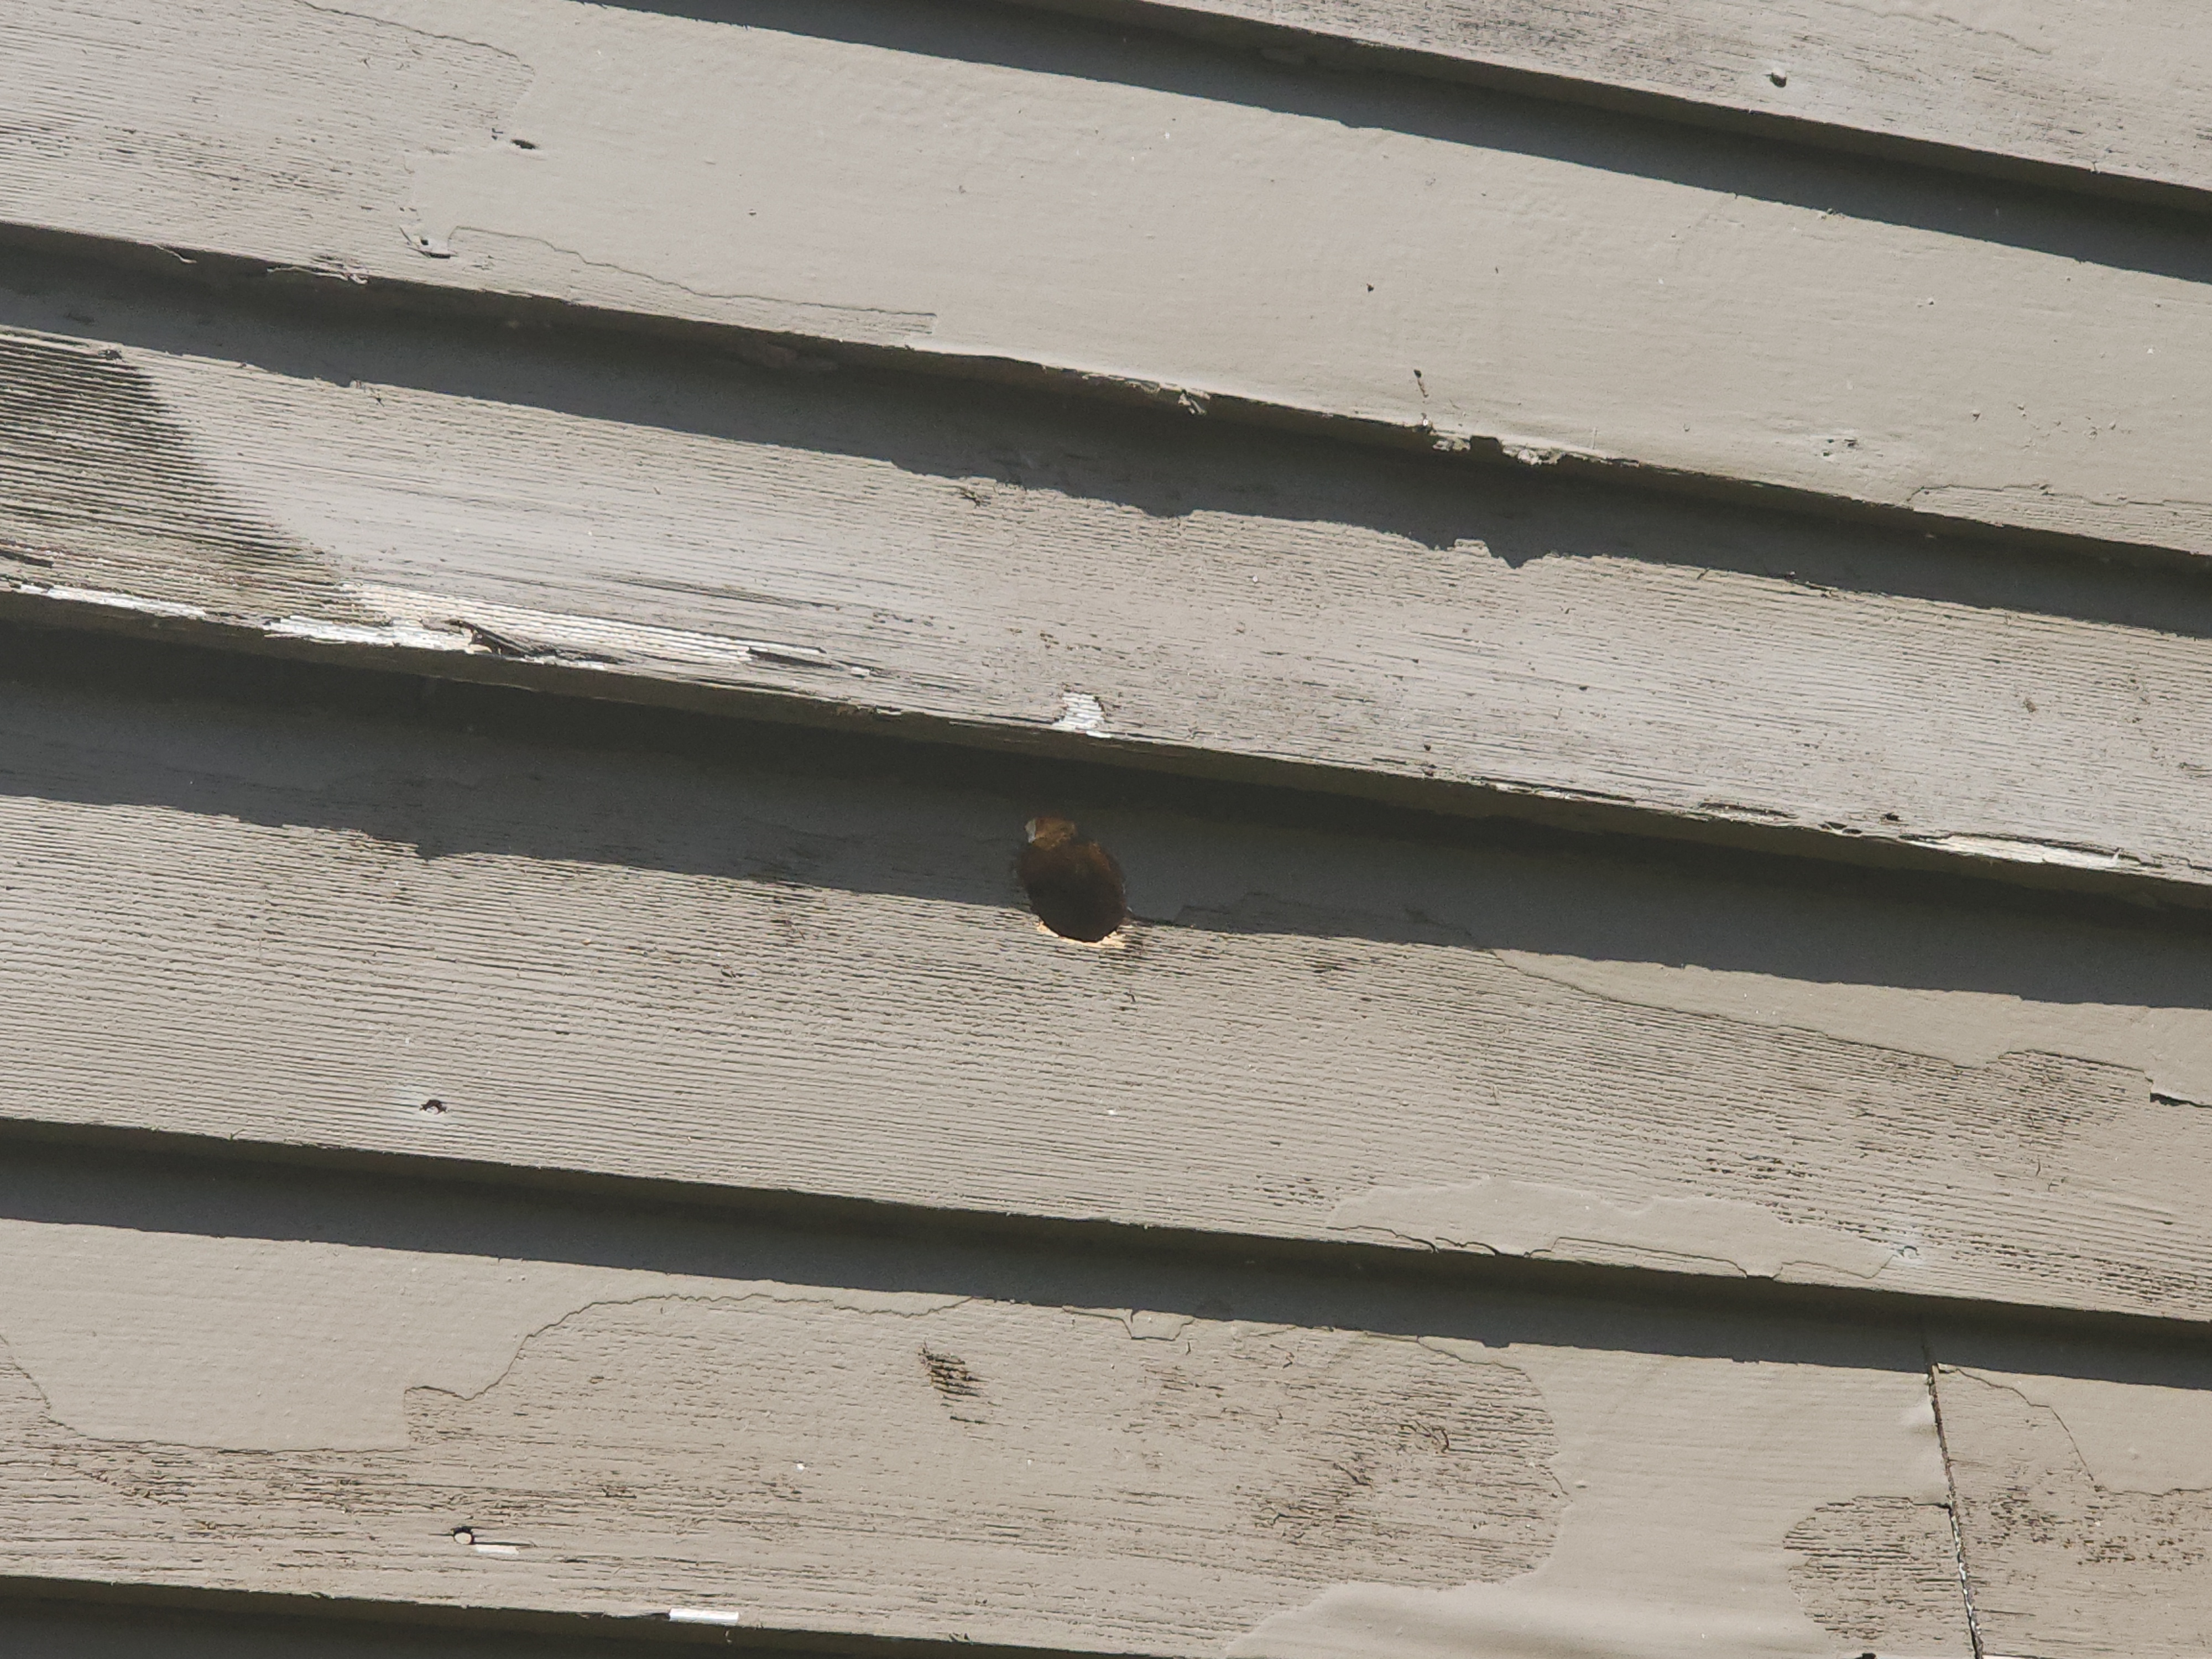
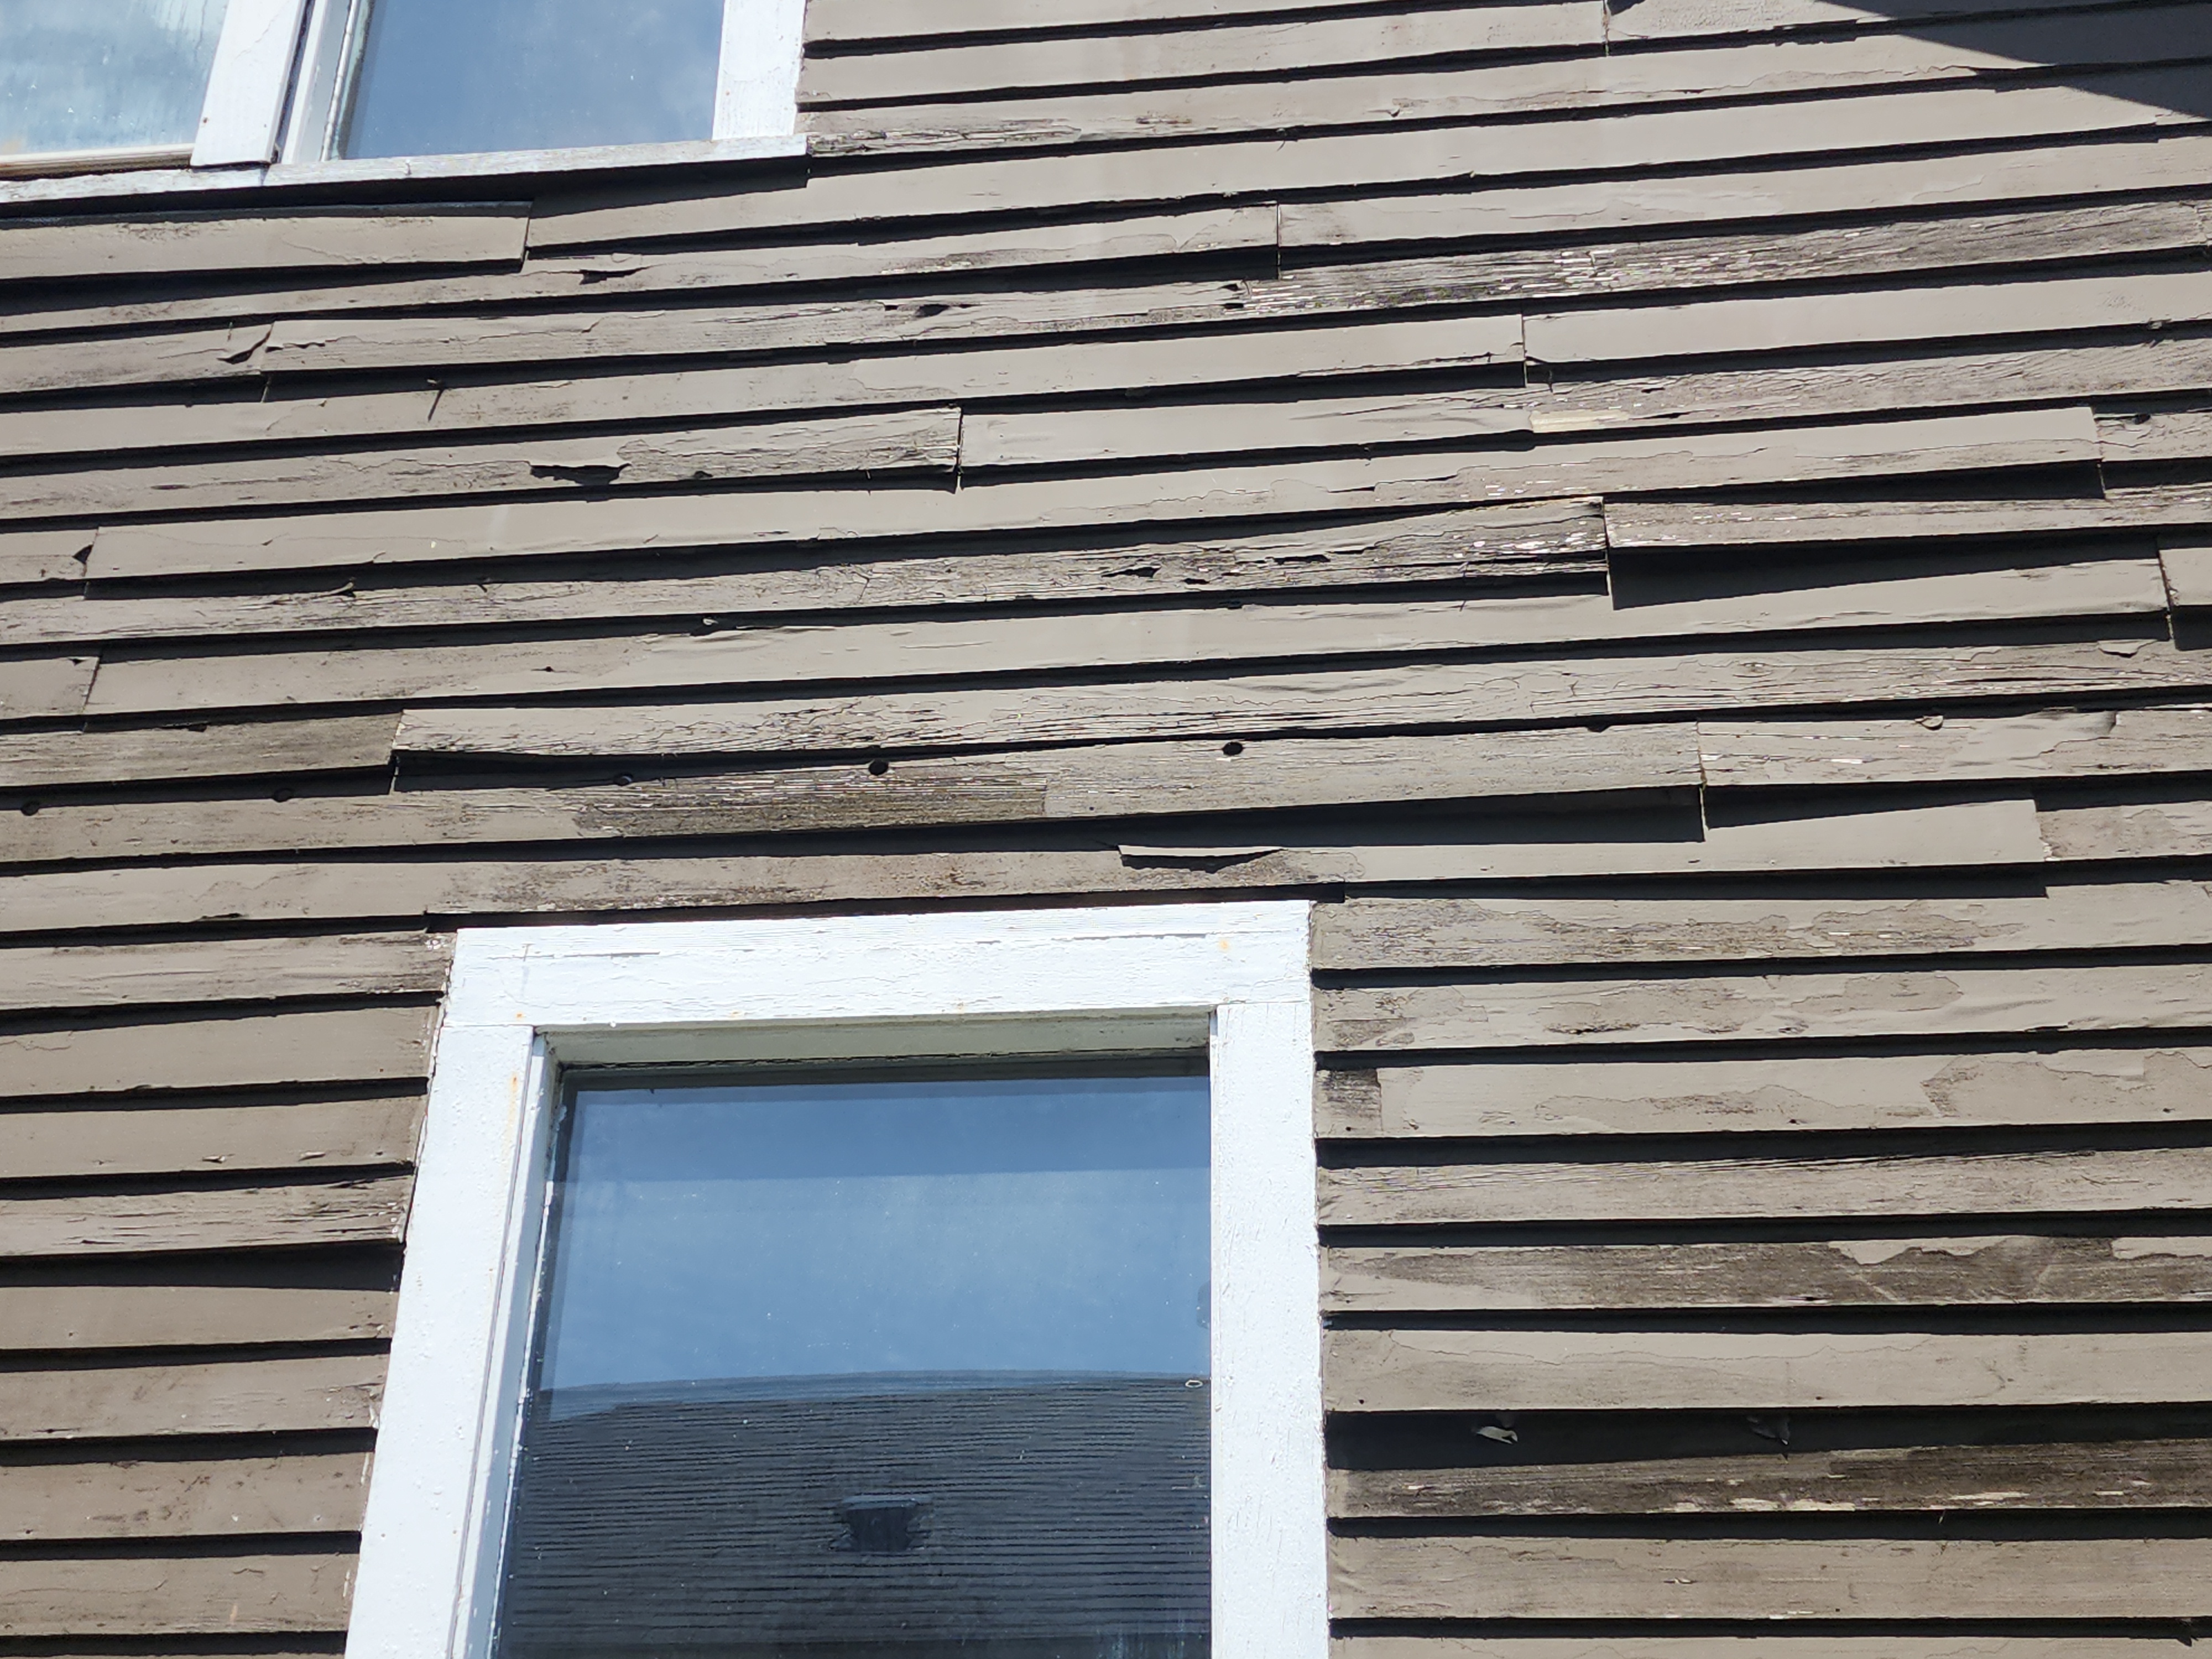
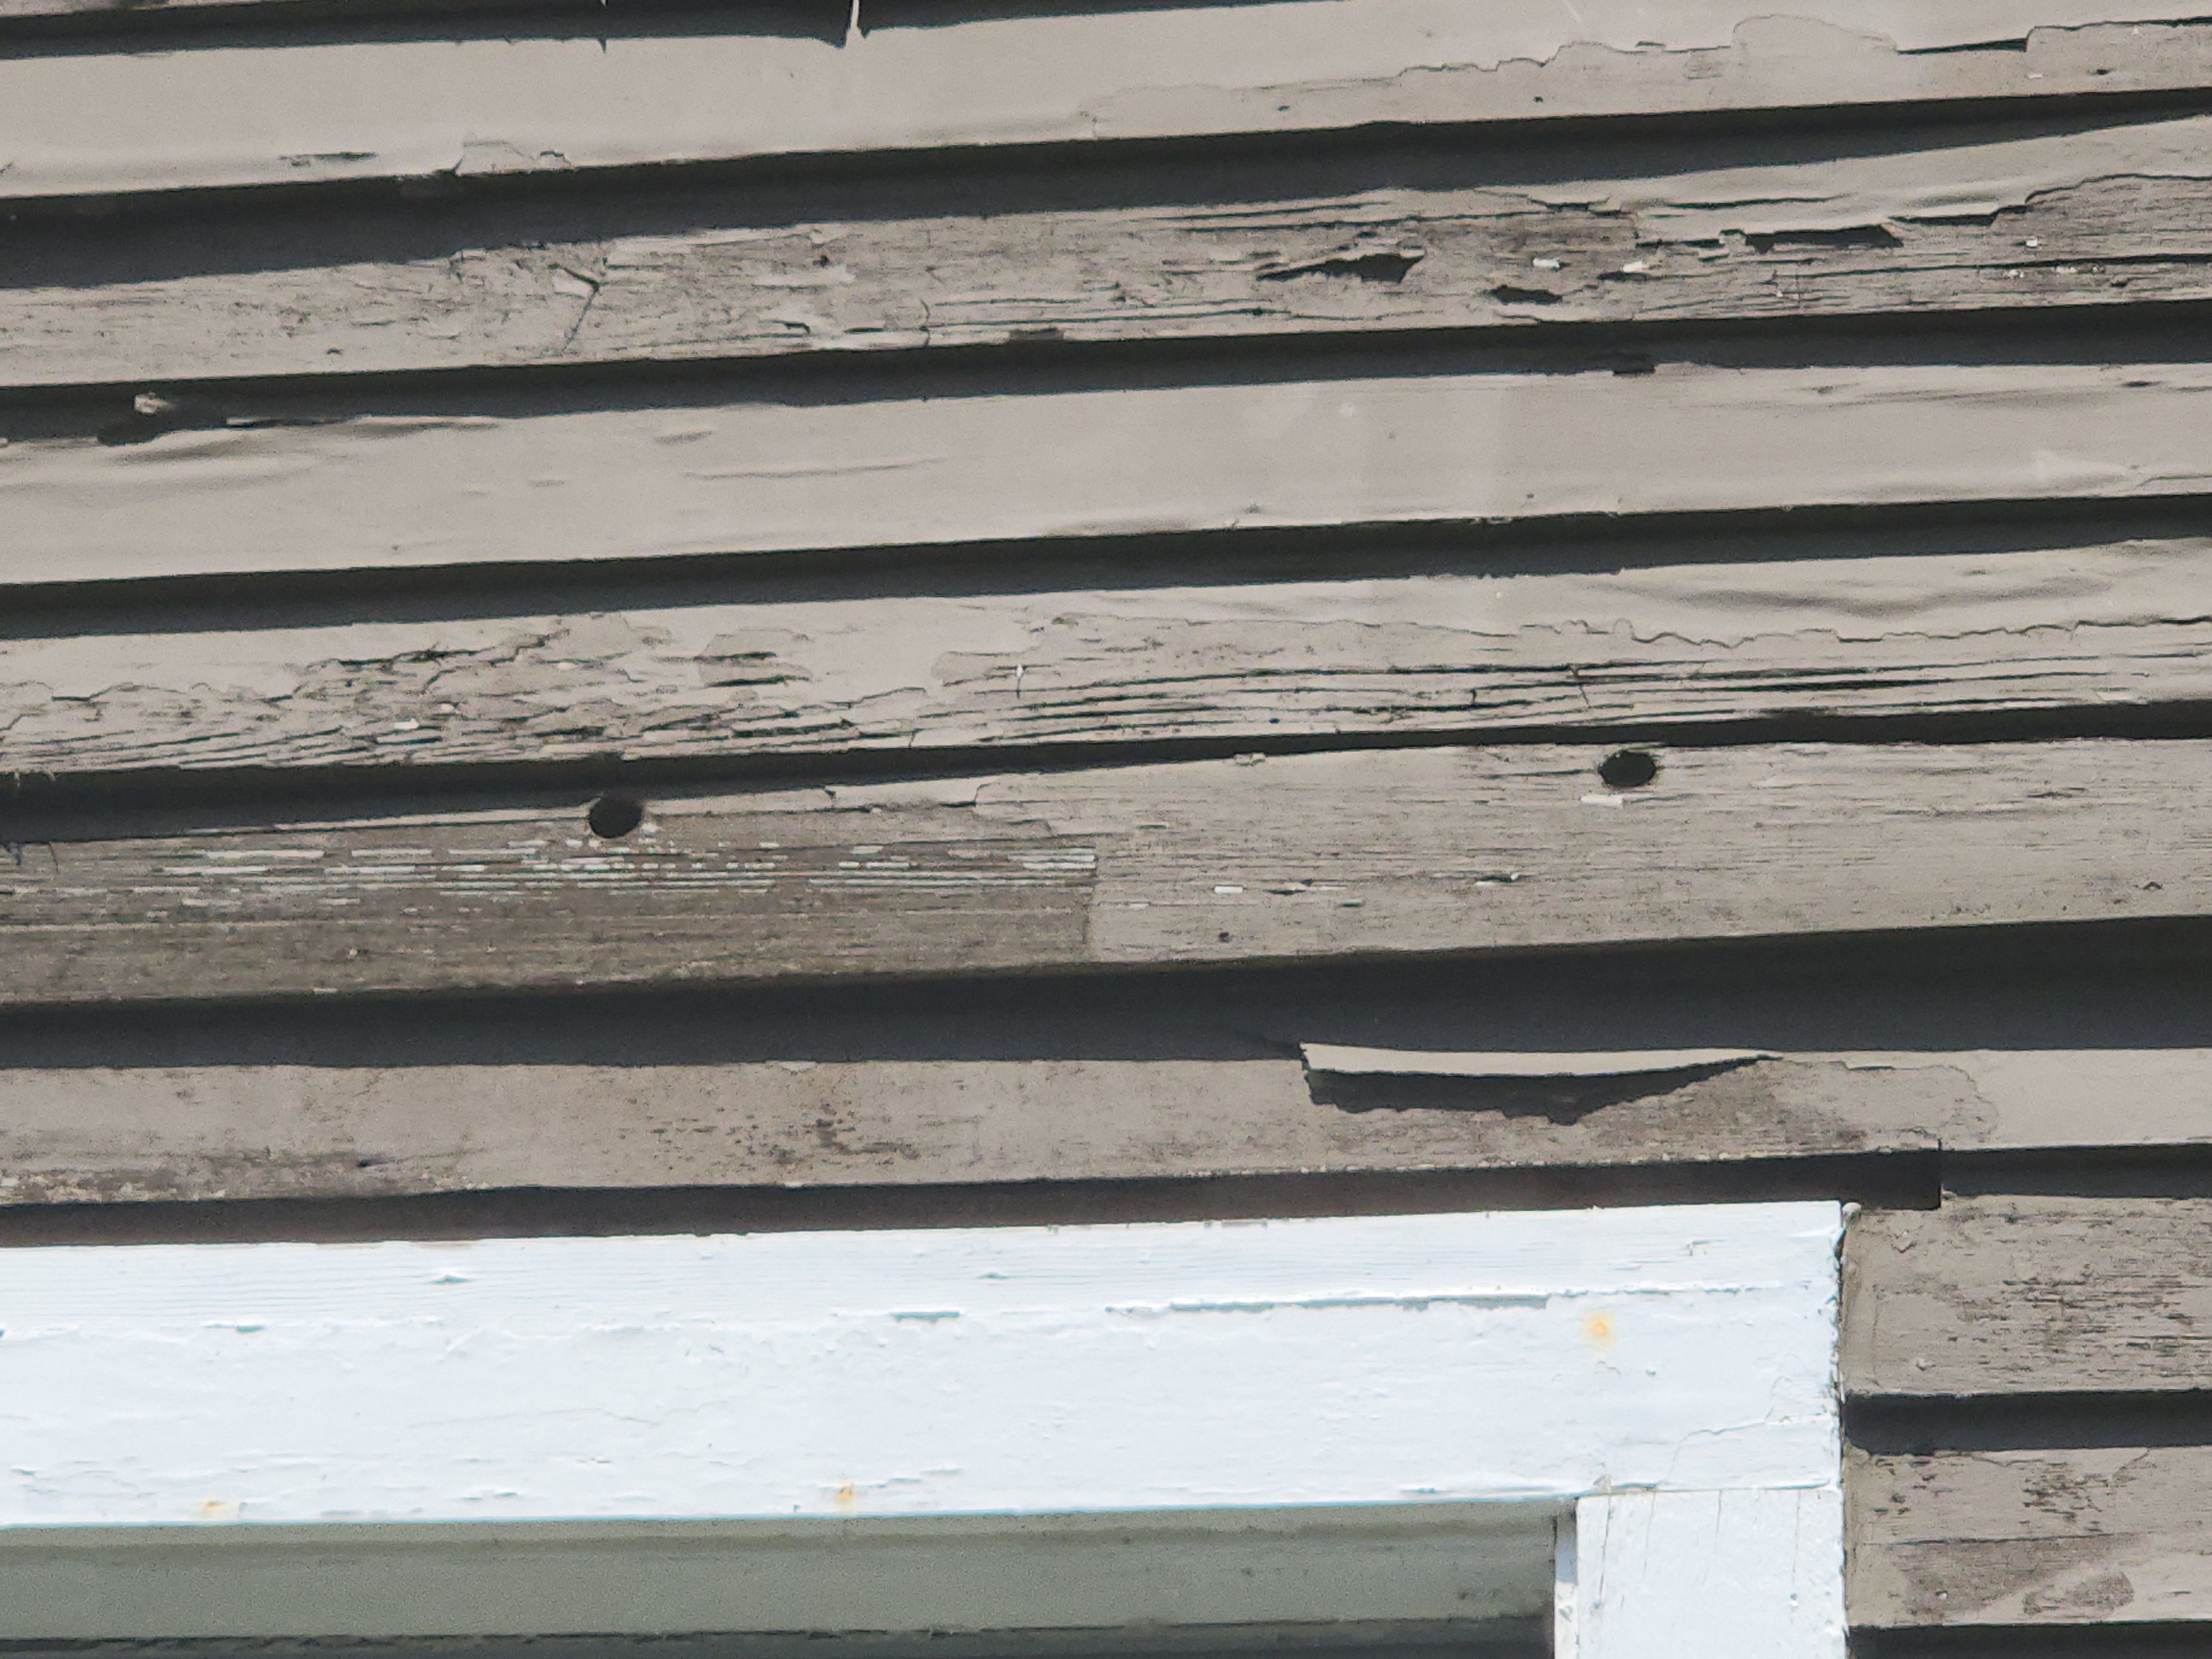
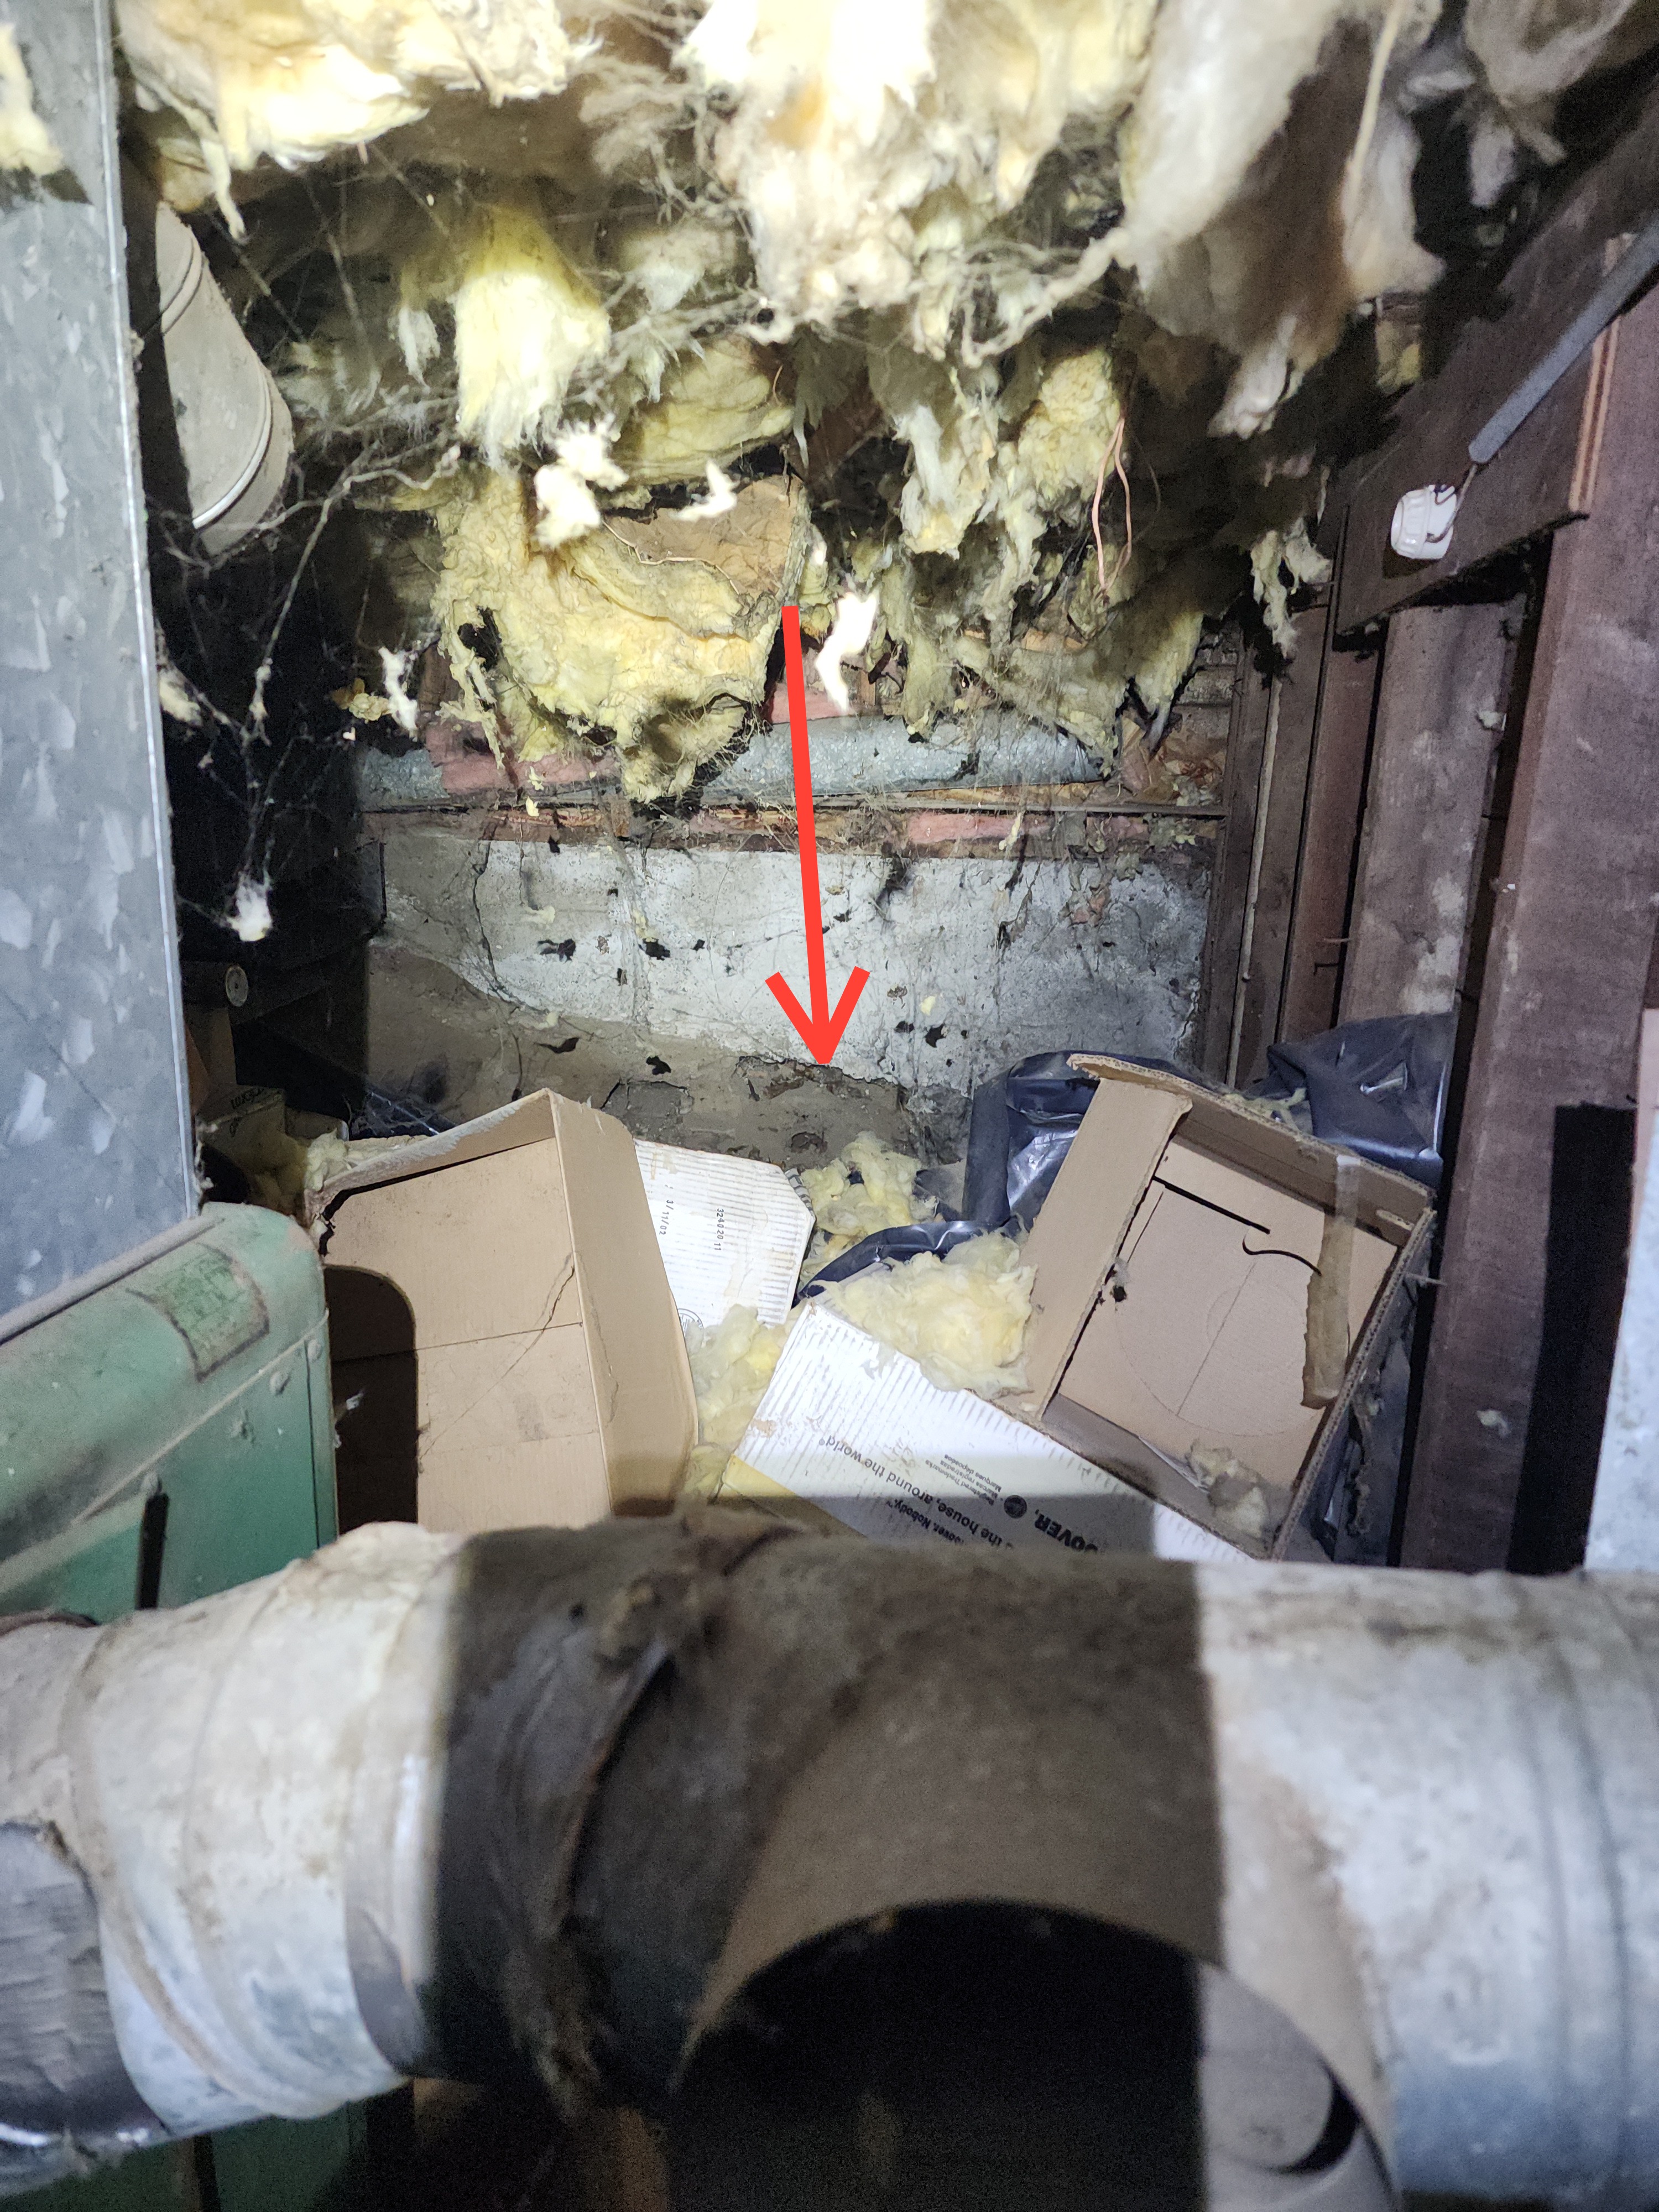
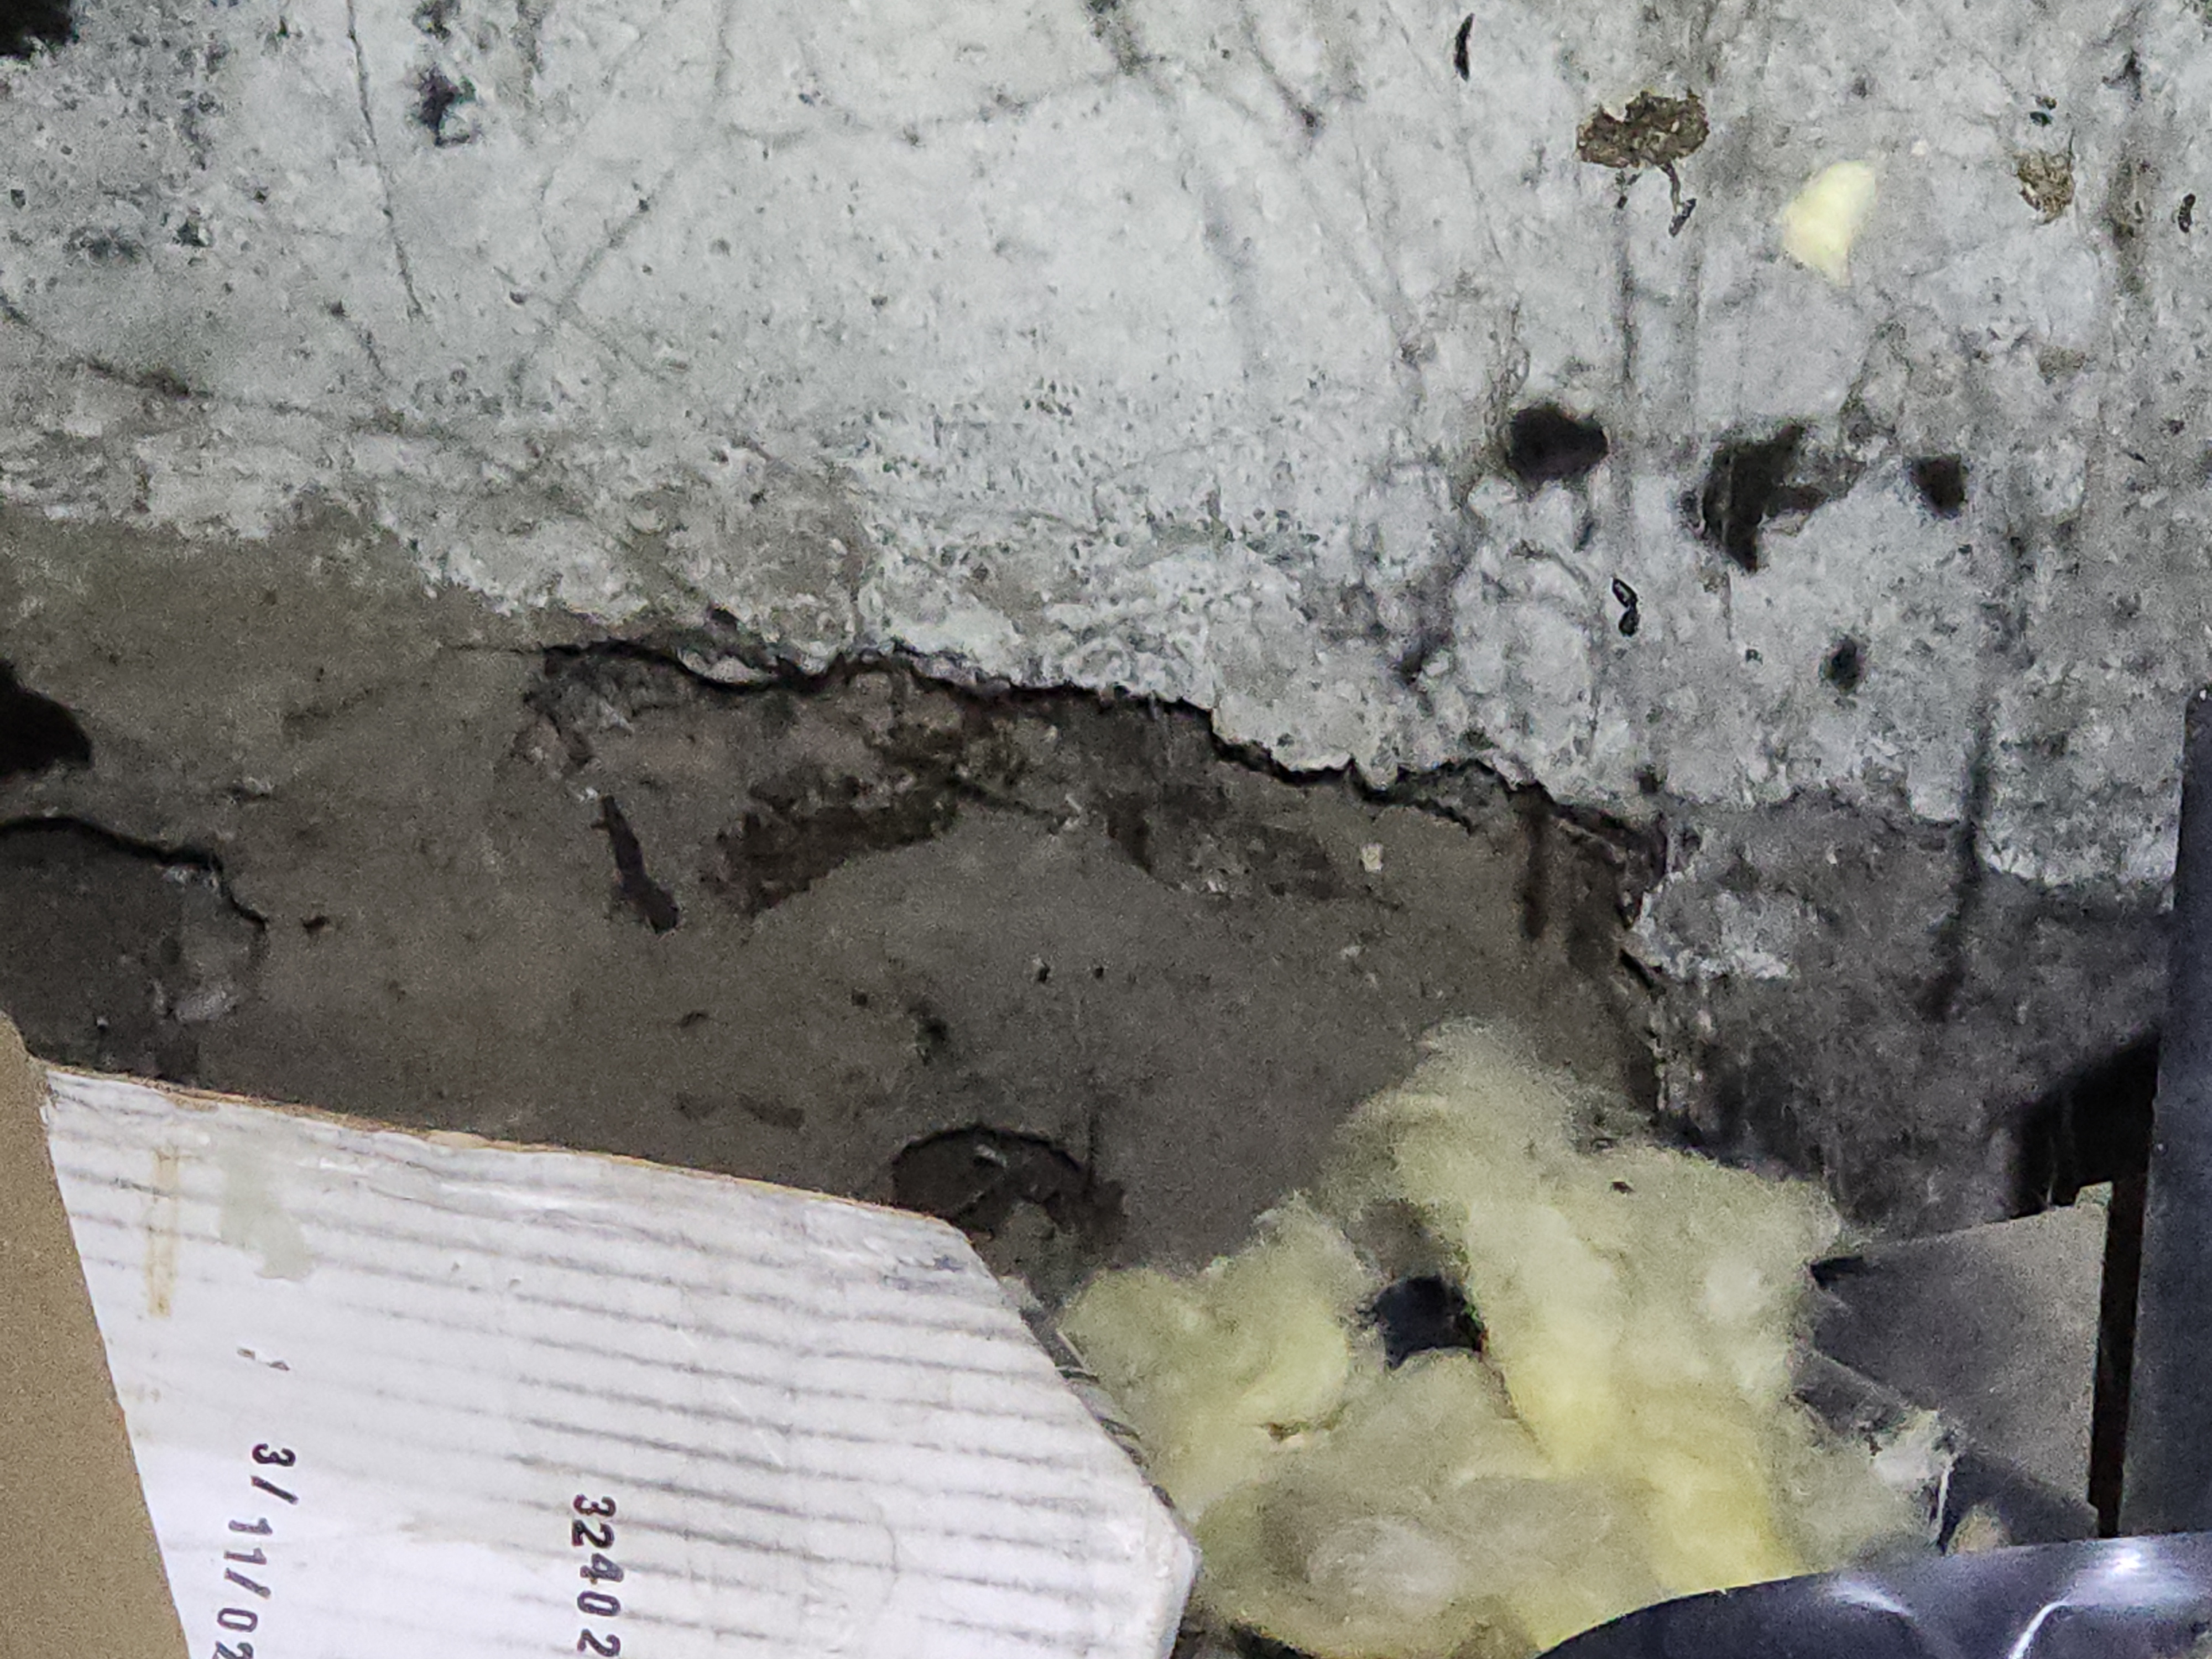
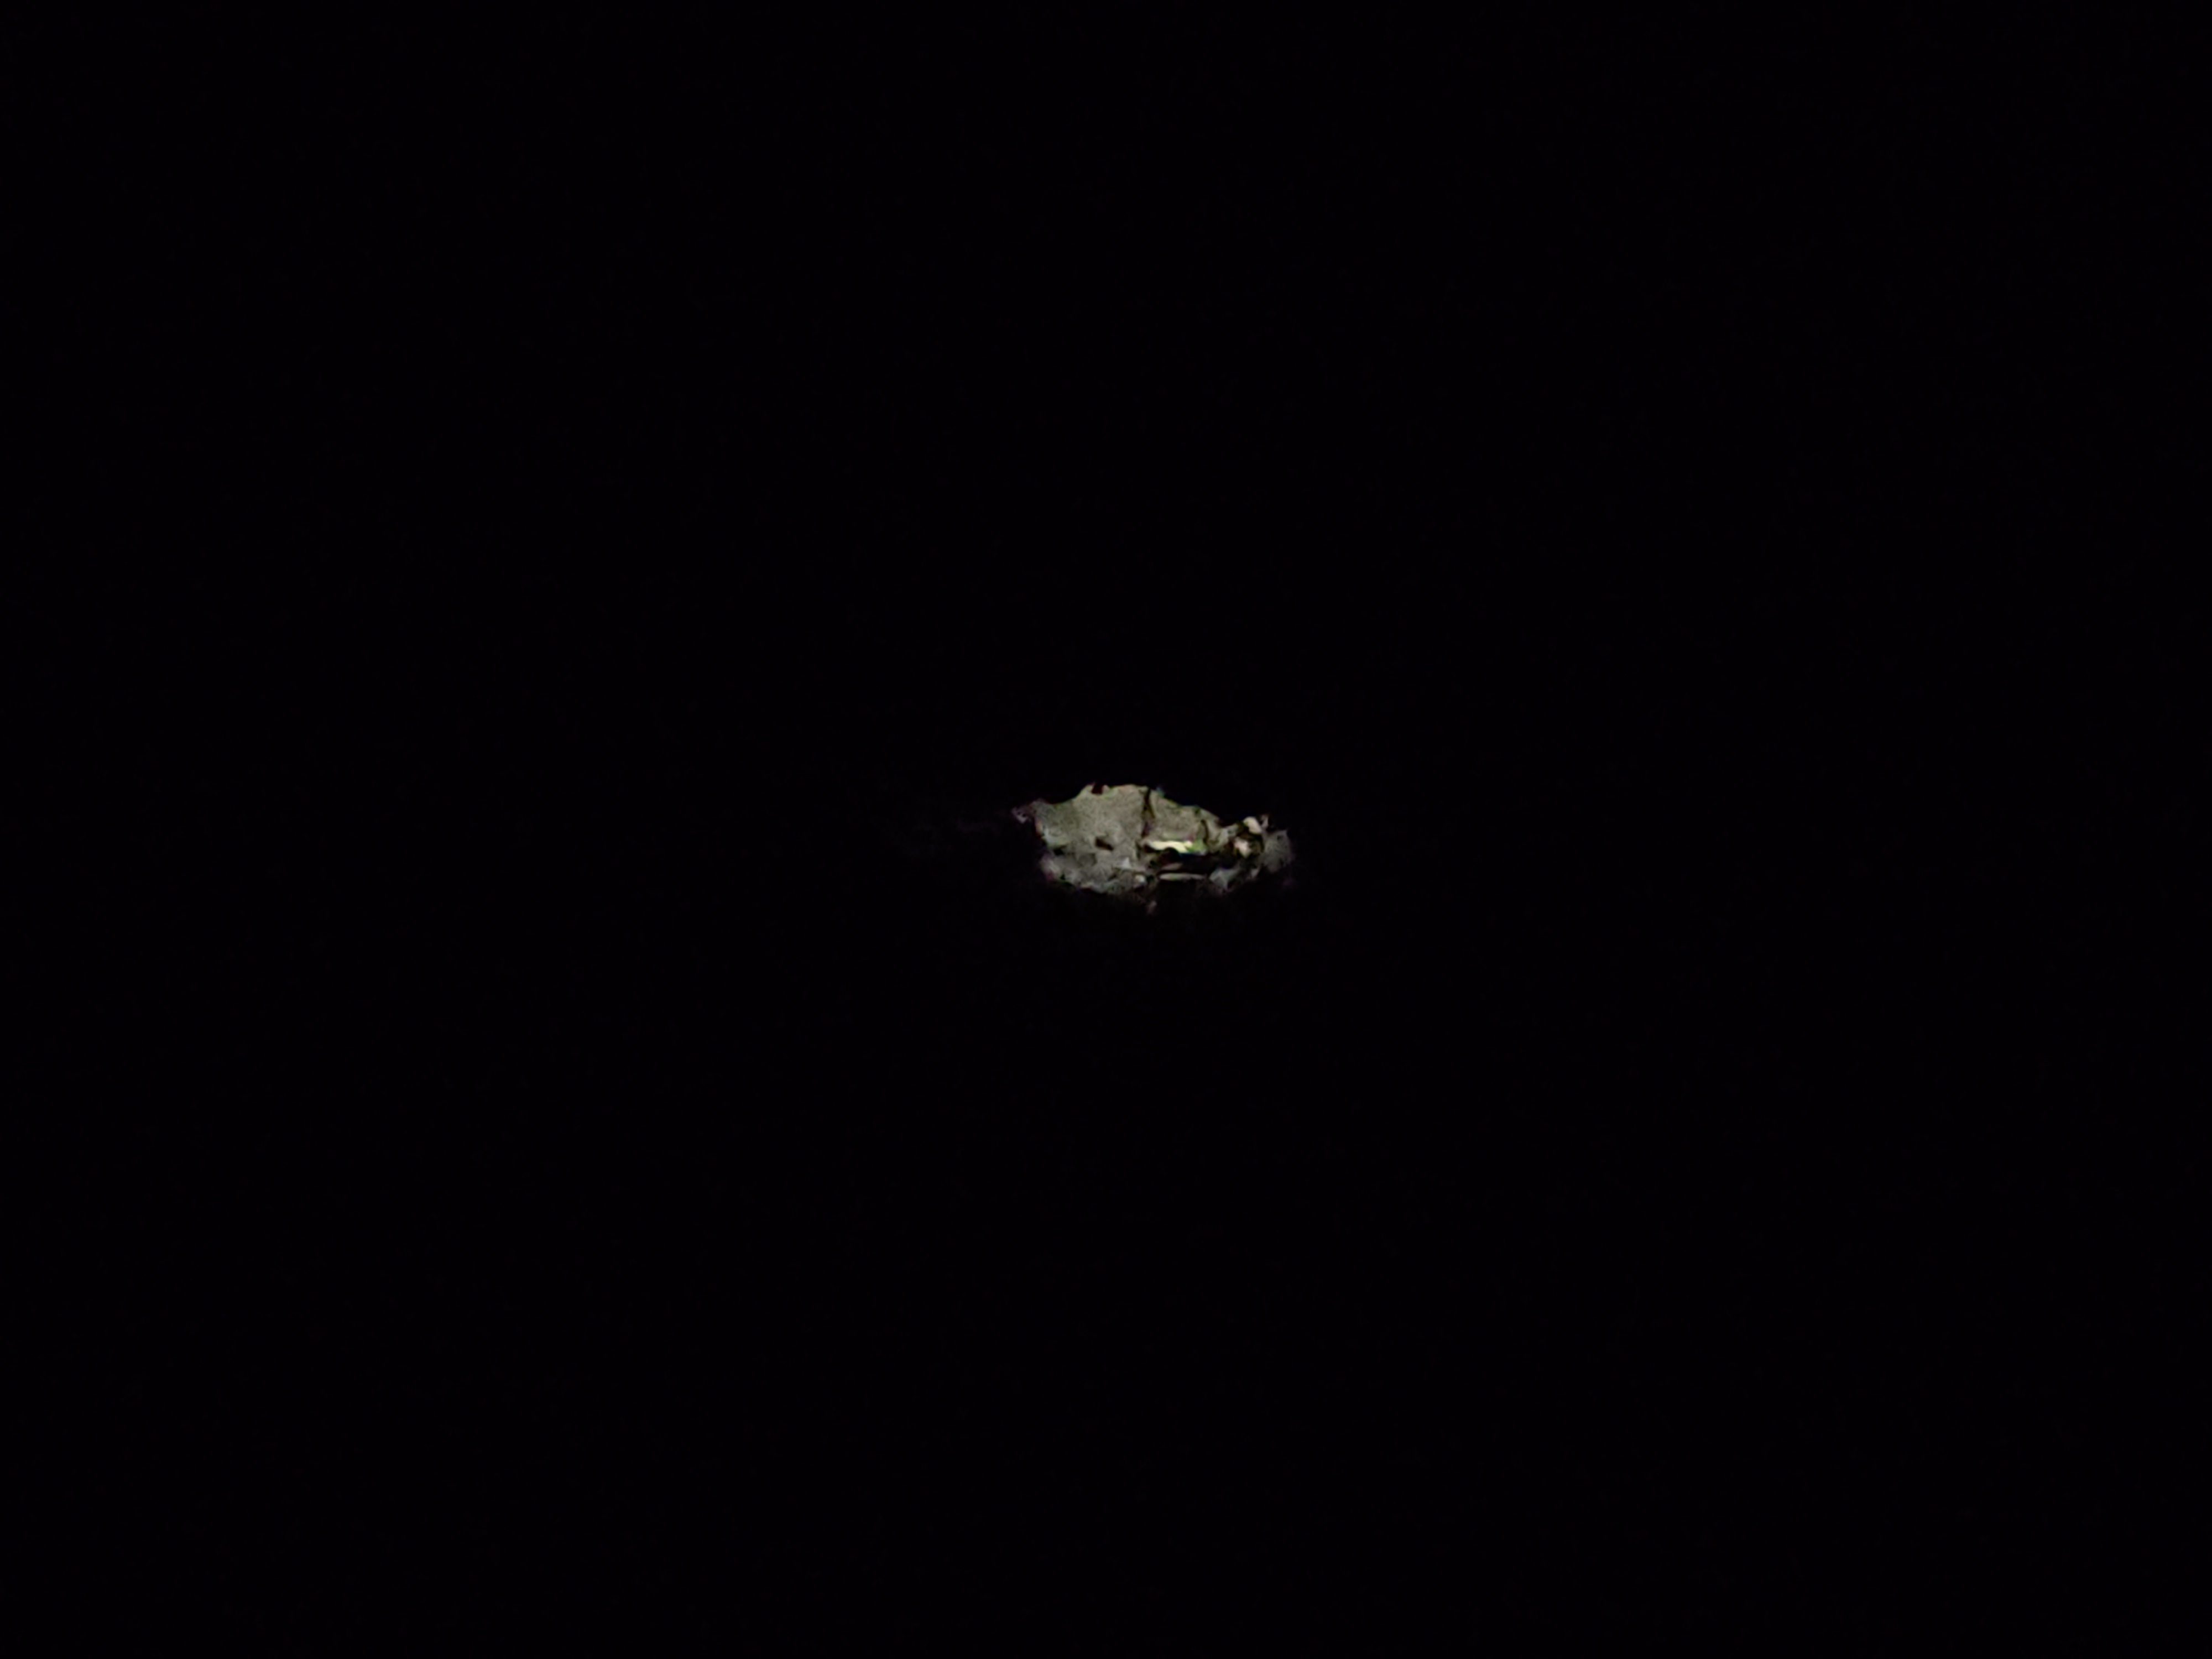
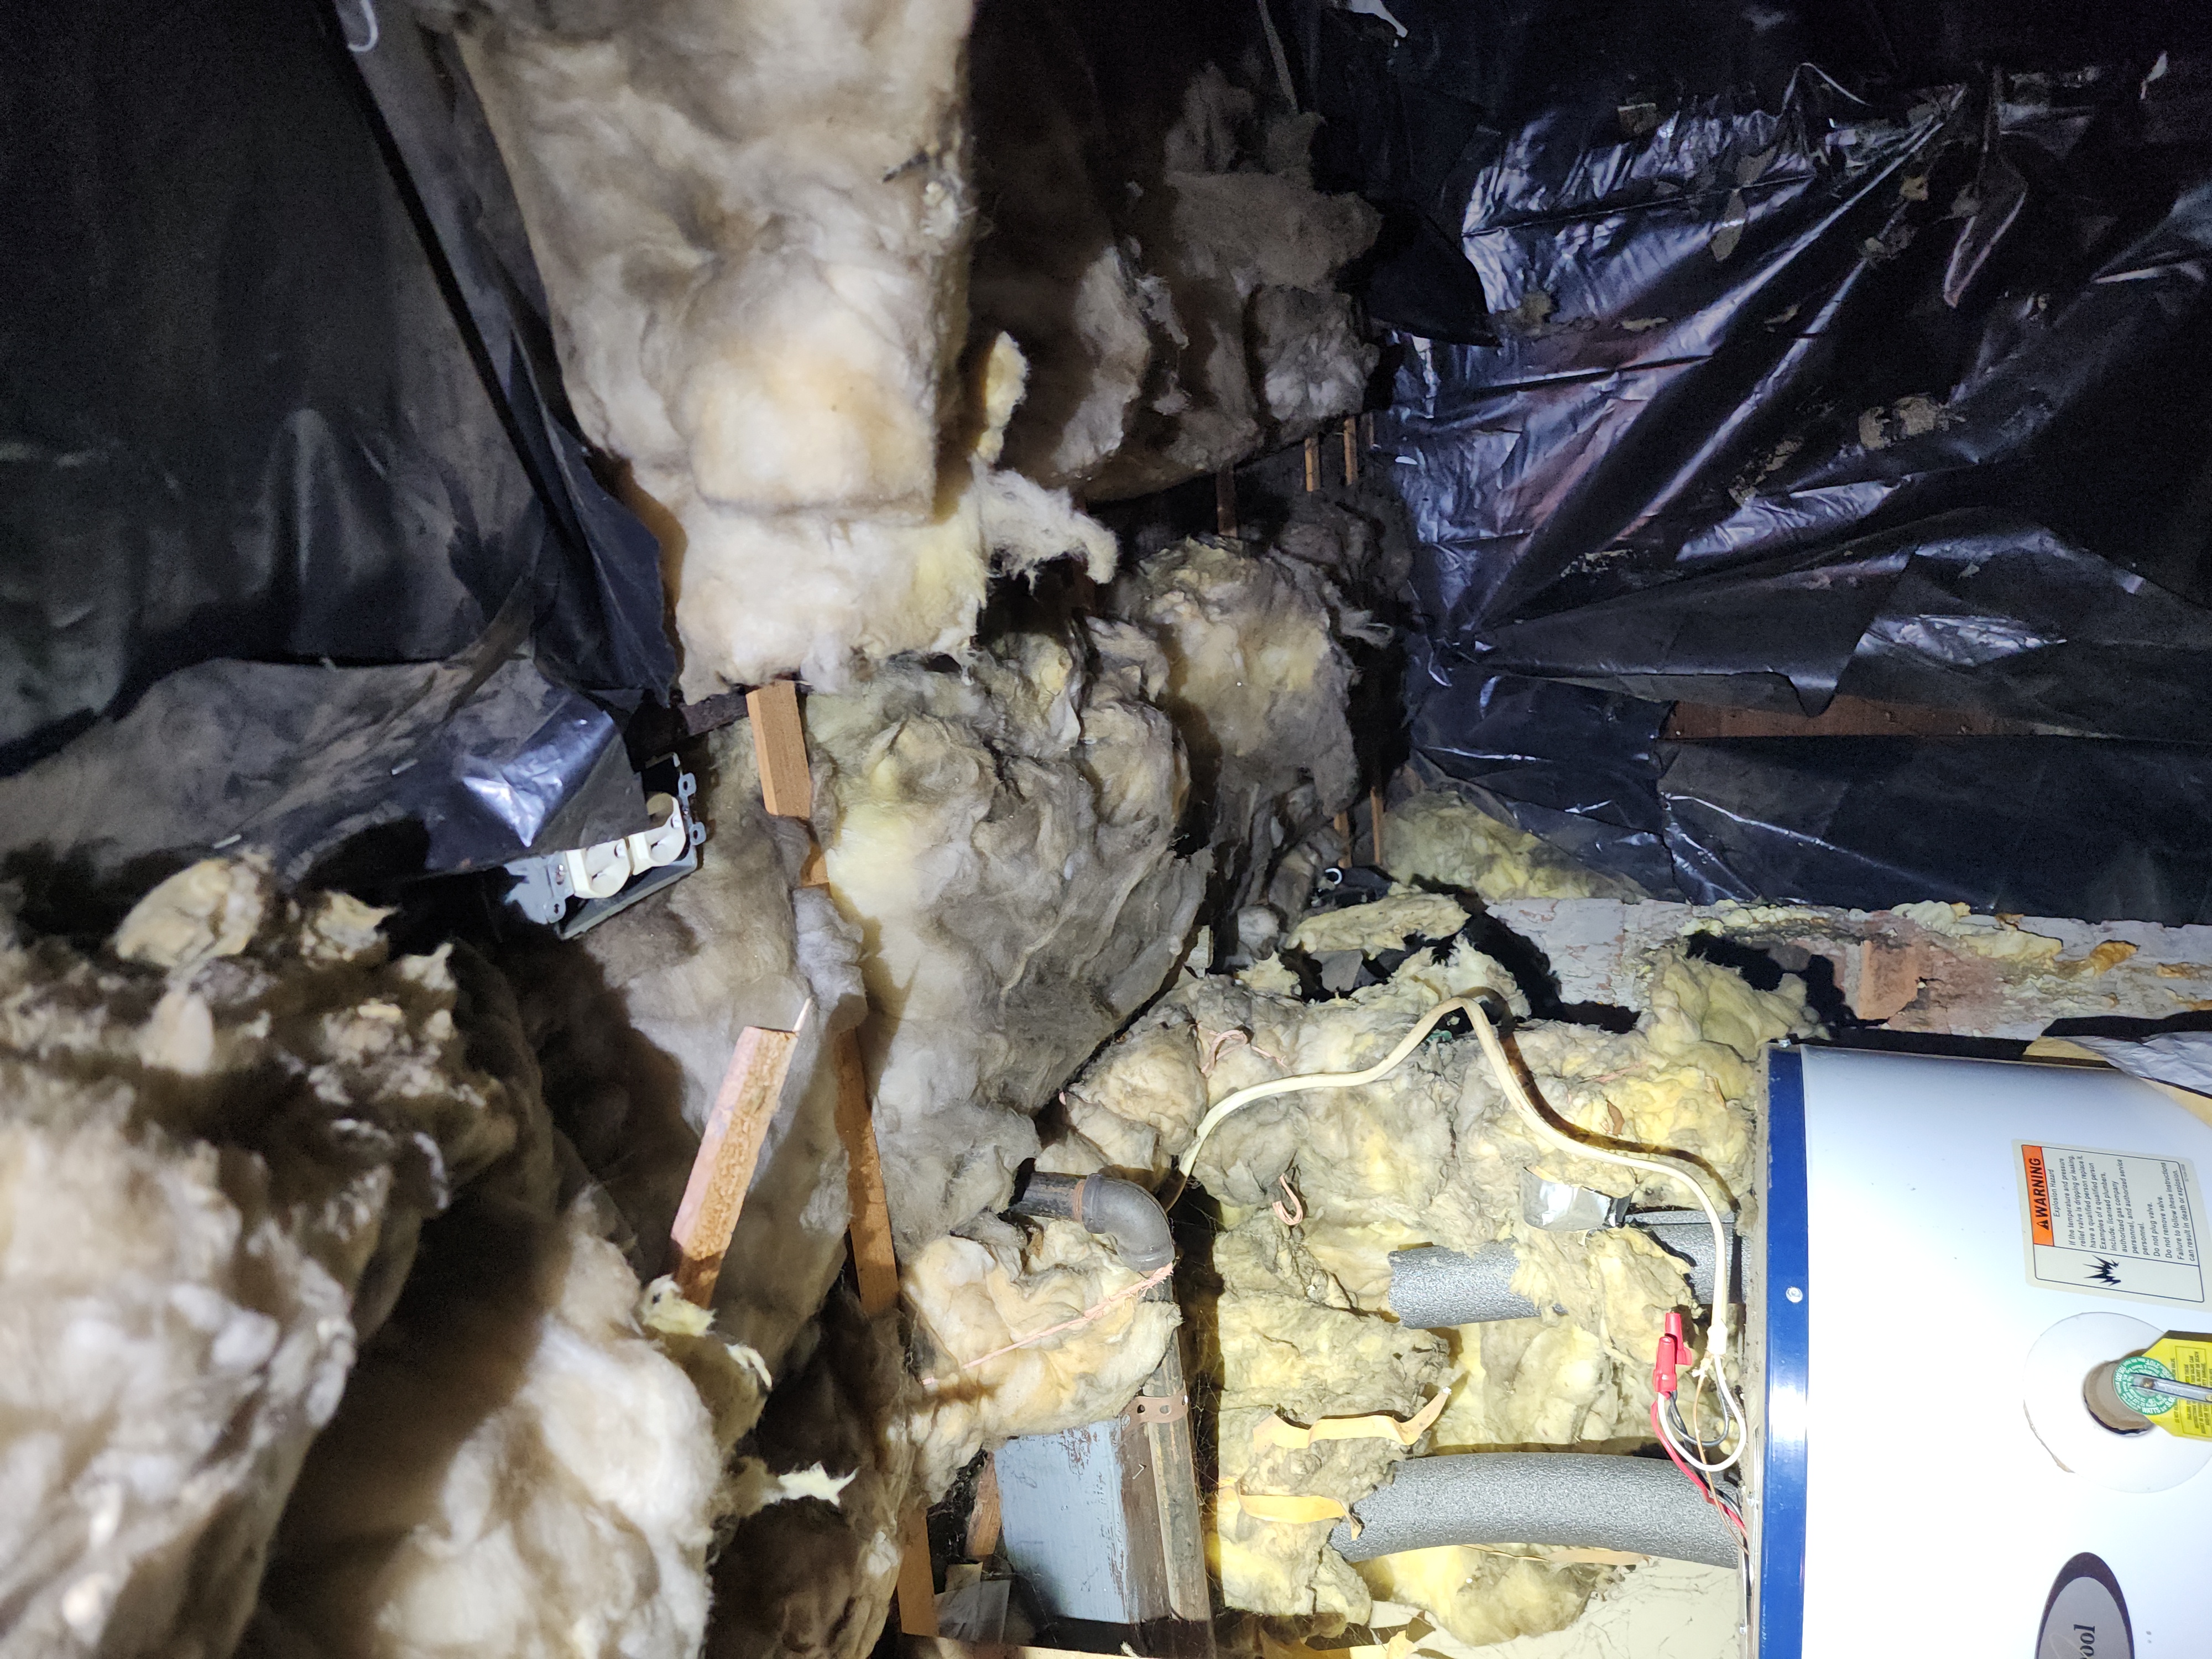
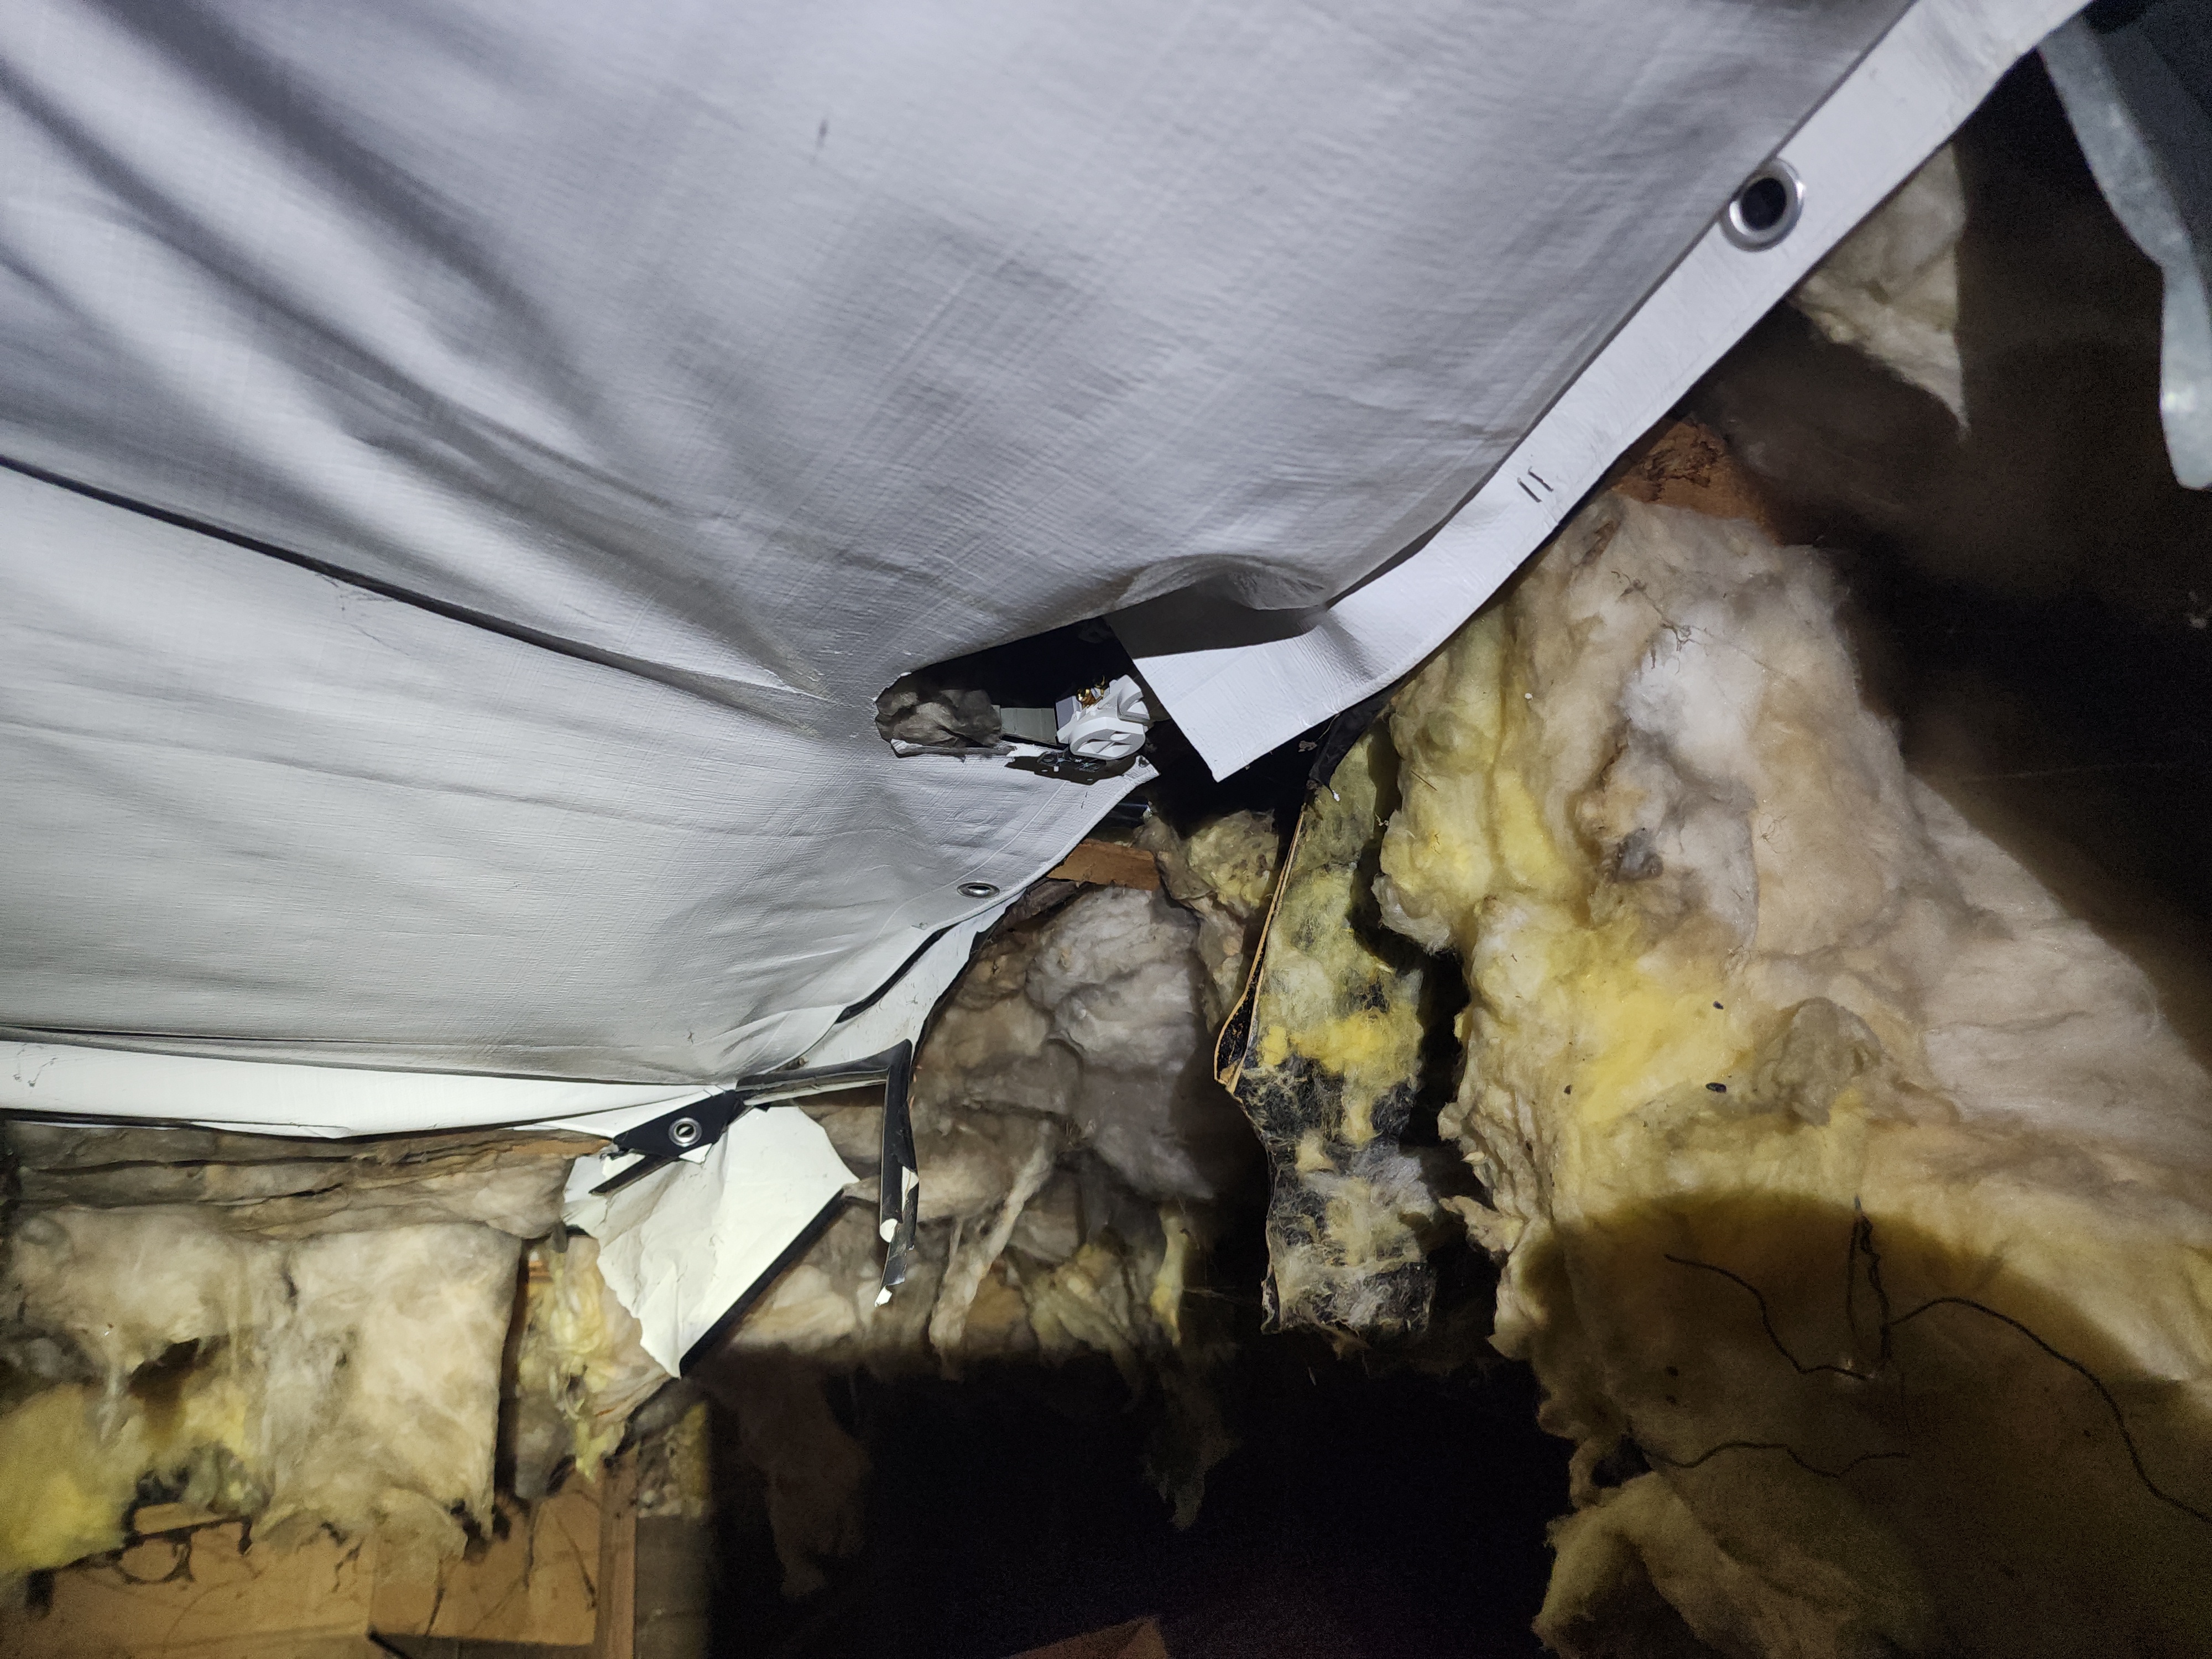
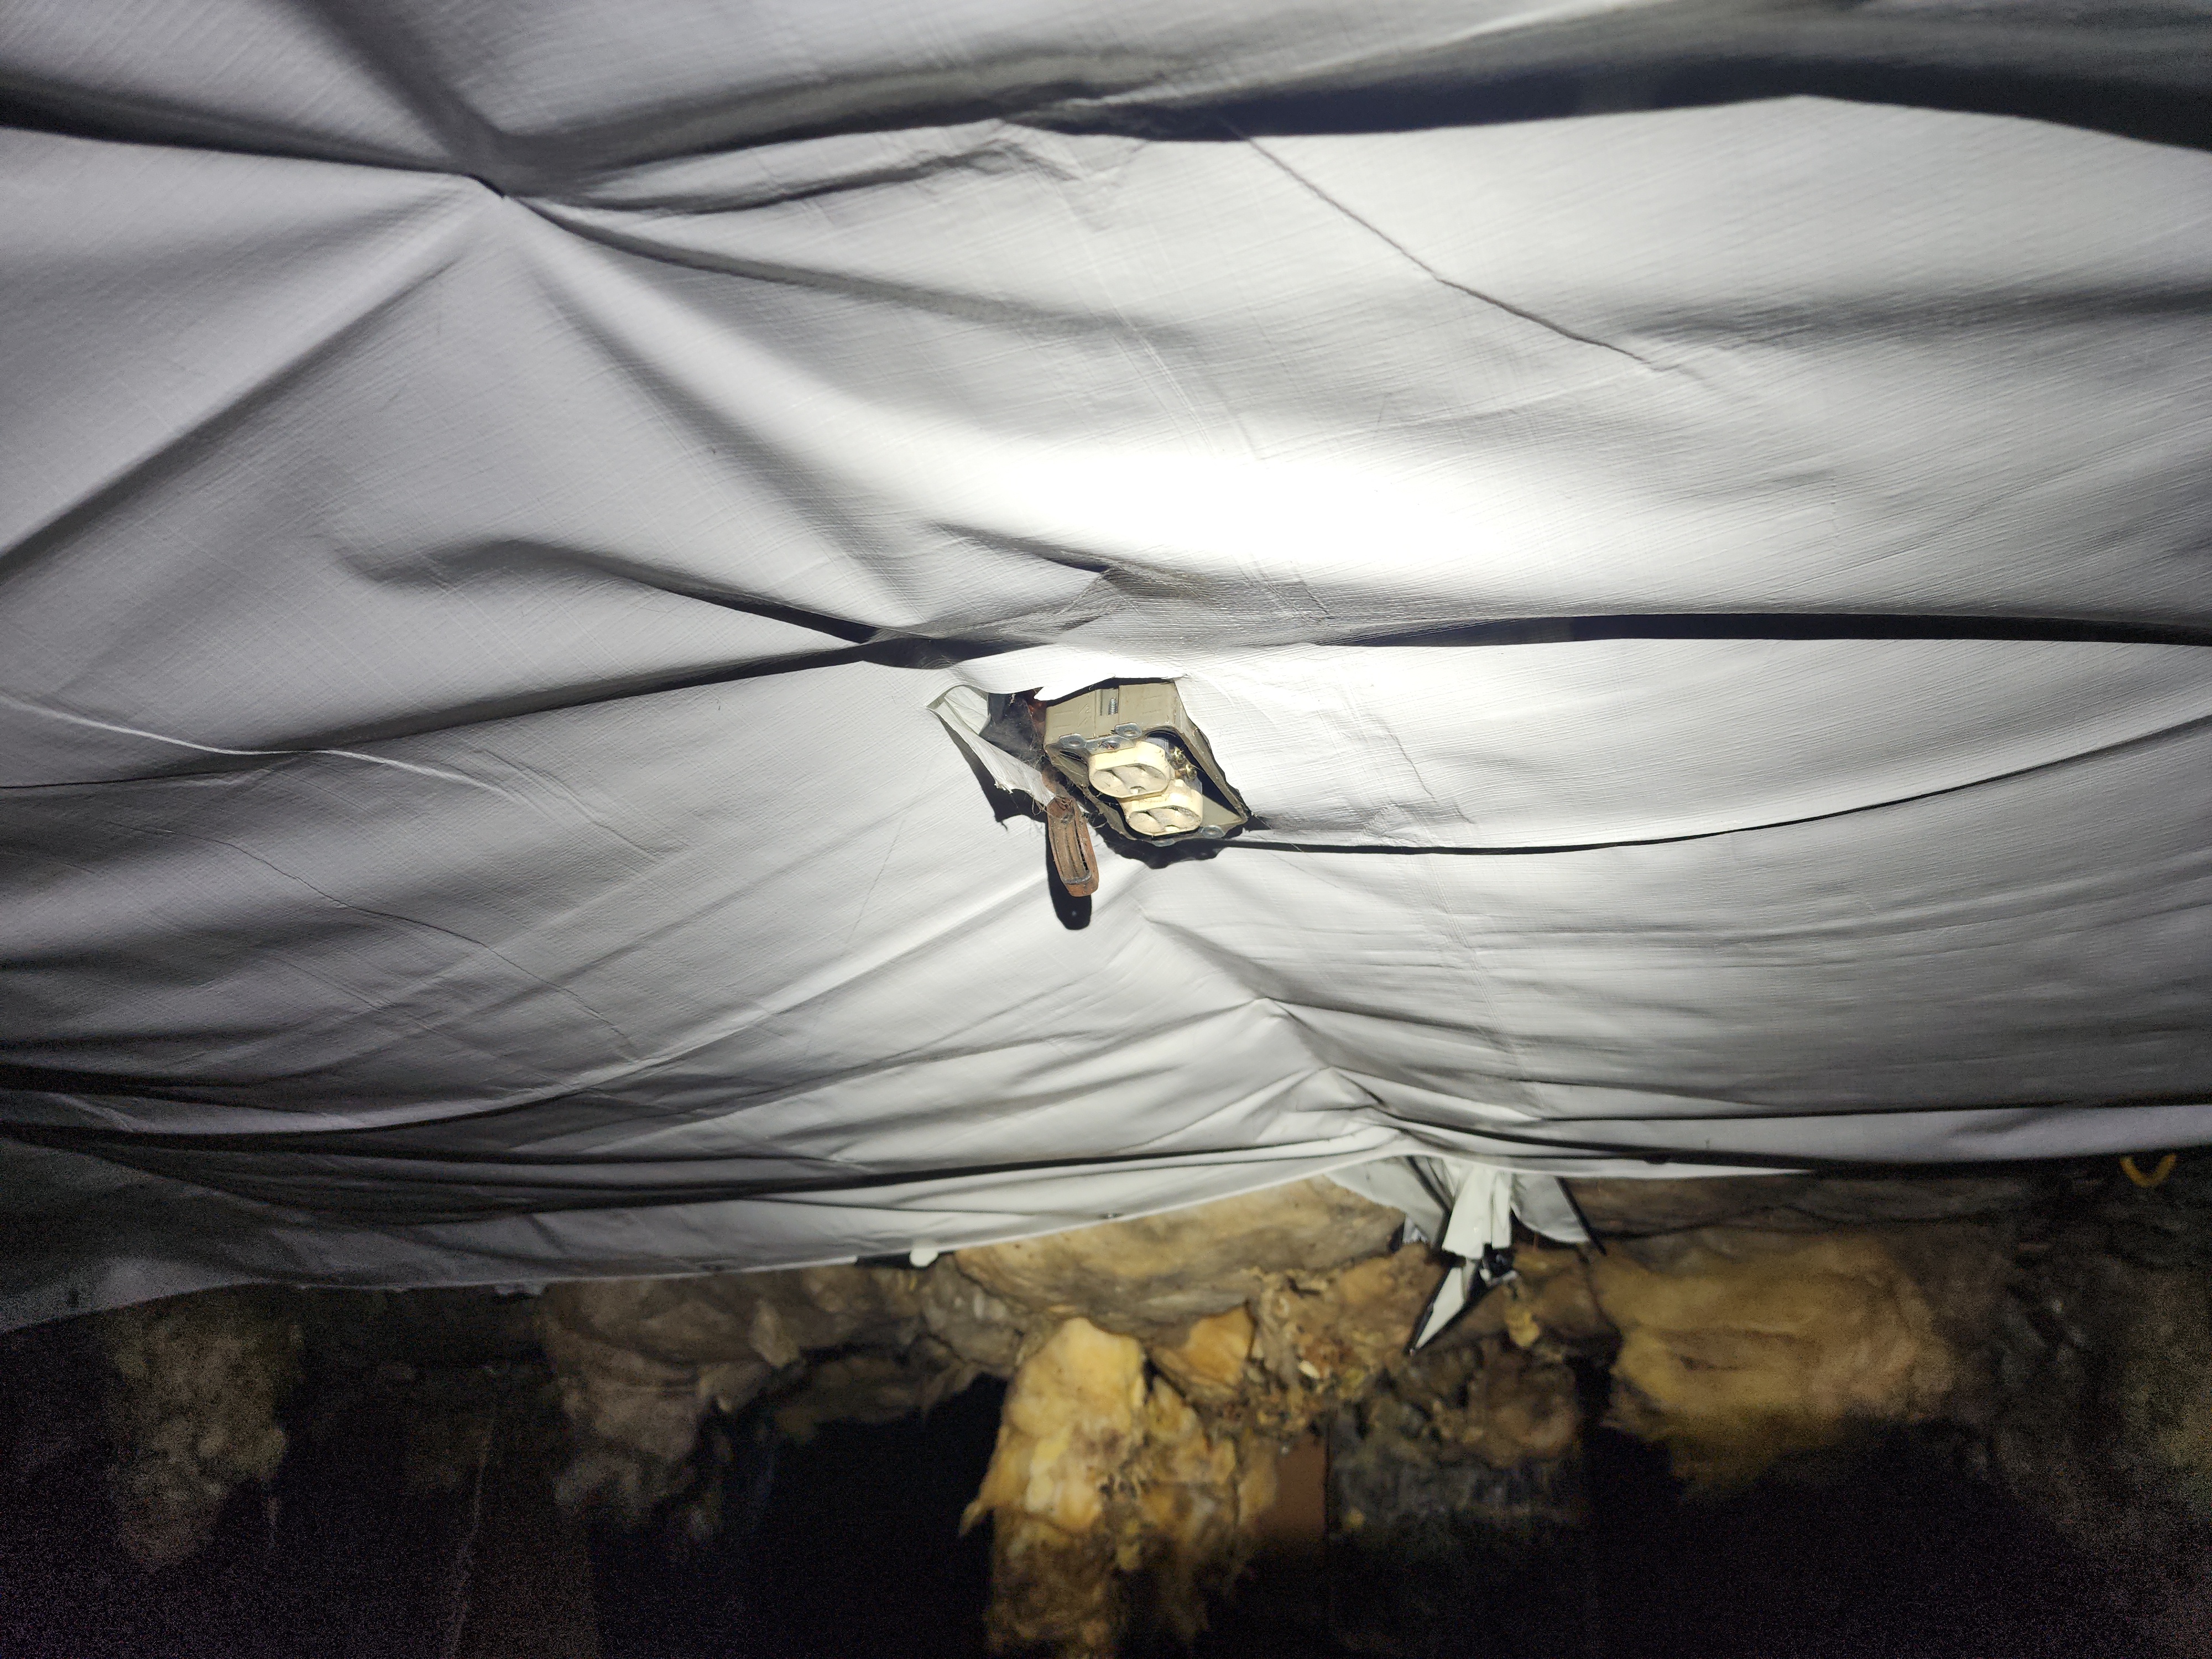
There was a possible rodent access point underneath the foundation at the SE corner of the basement, see photos (the dark one is with the light off--daylight was visible through the hole.) Recommend sealing this hole as a DIY repair.
Contractor:DIY (do it yourself) - P-2 Plumbing:
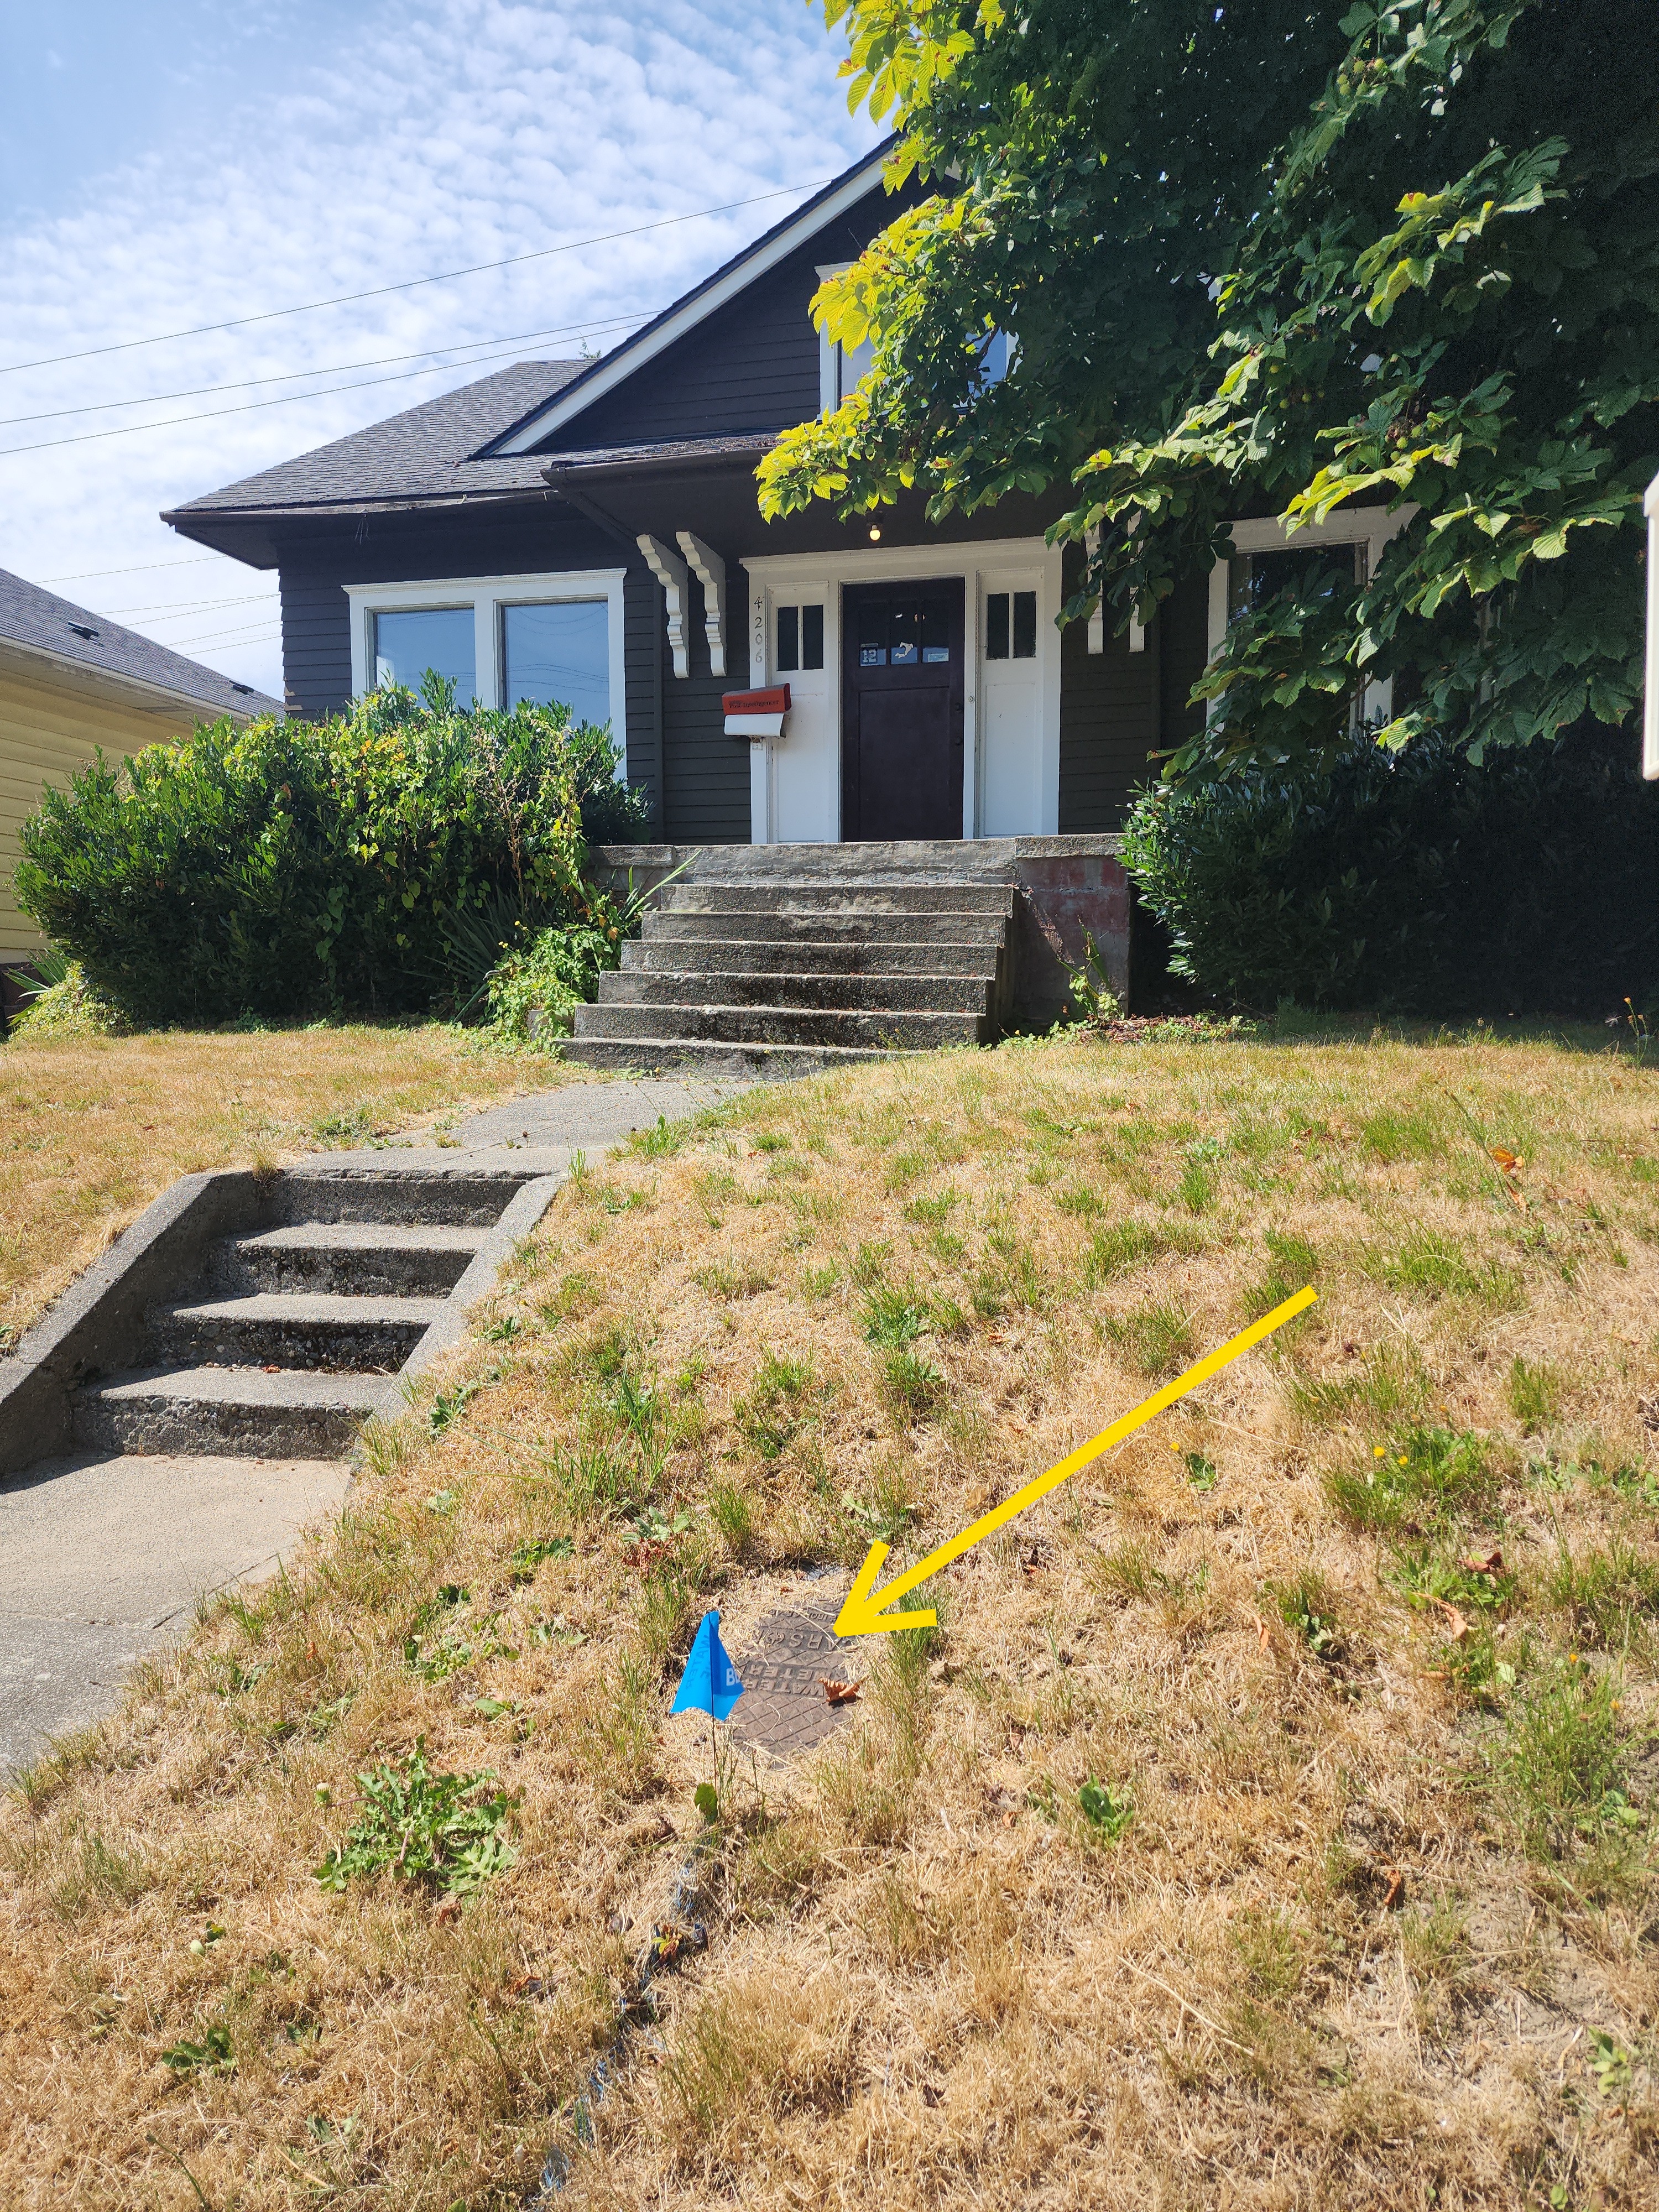
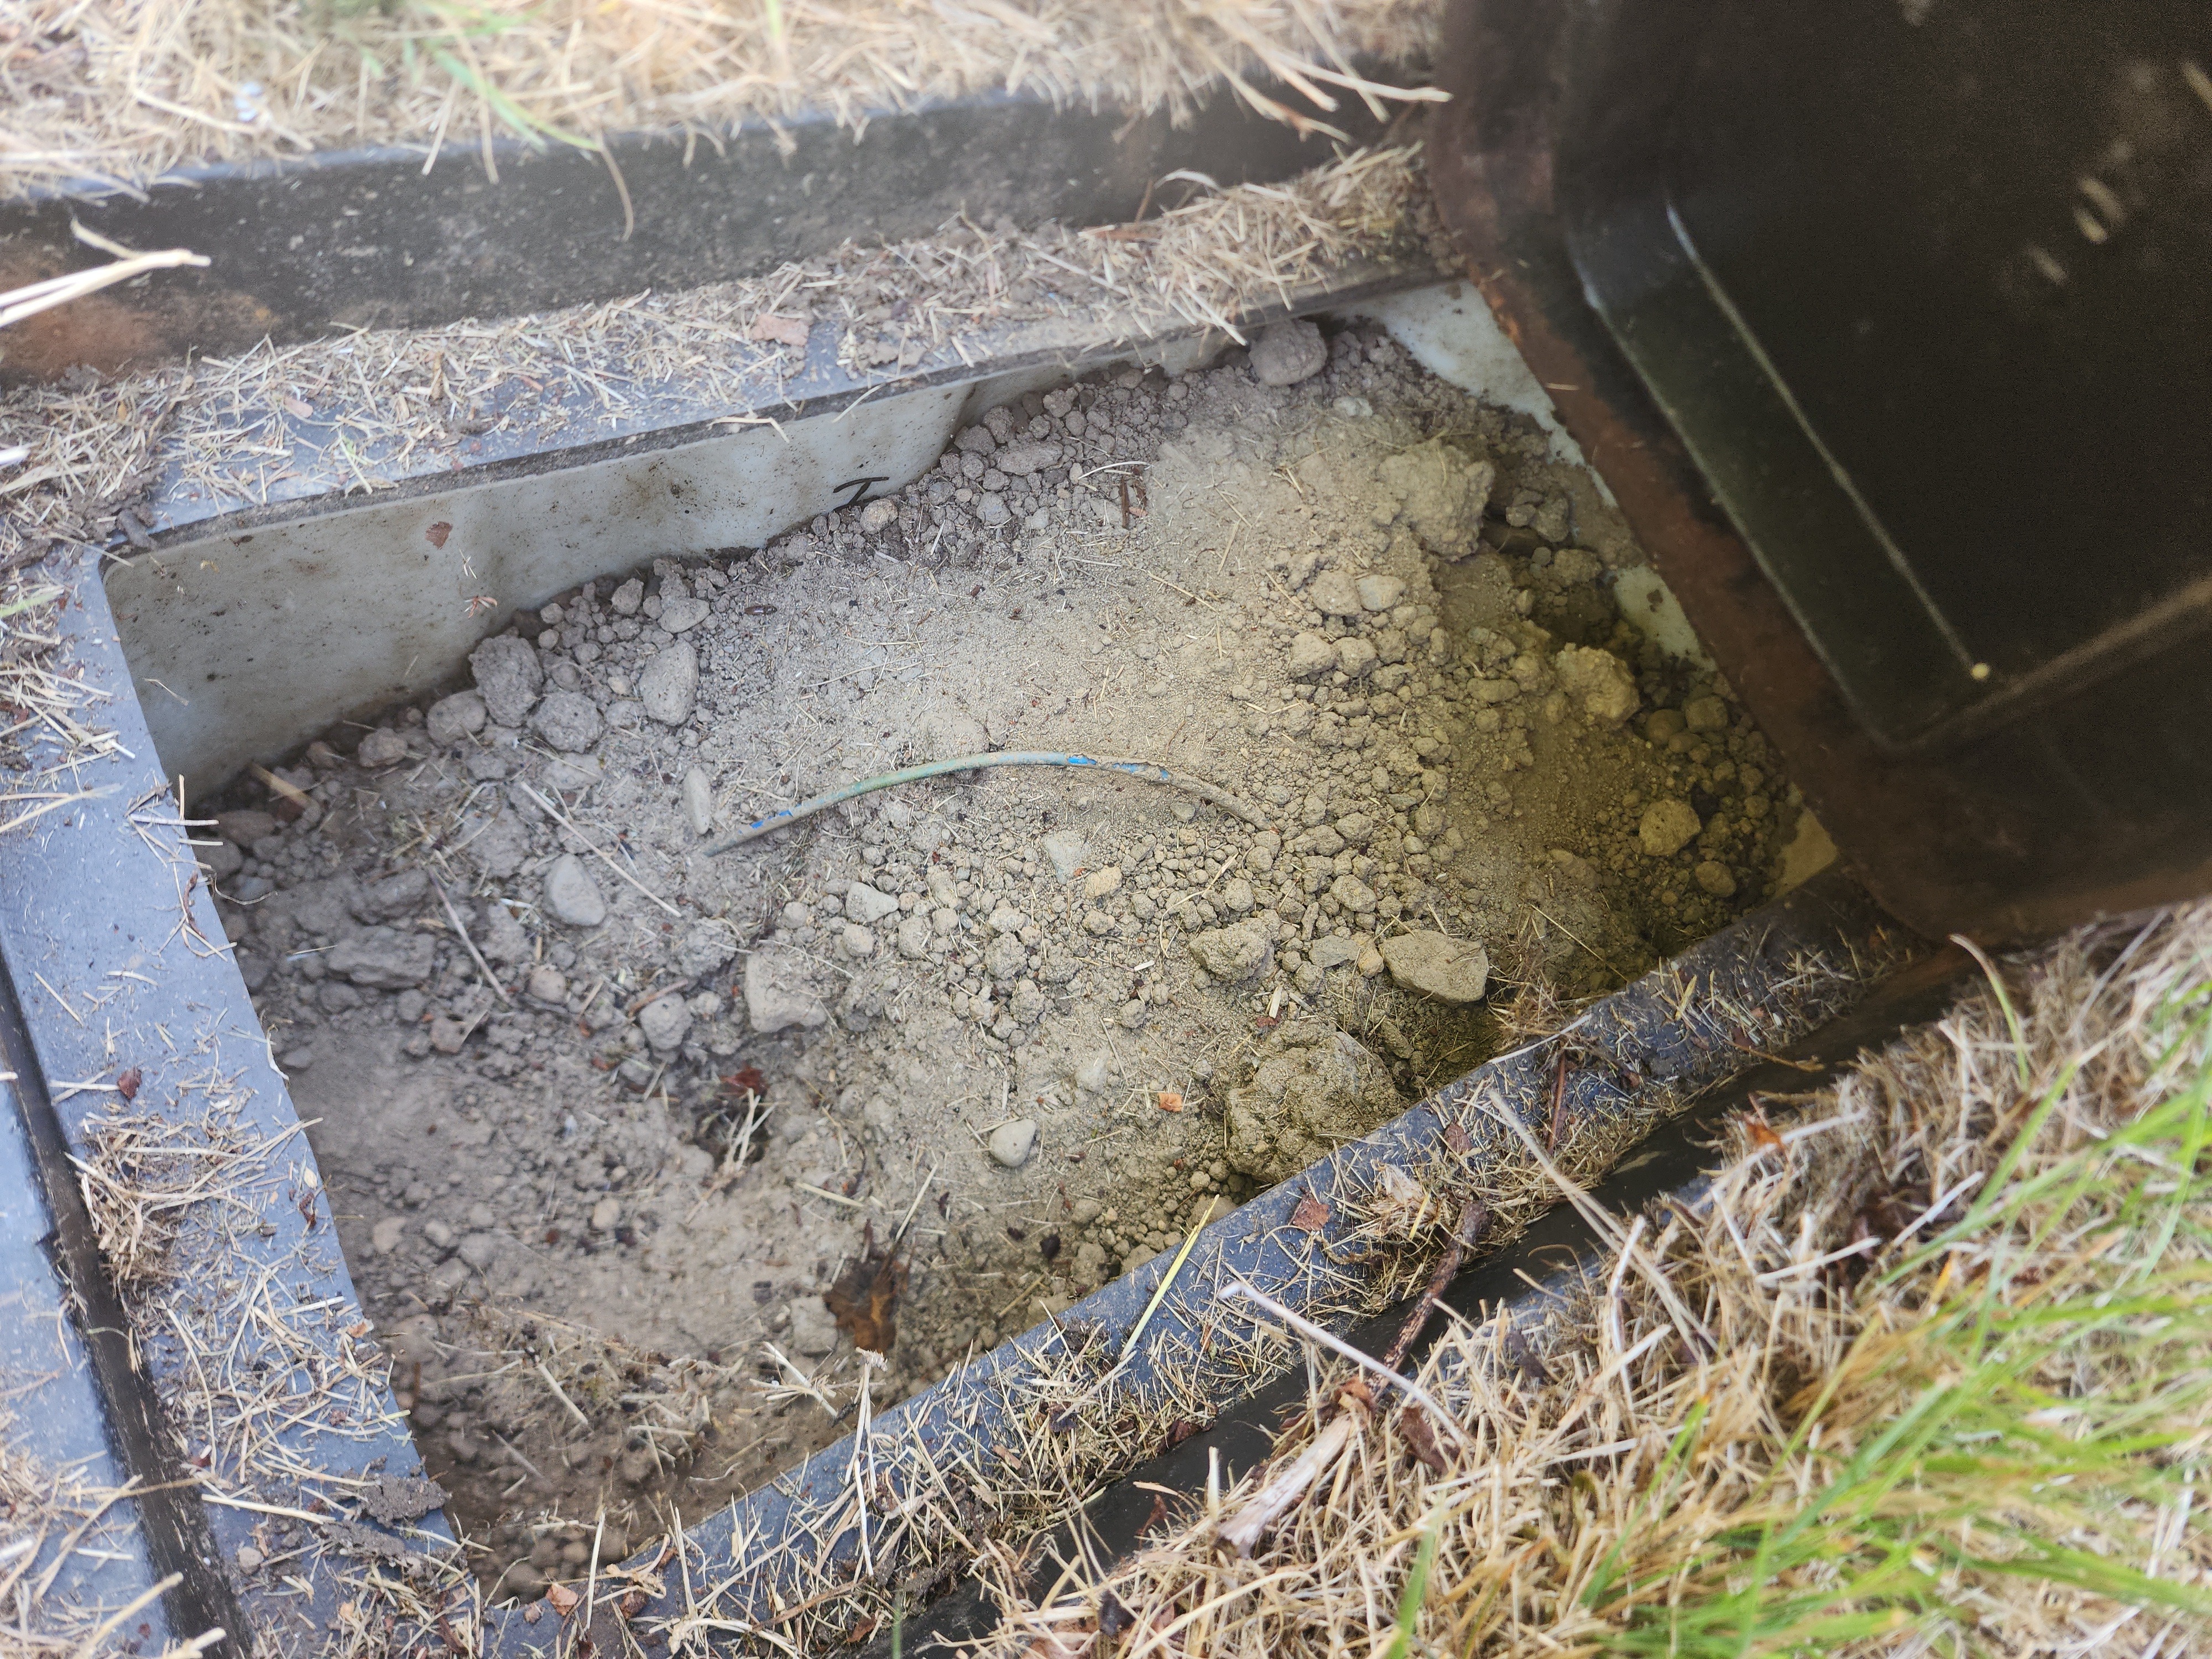
The secondary water shut-off valve at the water meter was buried. The valve is normally installed on the street side of the meter. Recommend digging it out so it is accessible in case of an emergency. DIY repair.
Contractor:DIY (do it yourself) - E-27 Electrical:
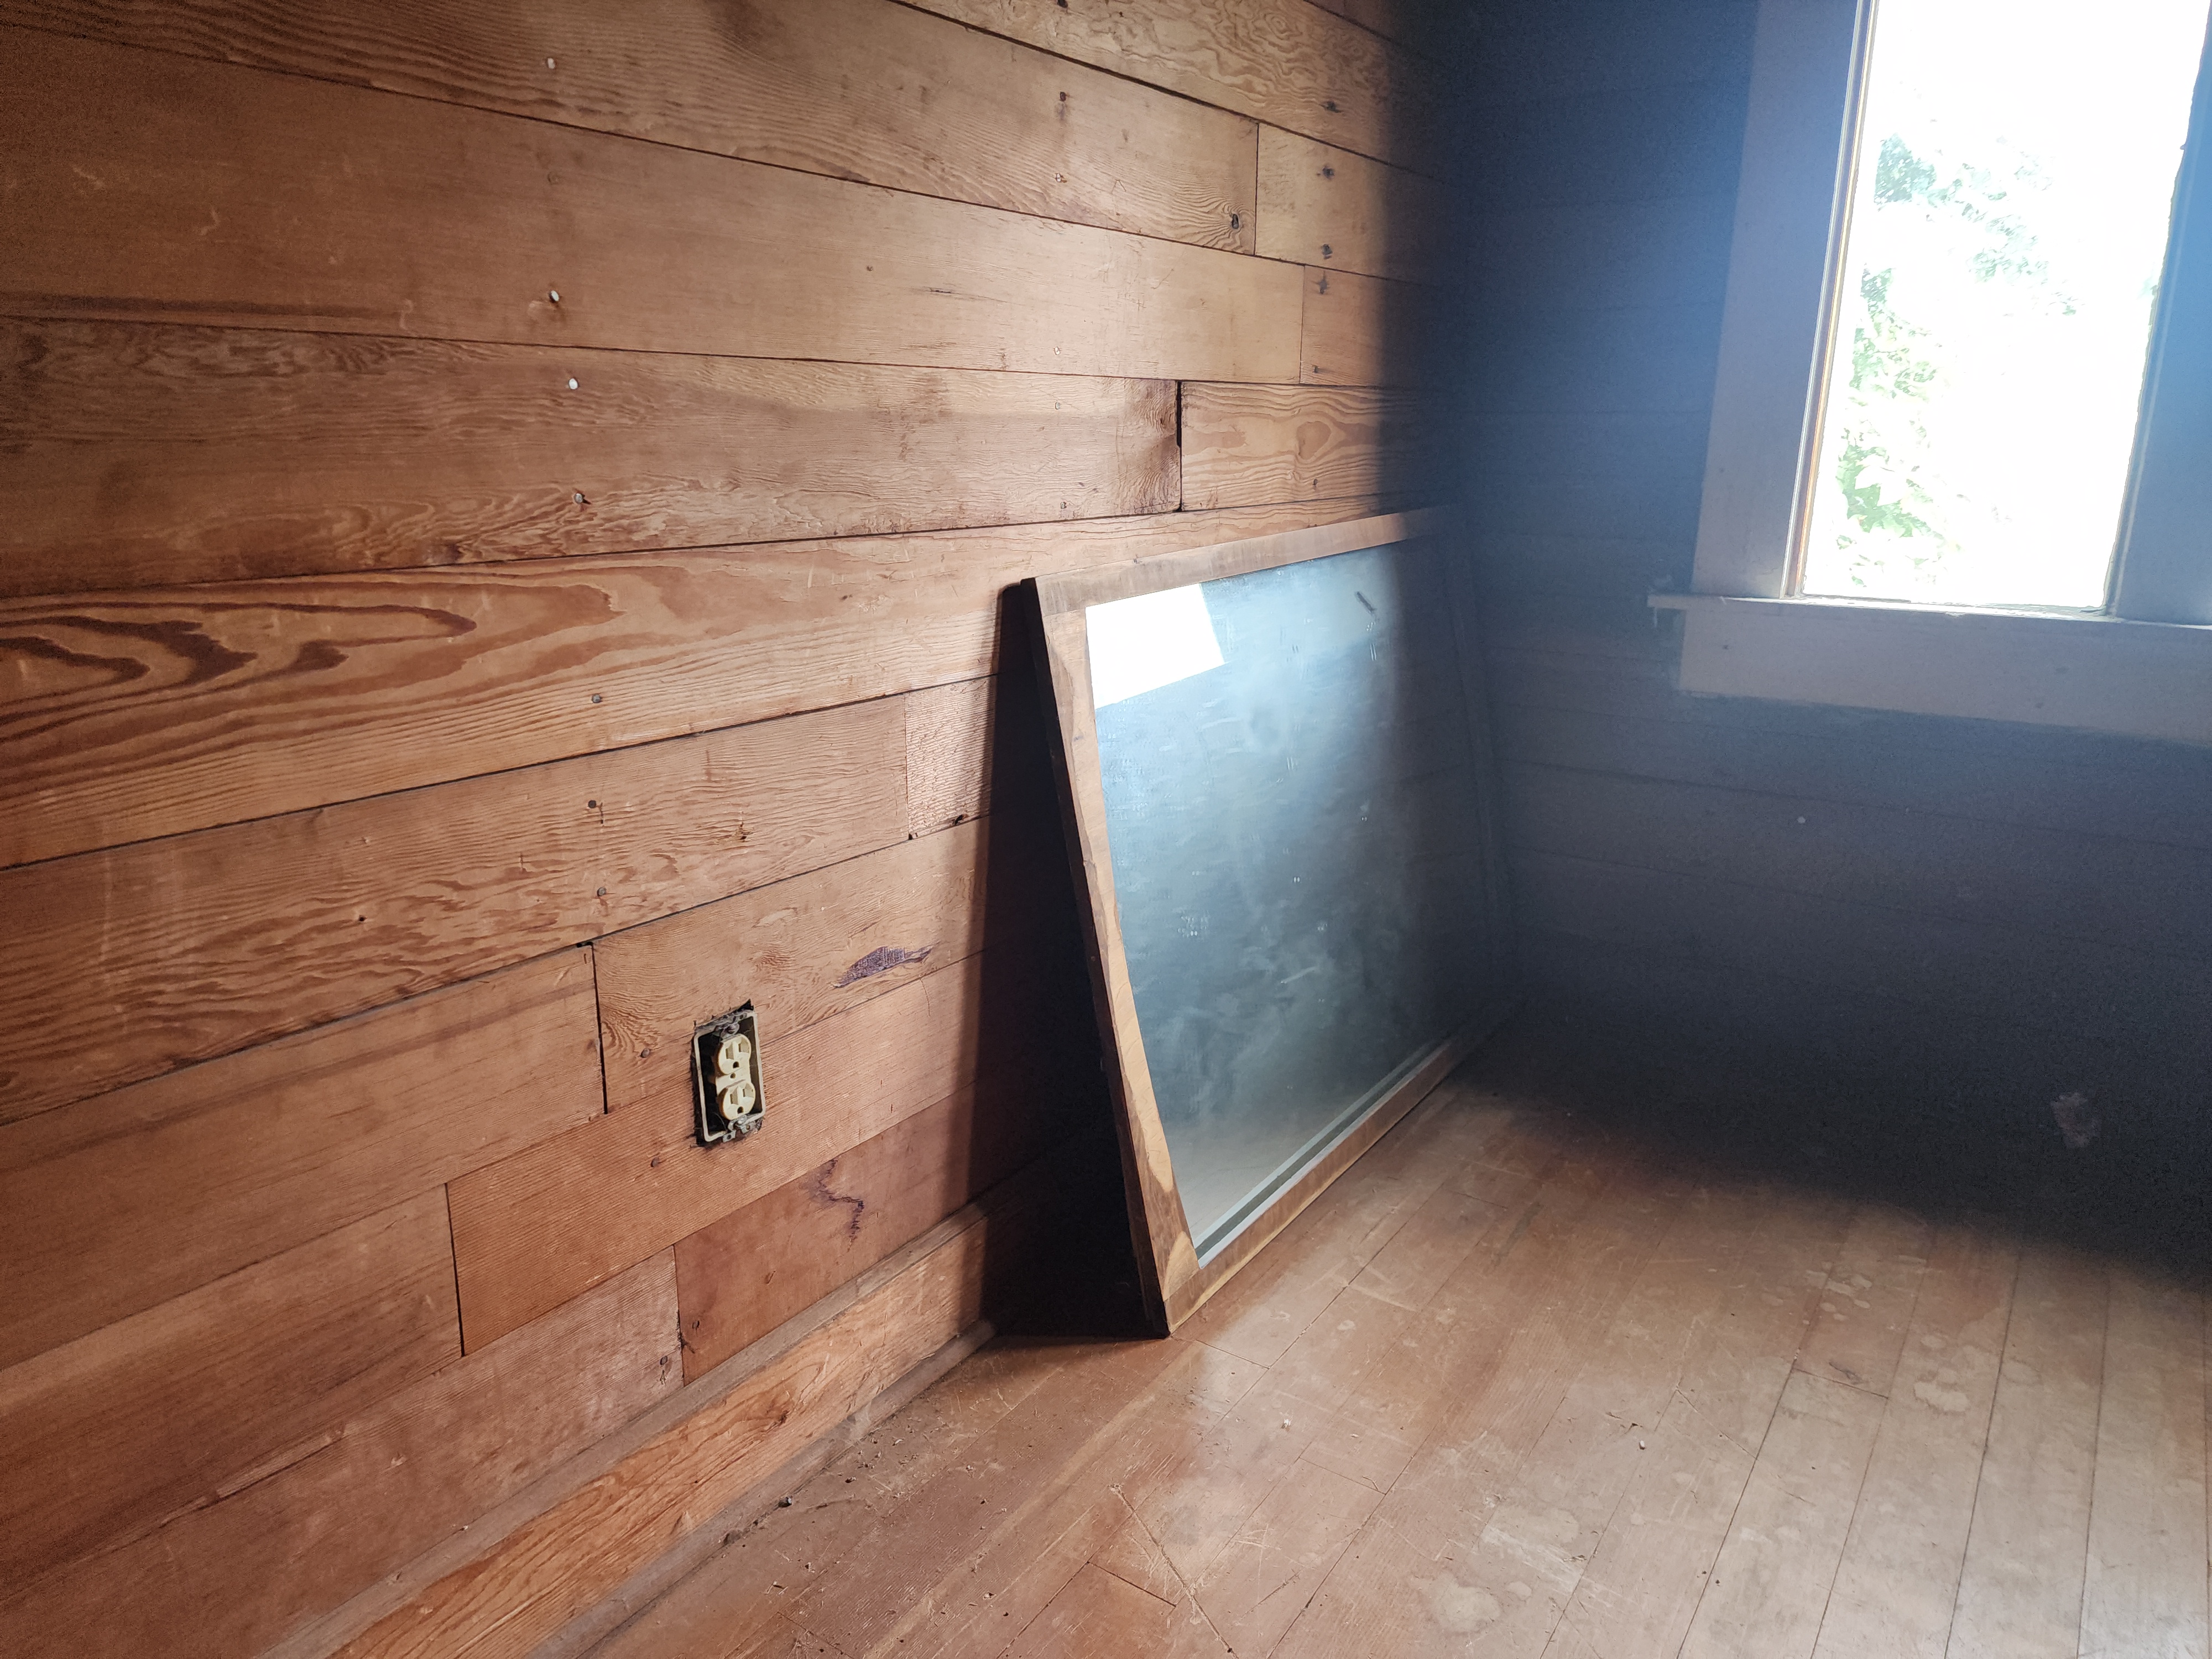
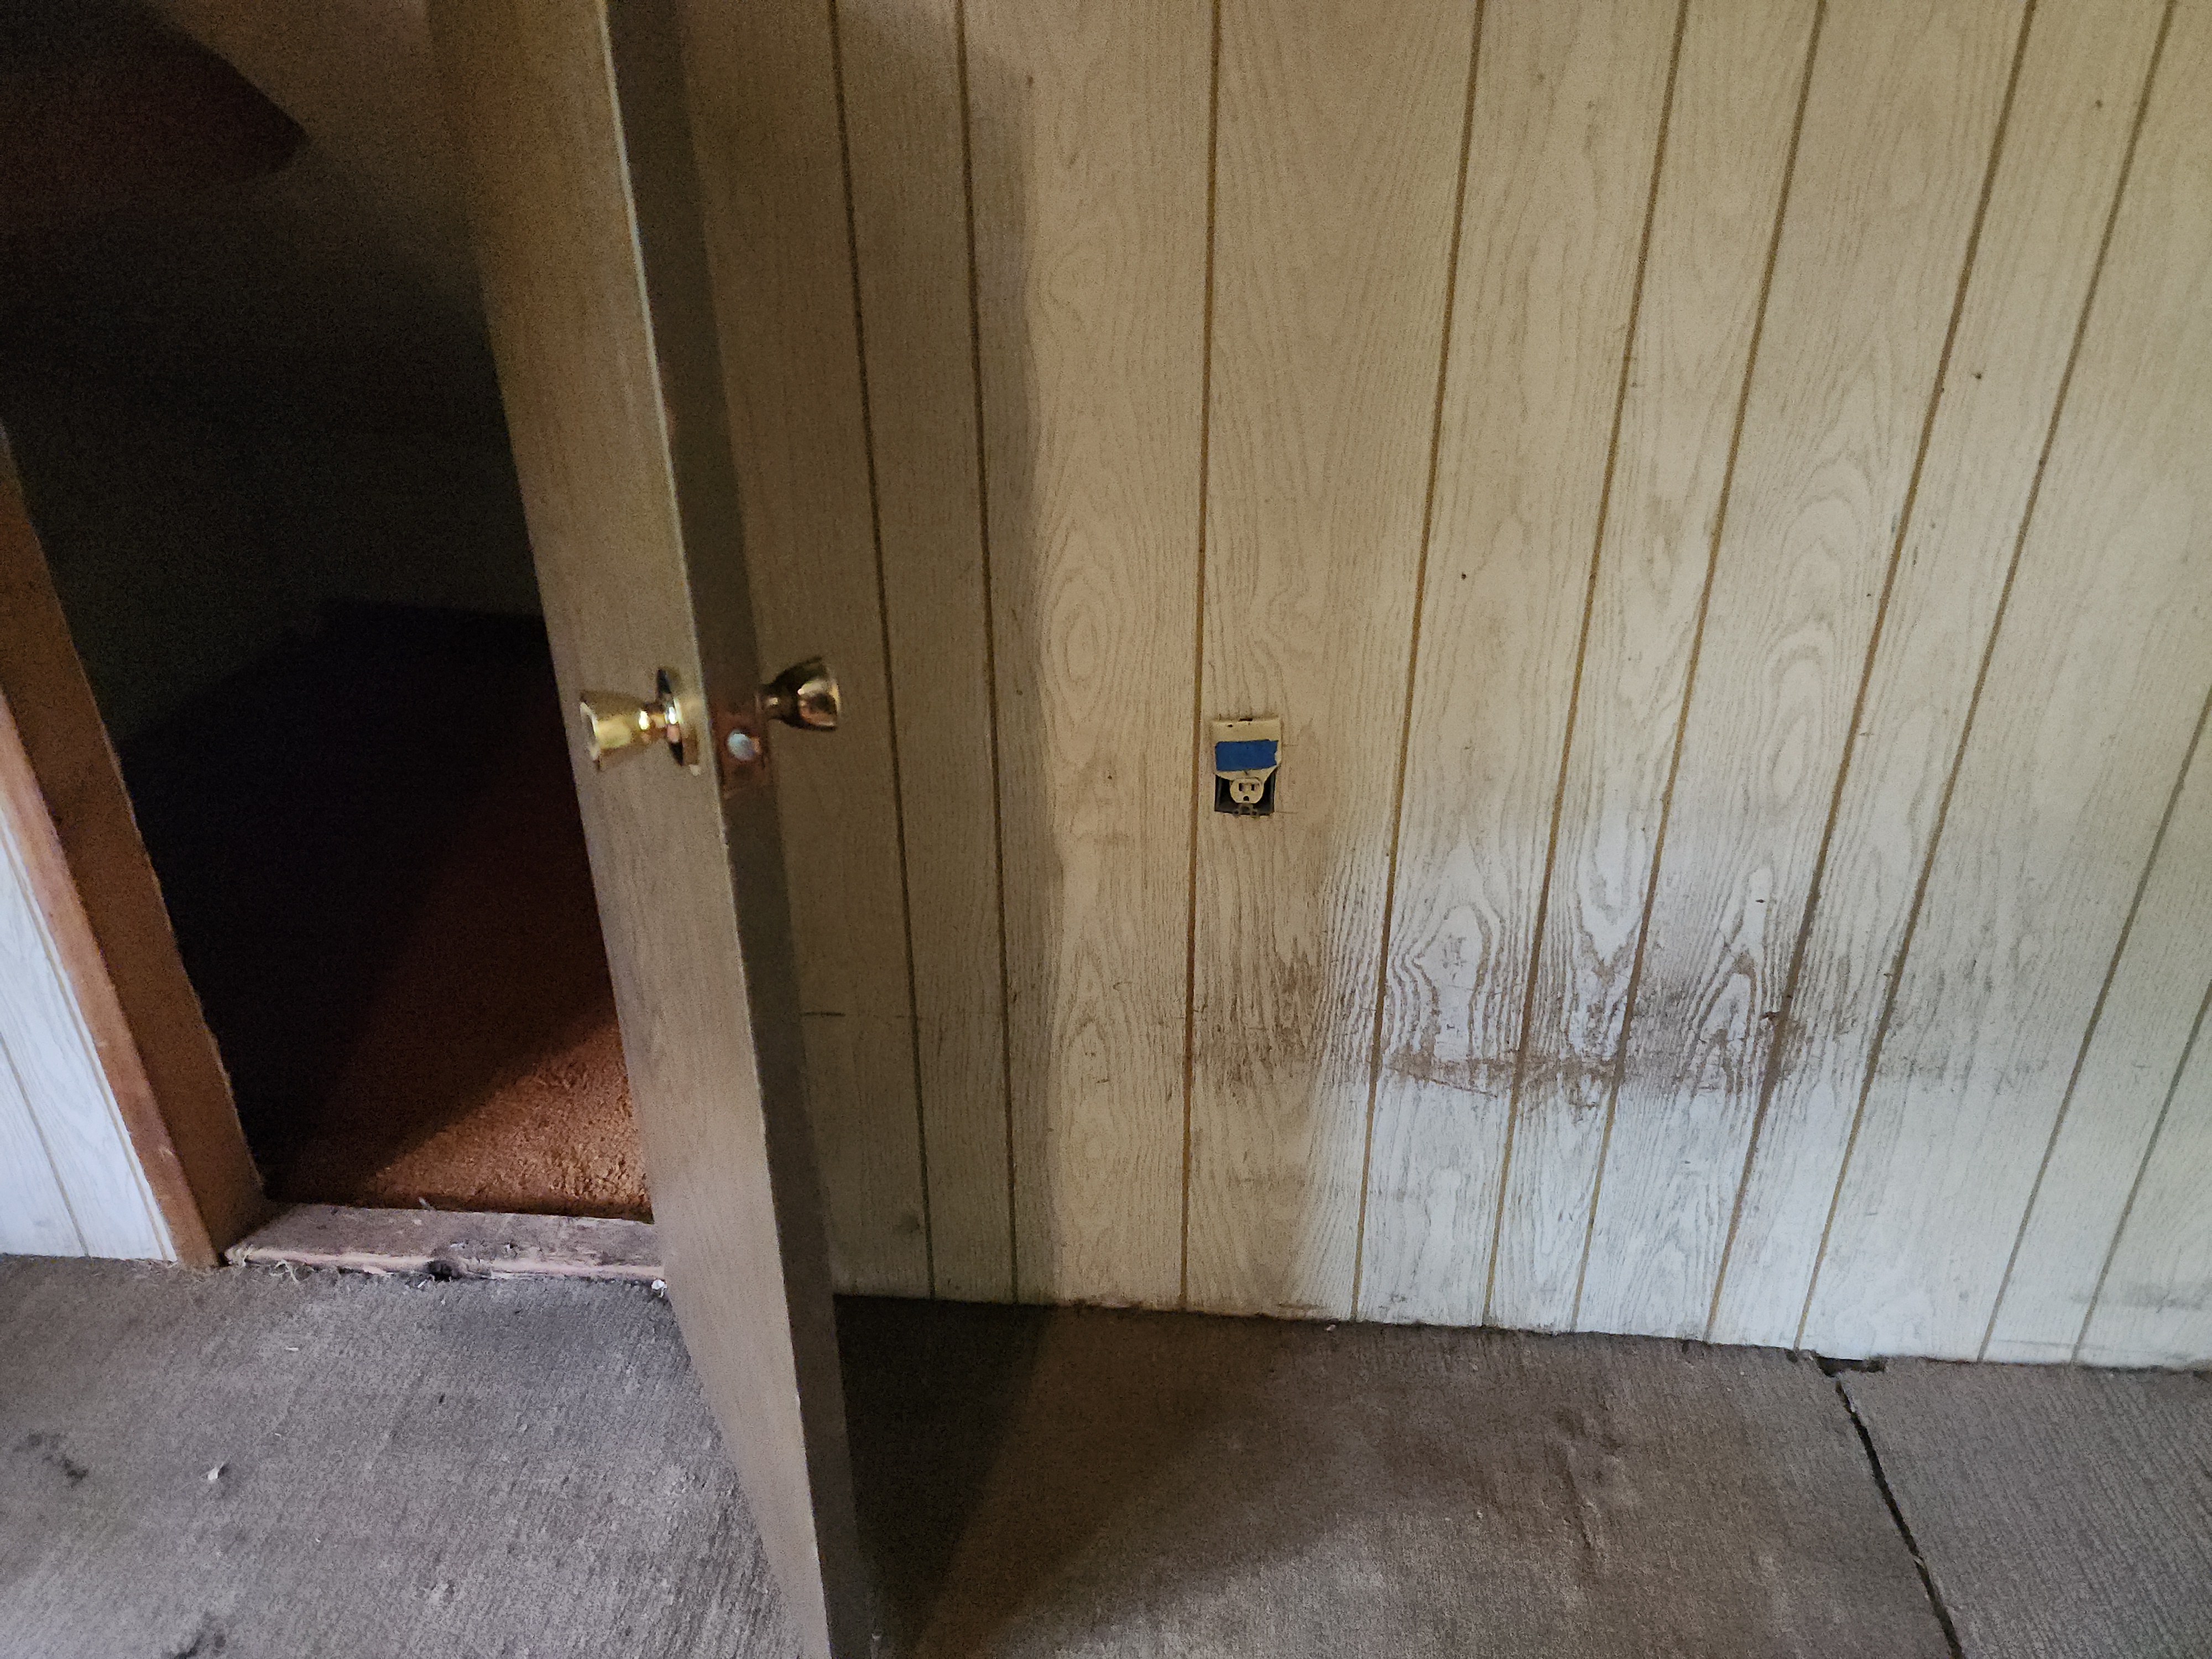
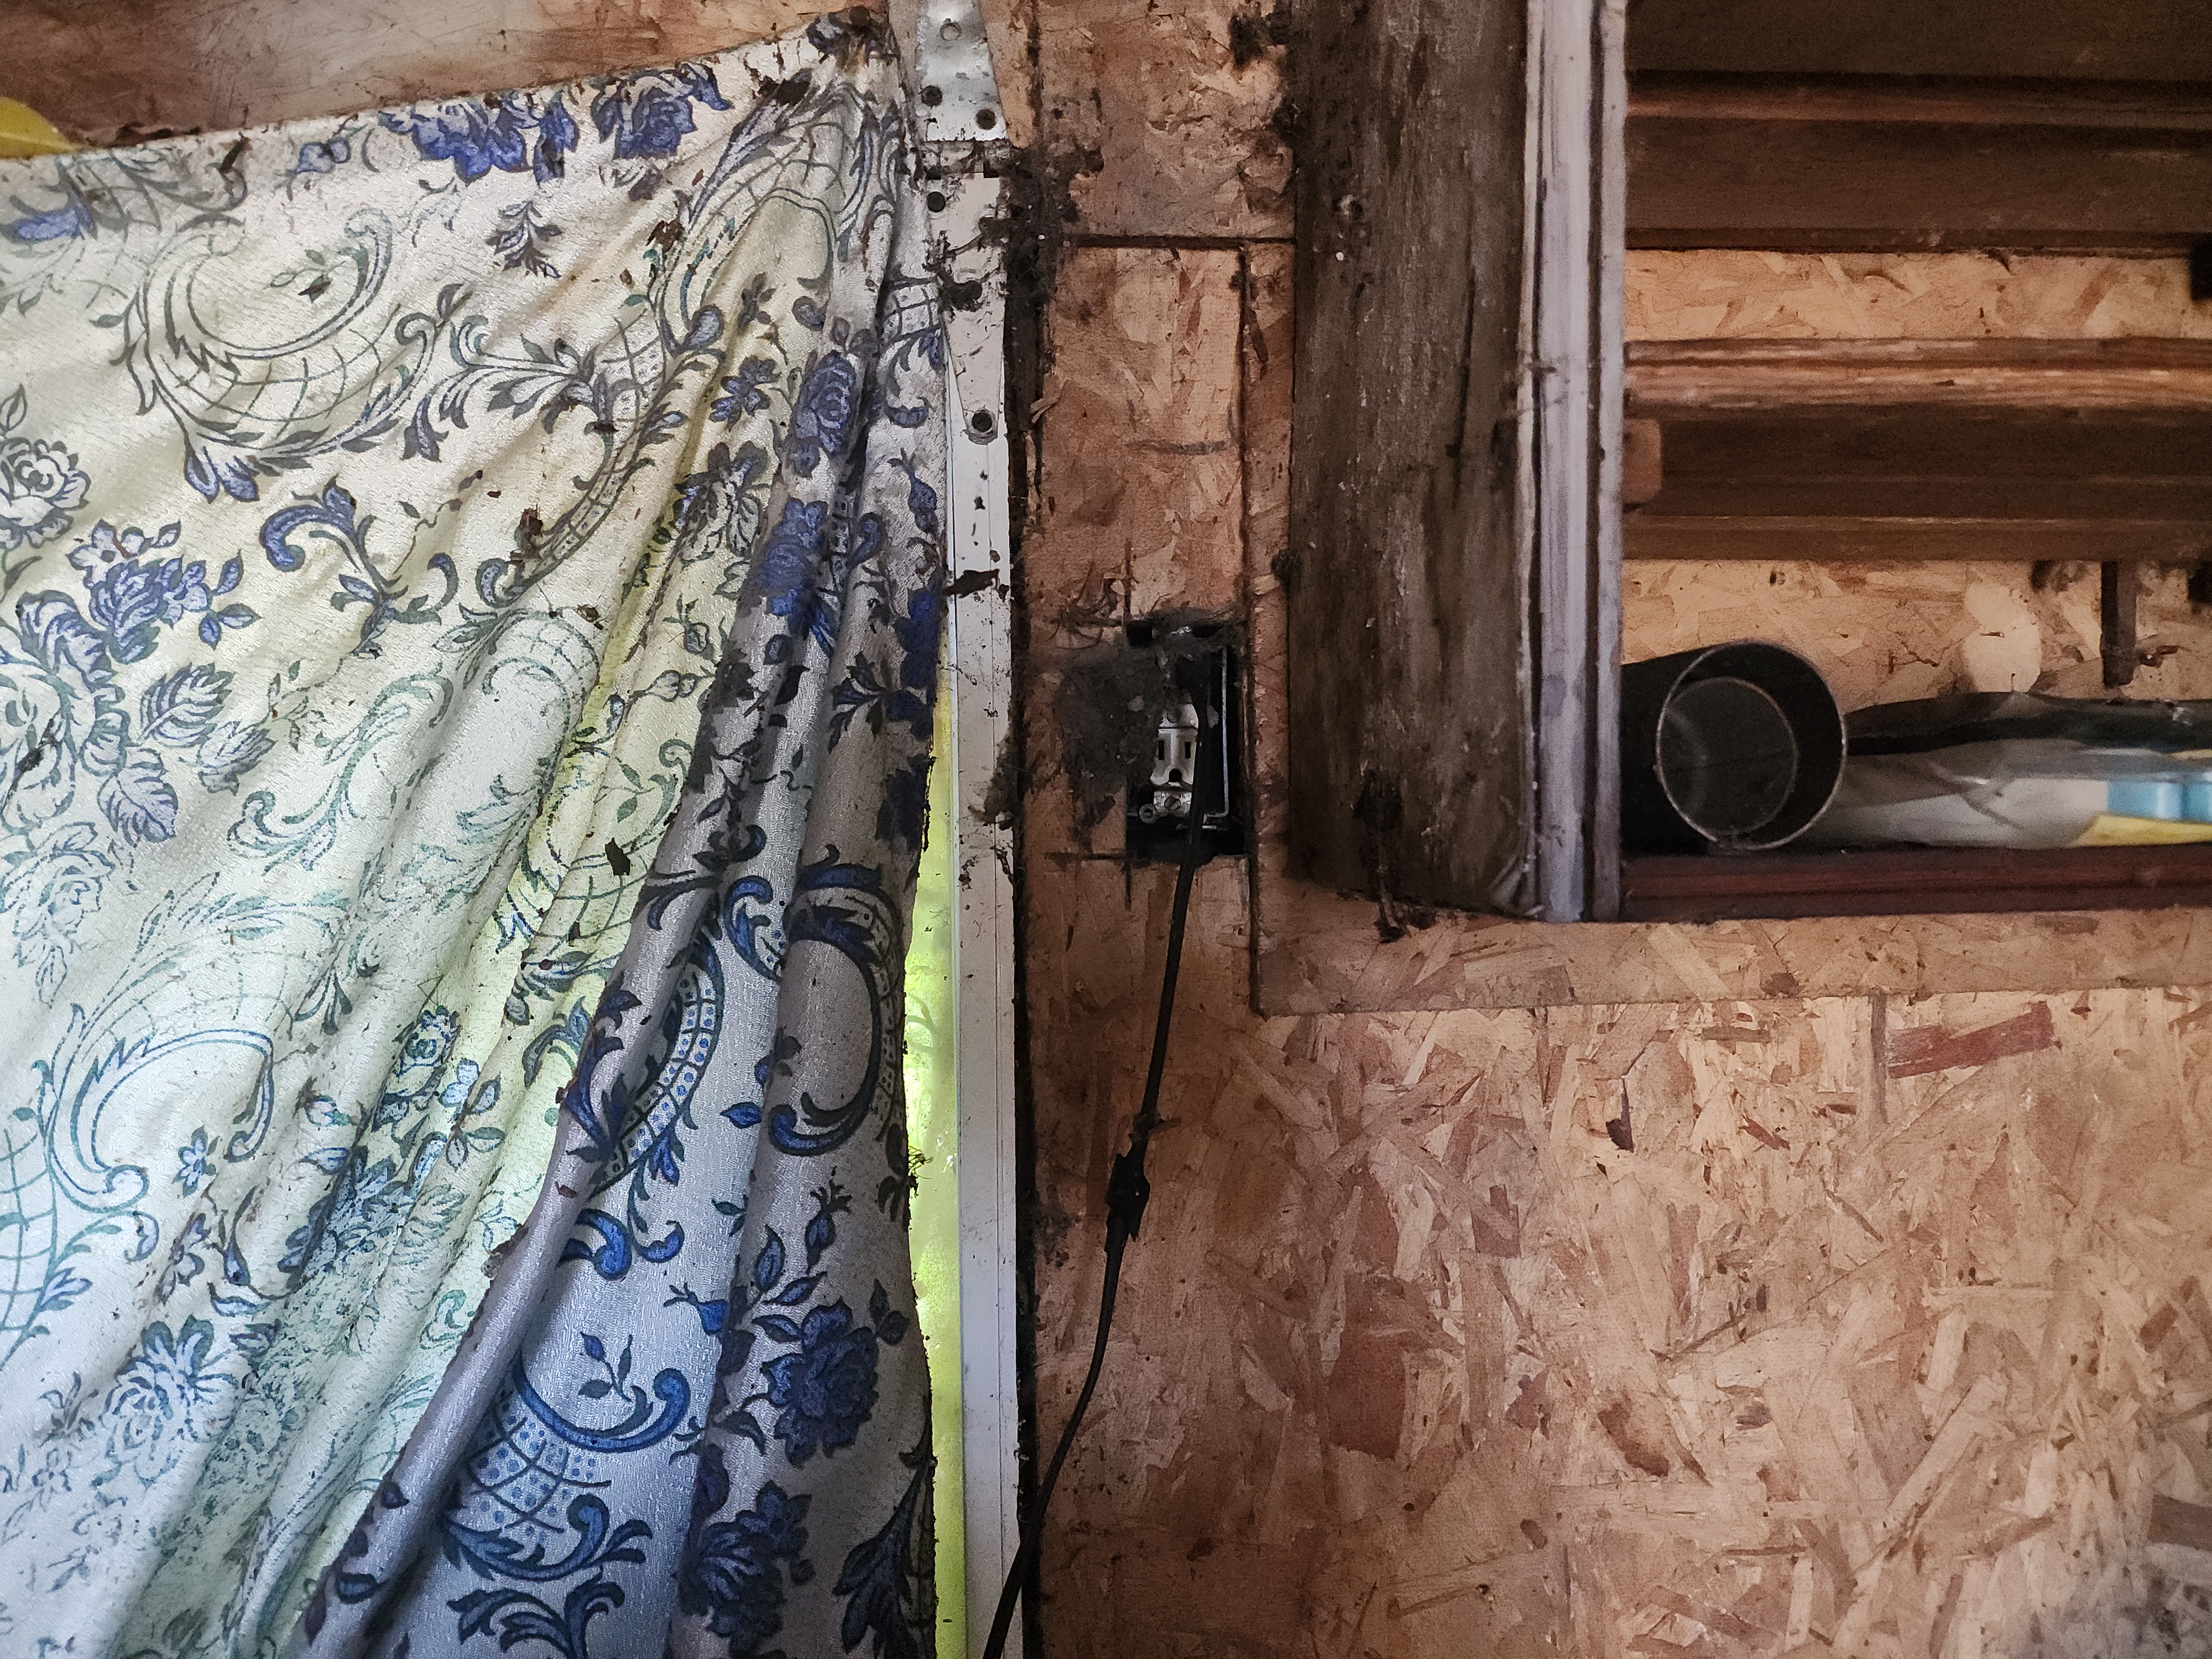
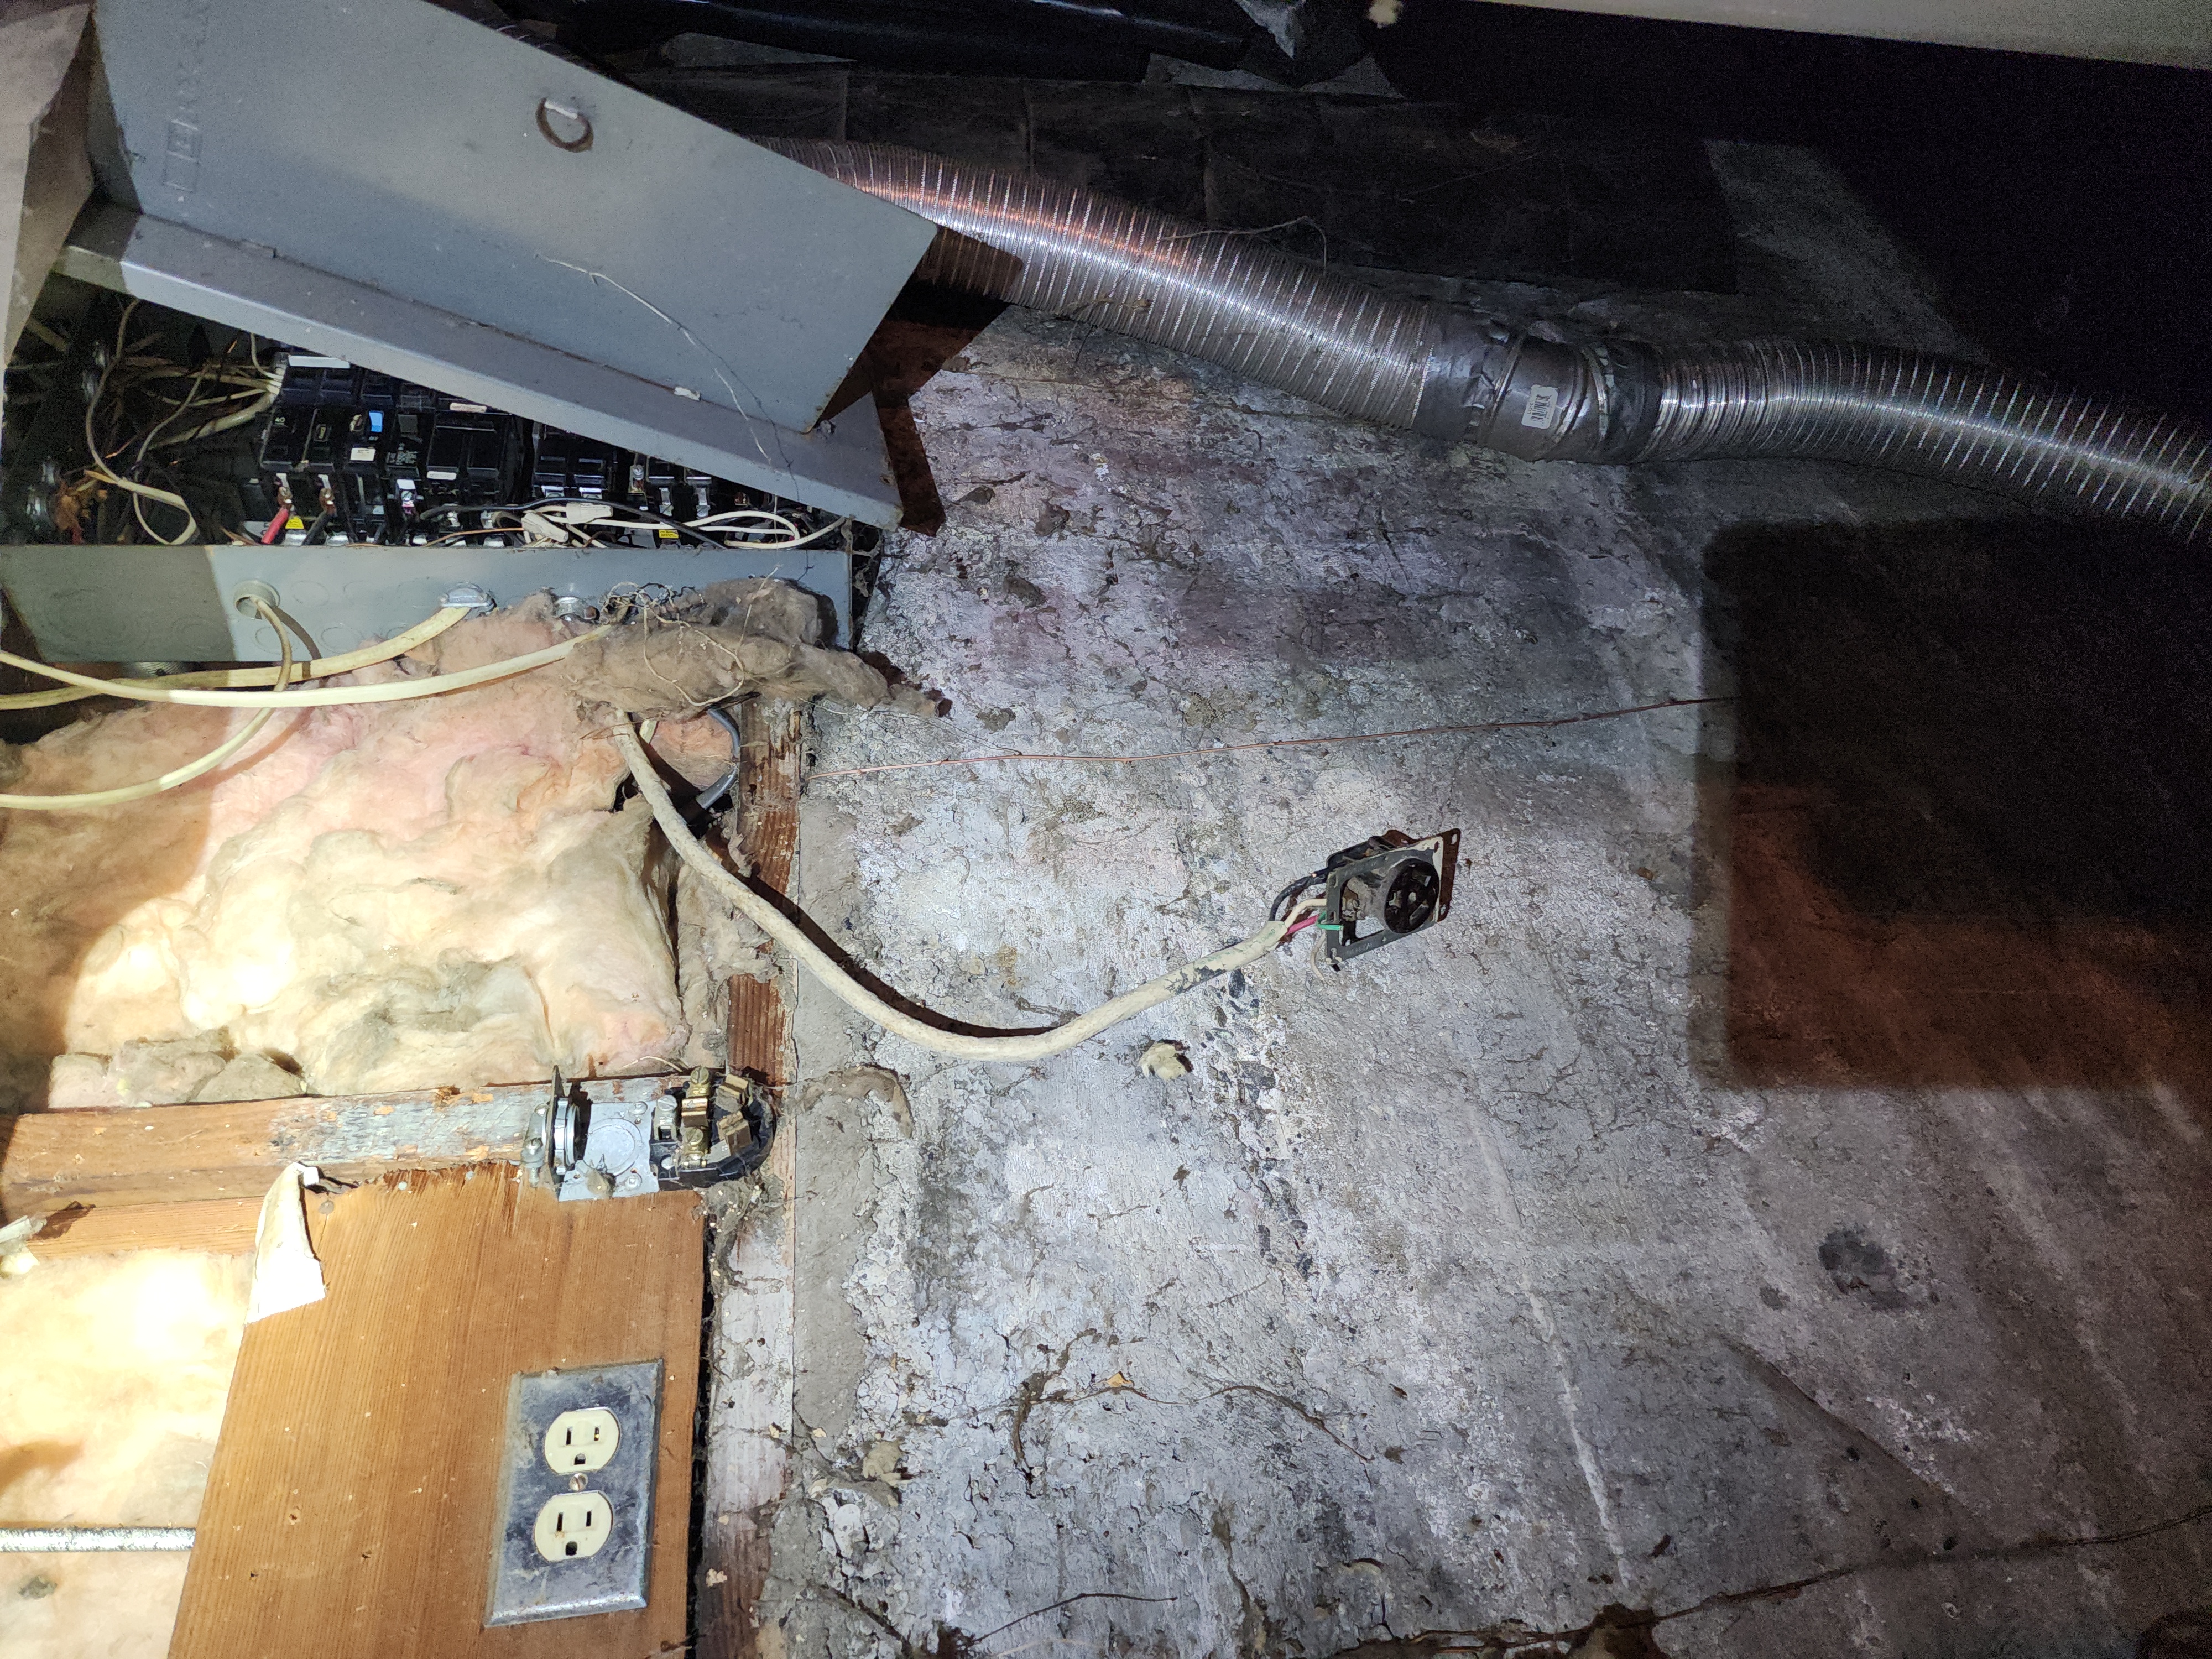
Safety cover plate(s) was missing/damaged, see photo(s.) Recommend DIY installation of safety covers to prevent access to live wires. These covers are sold at any Home Depot type store.
Contractor:DIY (do it yourself) - E-32 Electrical:
Loose receptacle(s) was observed, see photo(s.) Movement of the receptacle can cause wires to pull loose, creating a potential fire hazard. Recommend outlet(s) be tightened to prevent movement. Securing loose receptacles can often be done by just tightening some set screws between the receptacle and the junction box, though sometimes it can get more complex if the box itself is loose. Typically this is a DIY repair.
Contractor:DIY (do it yourself) - DG-4 Detached Garage:
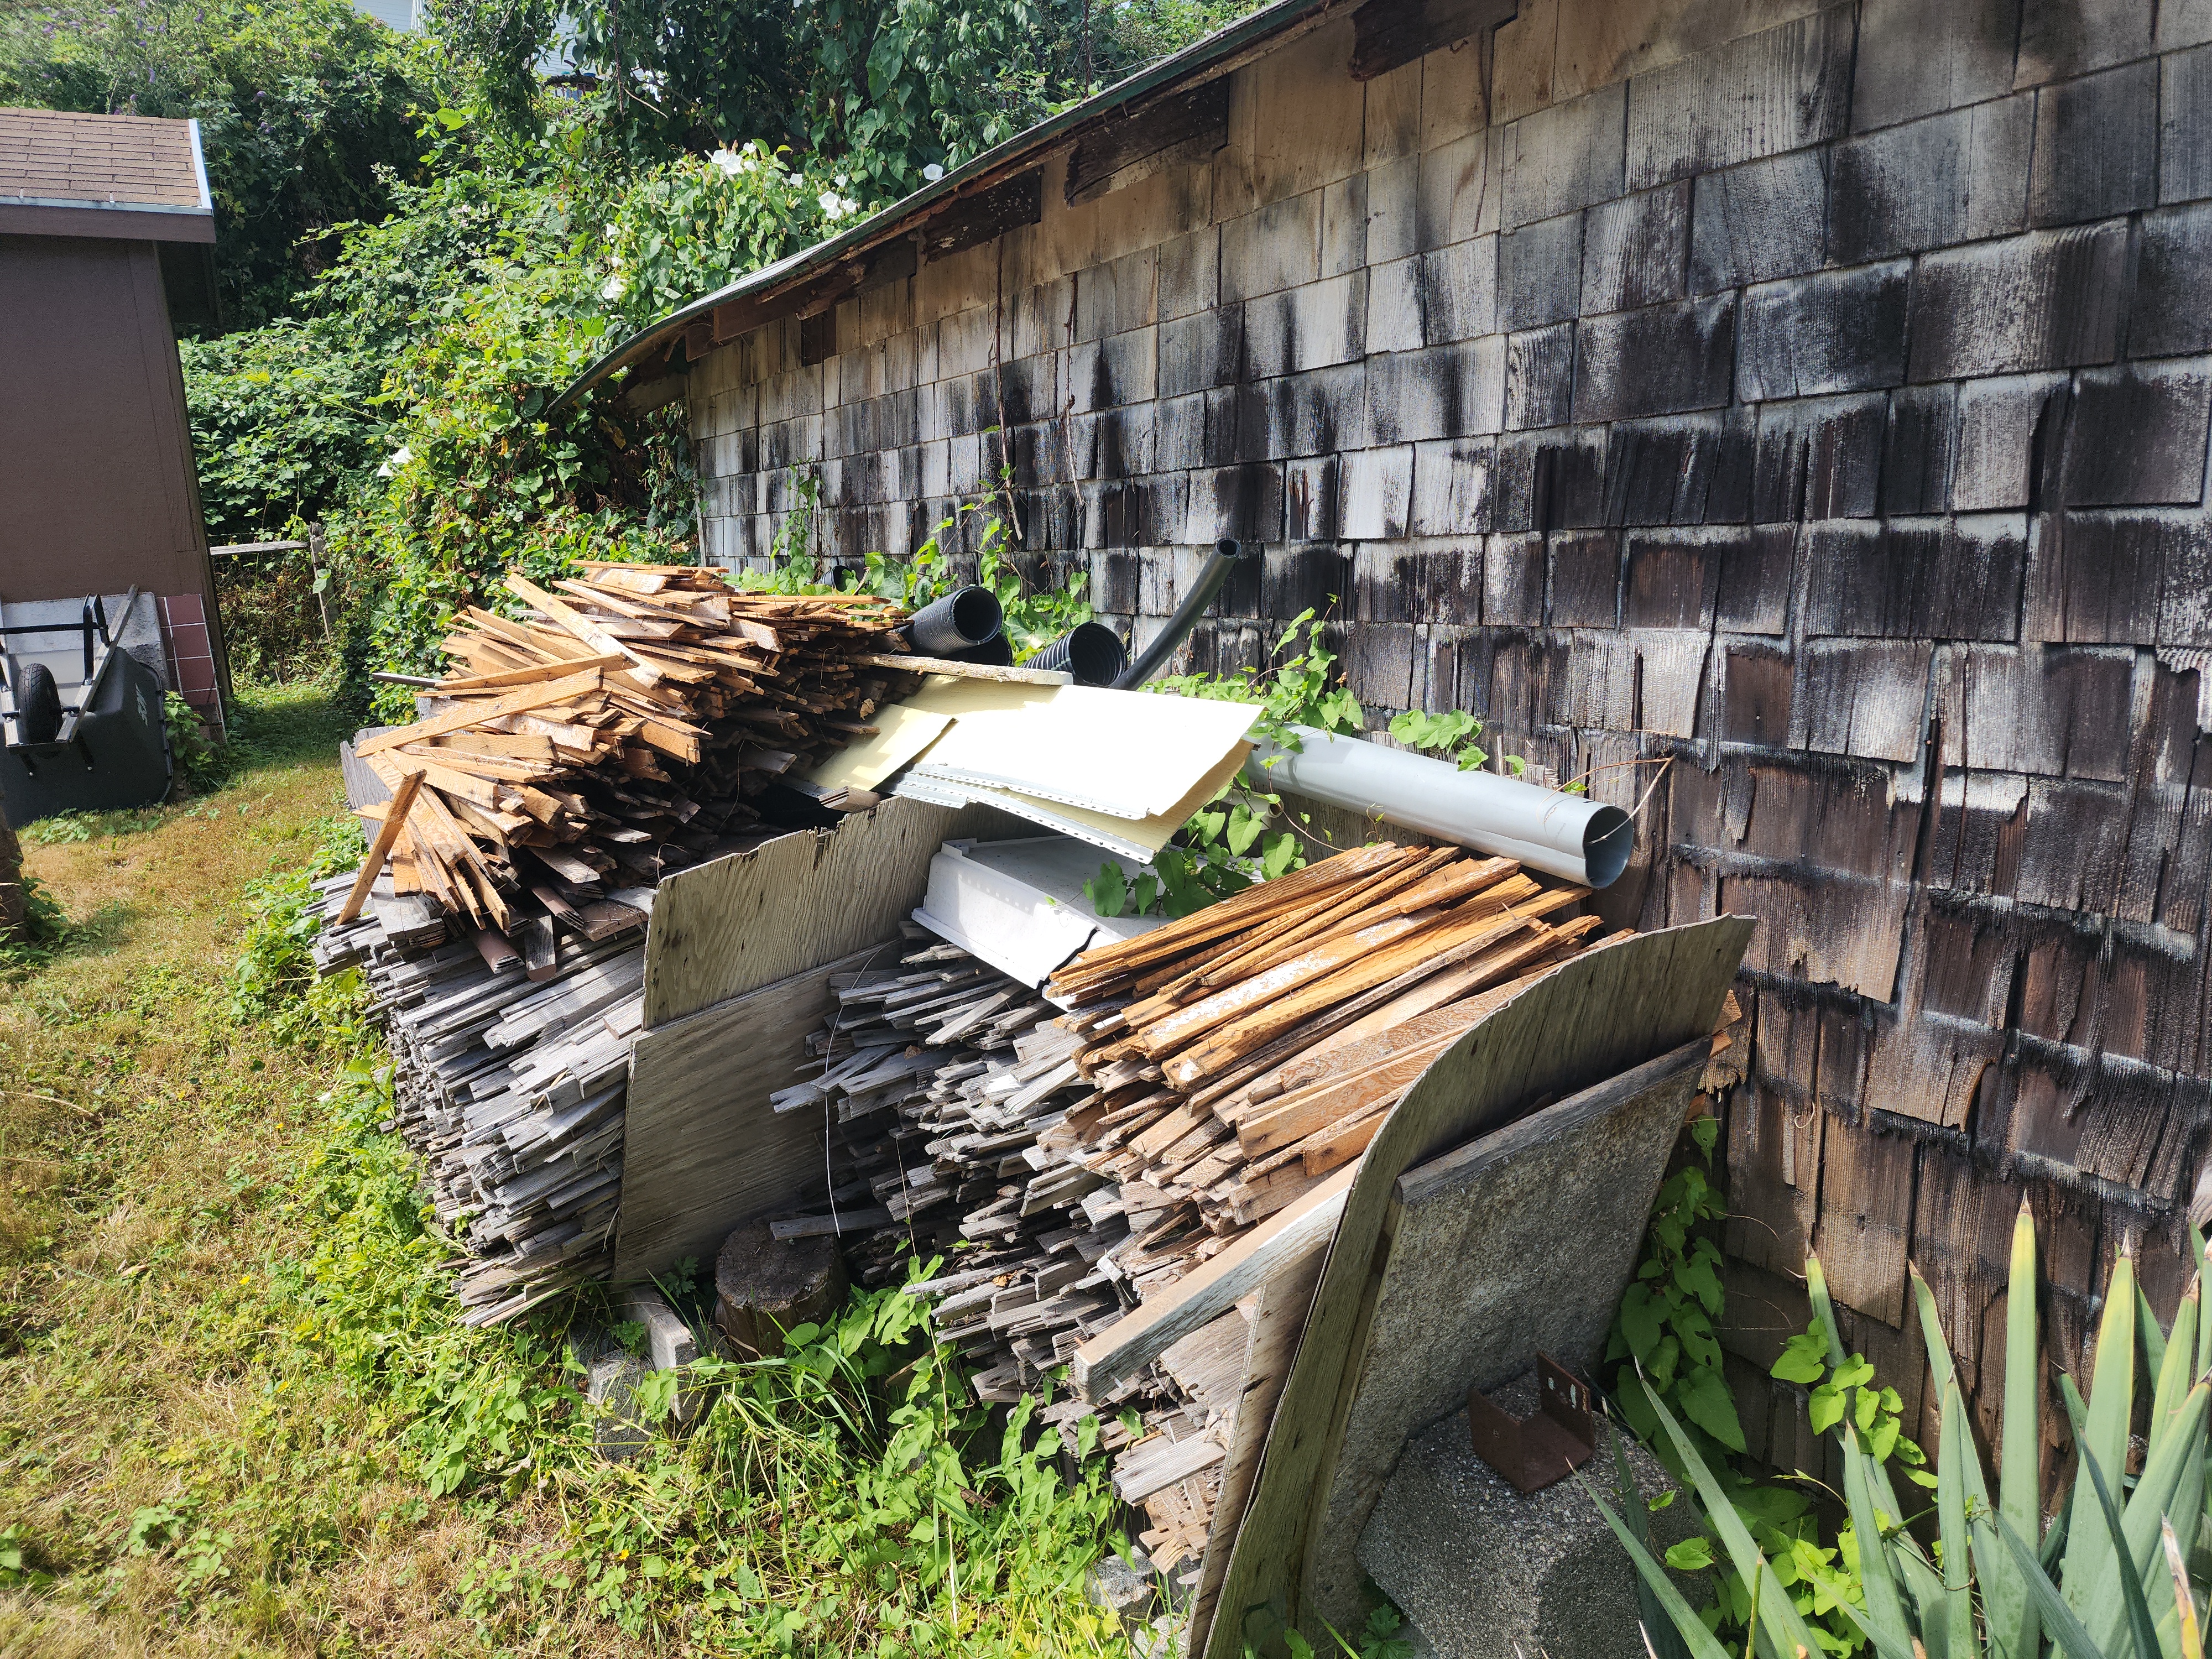
Wood was stacked against the siding. This is a conducive condition for rot and pests (insects.) Recommend removal of the wood and observation of the siding underneath. If rot or insect activity is found, recommend evaluation and repair by a qualified contractor.
Contractor:DIY (do it yourself) - DG-10 Detached Garage:
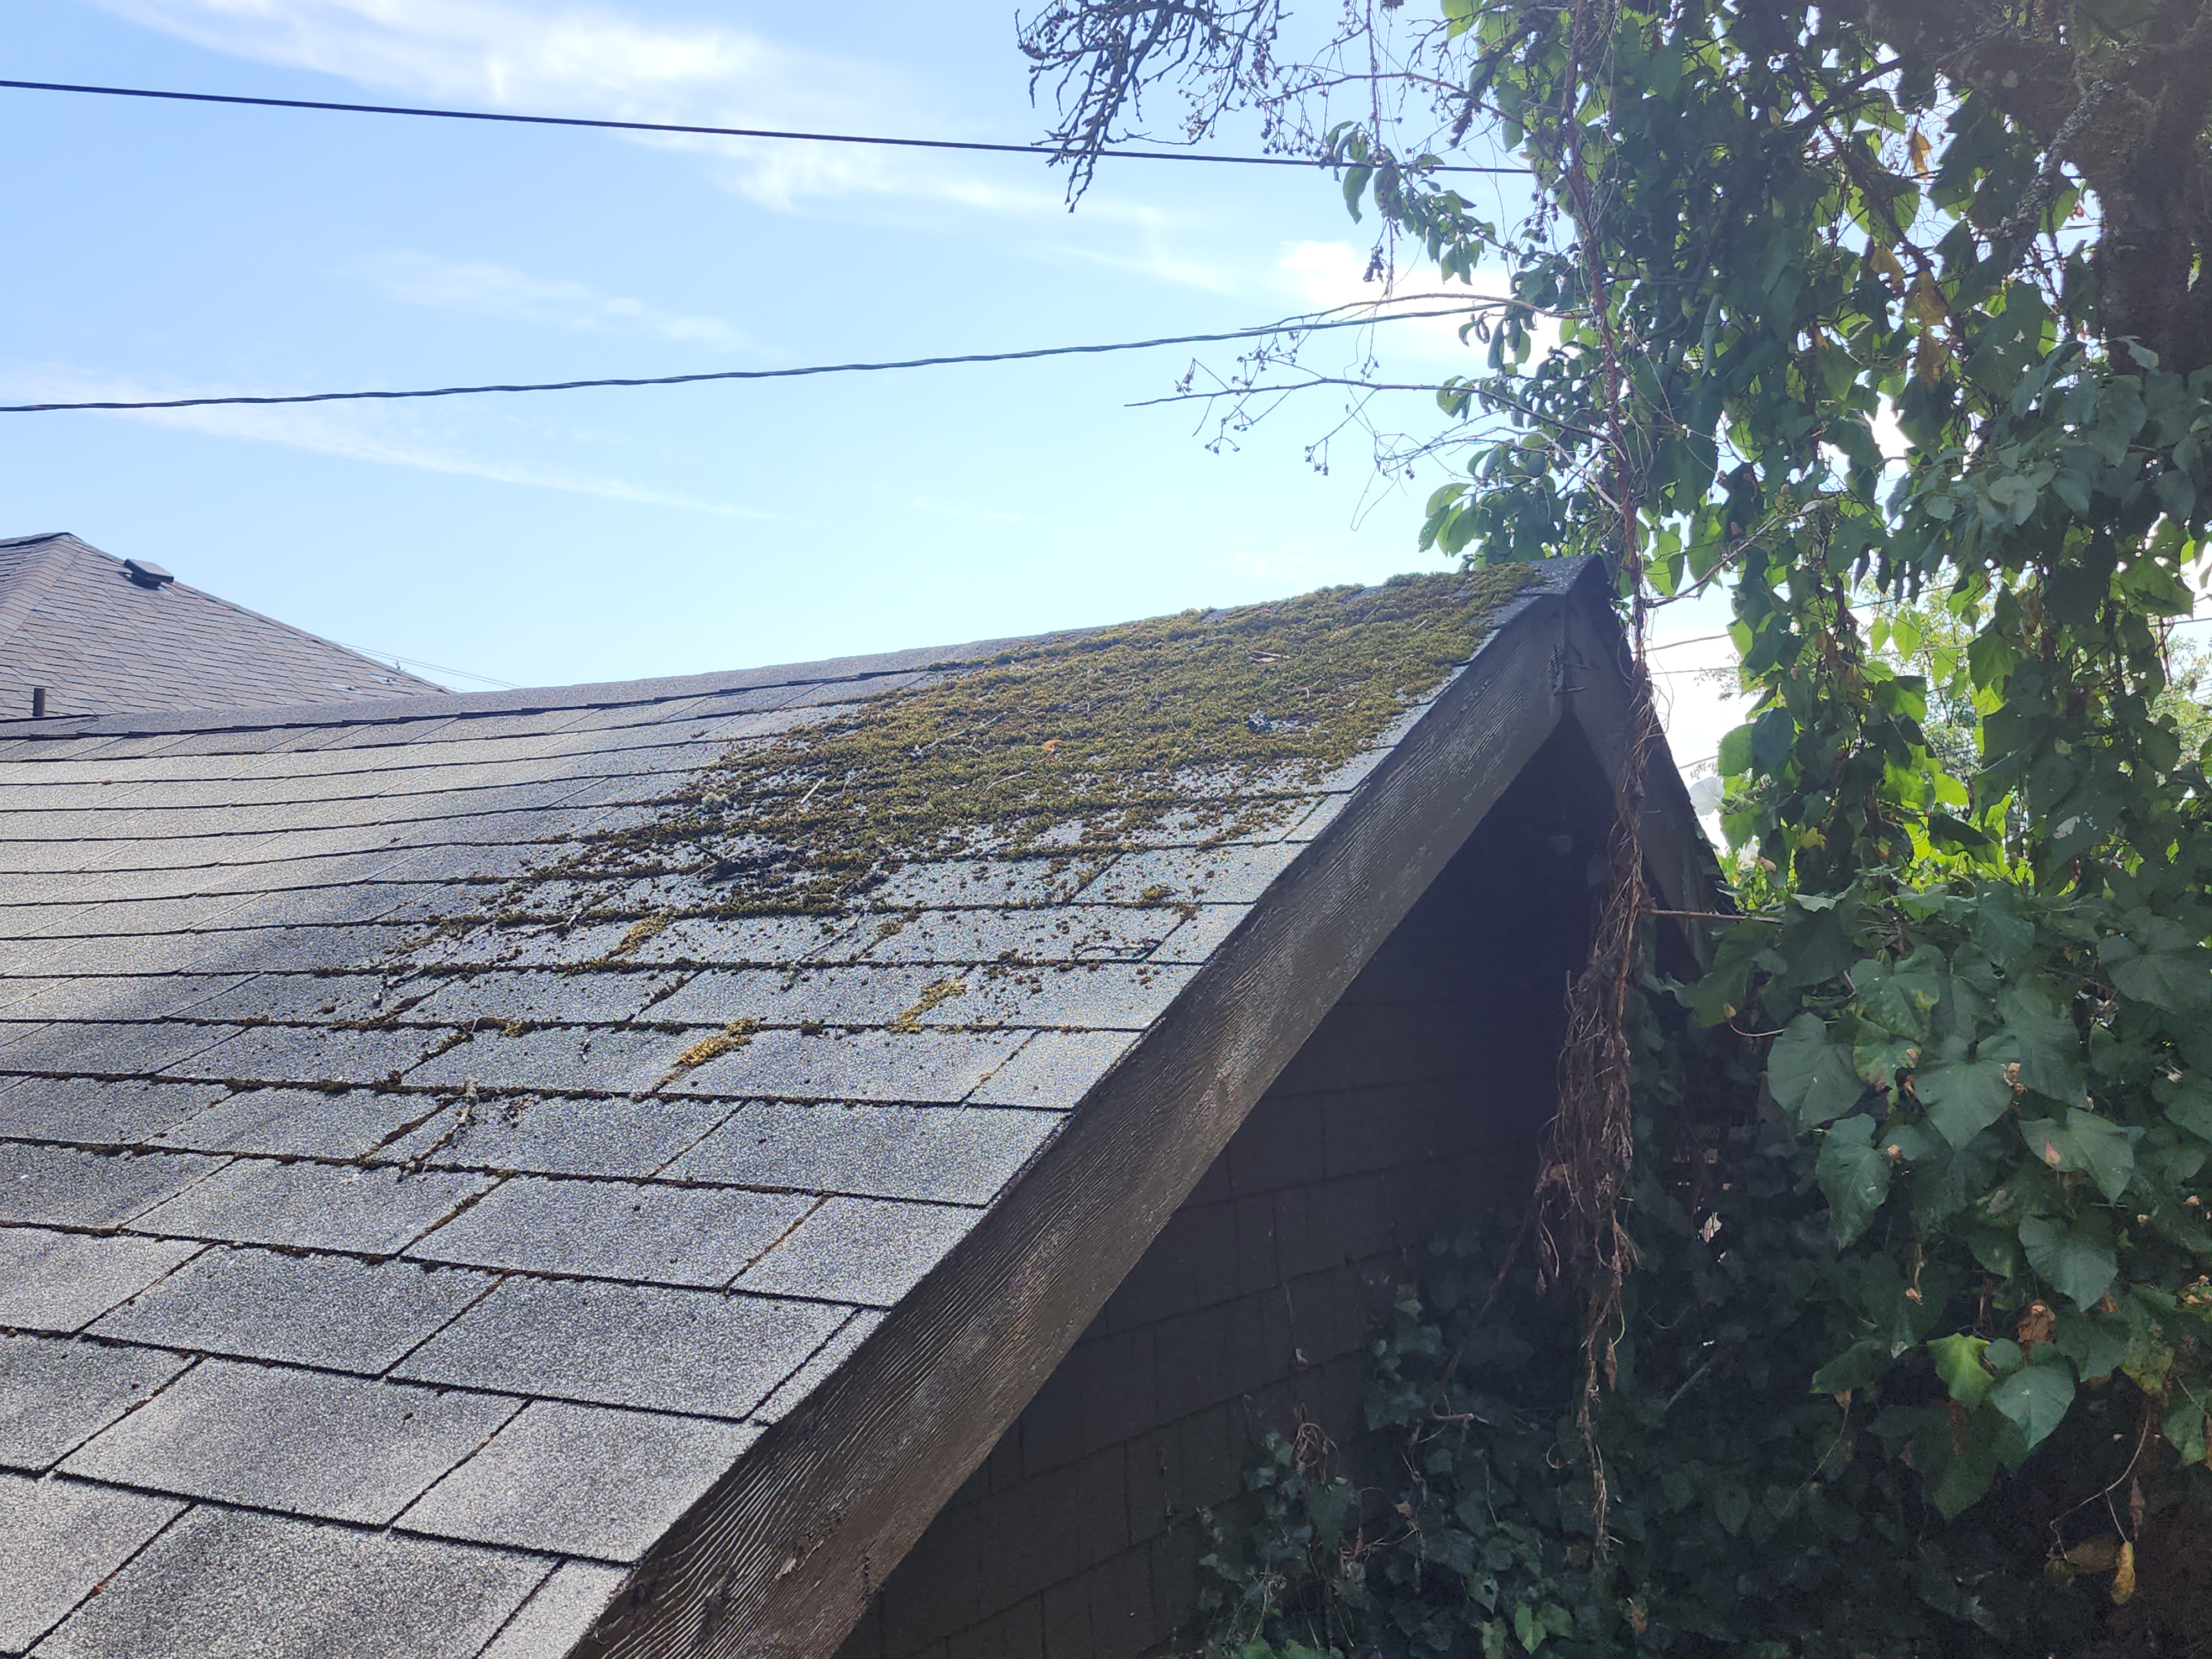
There was moss on the roof. Moss growth is common in our climate, and most often grows in shady areas (mostly on north facing roof surfaces or under vegetation.) This can lead to the premature failure of the roof and subsequent leaks. Recommend regularly treating moss during its growing season (wet months) with a moss killer. This is generally a DIY repair, though the height and pitch of the roof may require a qualified contractor.
Contractor:DIY (do it yourself)
.jpg)
.jpg)
Tier 3 - Improvements
- CSB-10 Common Spaces and Bedrooms:
A thermal bridging pattern (often called ghosting) was noted inside the house throughout most of the first level. This is when black stains are covering the walls and ceilings in places, most notable in the living room. This is often caused by a combination of factors:
- Heat loss where walls are un-insulated, often at framing but sometimes from missing insulation
- High particulate content in the indoor air, often from burning candles, wood fires, or incense
- High indoor relative humidity
The black lines themselves are a cosmetic issue only, but can be an indicator of interior humidity issues or low levels of insulation. Recommend using stain killing paints to seal stains on the affected areas and then re-paint as a DIY repair. To prevent future problems use bath fans to try and control relative humidity in the home and refrain from burning candles/incense. In winter months, try to keep indoor relative humidity below 50%. If the ghosting pattern returns, further evaluation and repair by a qualified contractor may be needed.
Contractor:DIY (do it yourself) - CSB-20 Common Spaces and Bedrooms:
Door(s) was swinging on its own in the following location(s): Kitchen to Back Entry, First Level North Bedroom, Second Level South Bedroom. As a simple DIY repair, one of the hinge pins can be removed, and bent slightly. This will create a bit of friction, usually enough to prevent the door from swinging closed, but not enough to affect its operation. If this does not fix the problem, then further repair by a qualified contractor may be needed.
Contractor:DIY (do it yourself) - P-18 Plumbing:
The water heater had an insulation wrap surrounding it. In my opinion, this extra insulation is not necessary, and often just hides problems like leaks. I recommend removing this insulation wrap so the water heater is more visible. DIY repair.
Note: This wrap also made it so I could not see any of the markings on the water heater, so I could not determine its brand, size, or most importantly, age and signs of problems (corrosion, leaks, etc.)
Contractor:DIY (do it yourself) - E-11 Electrical:
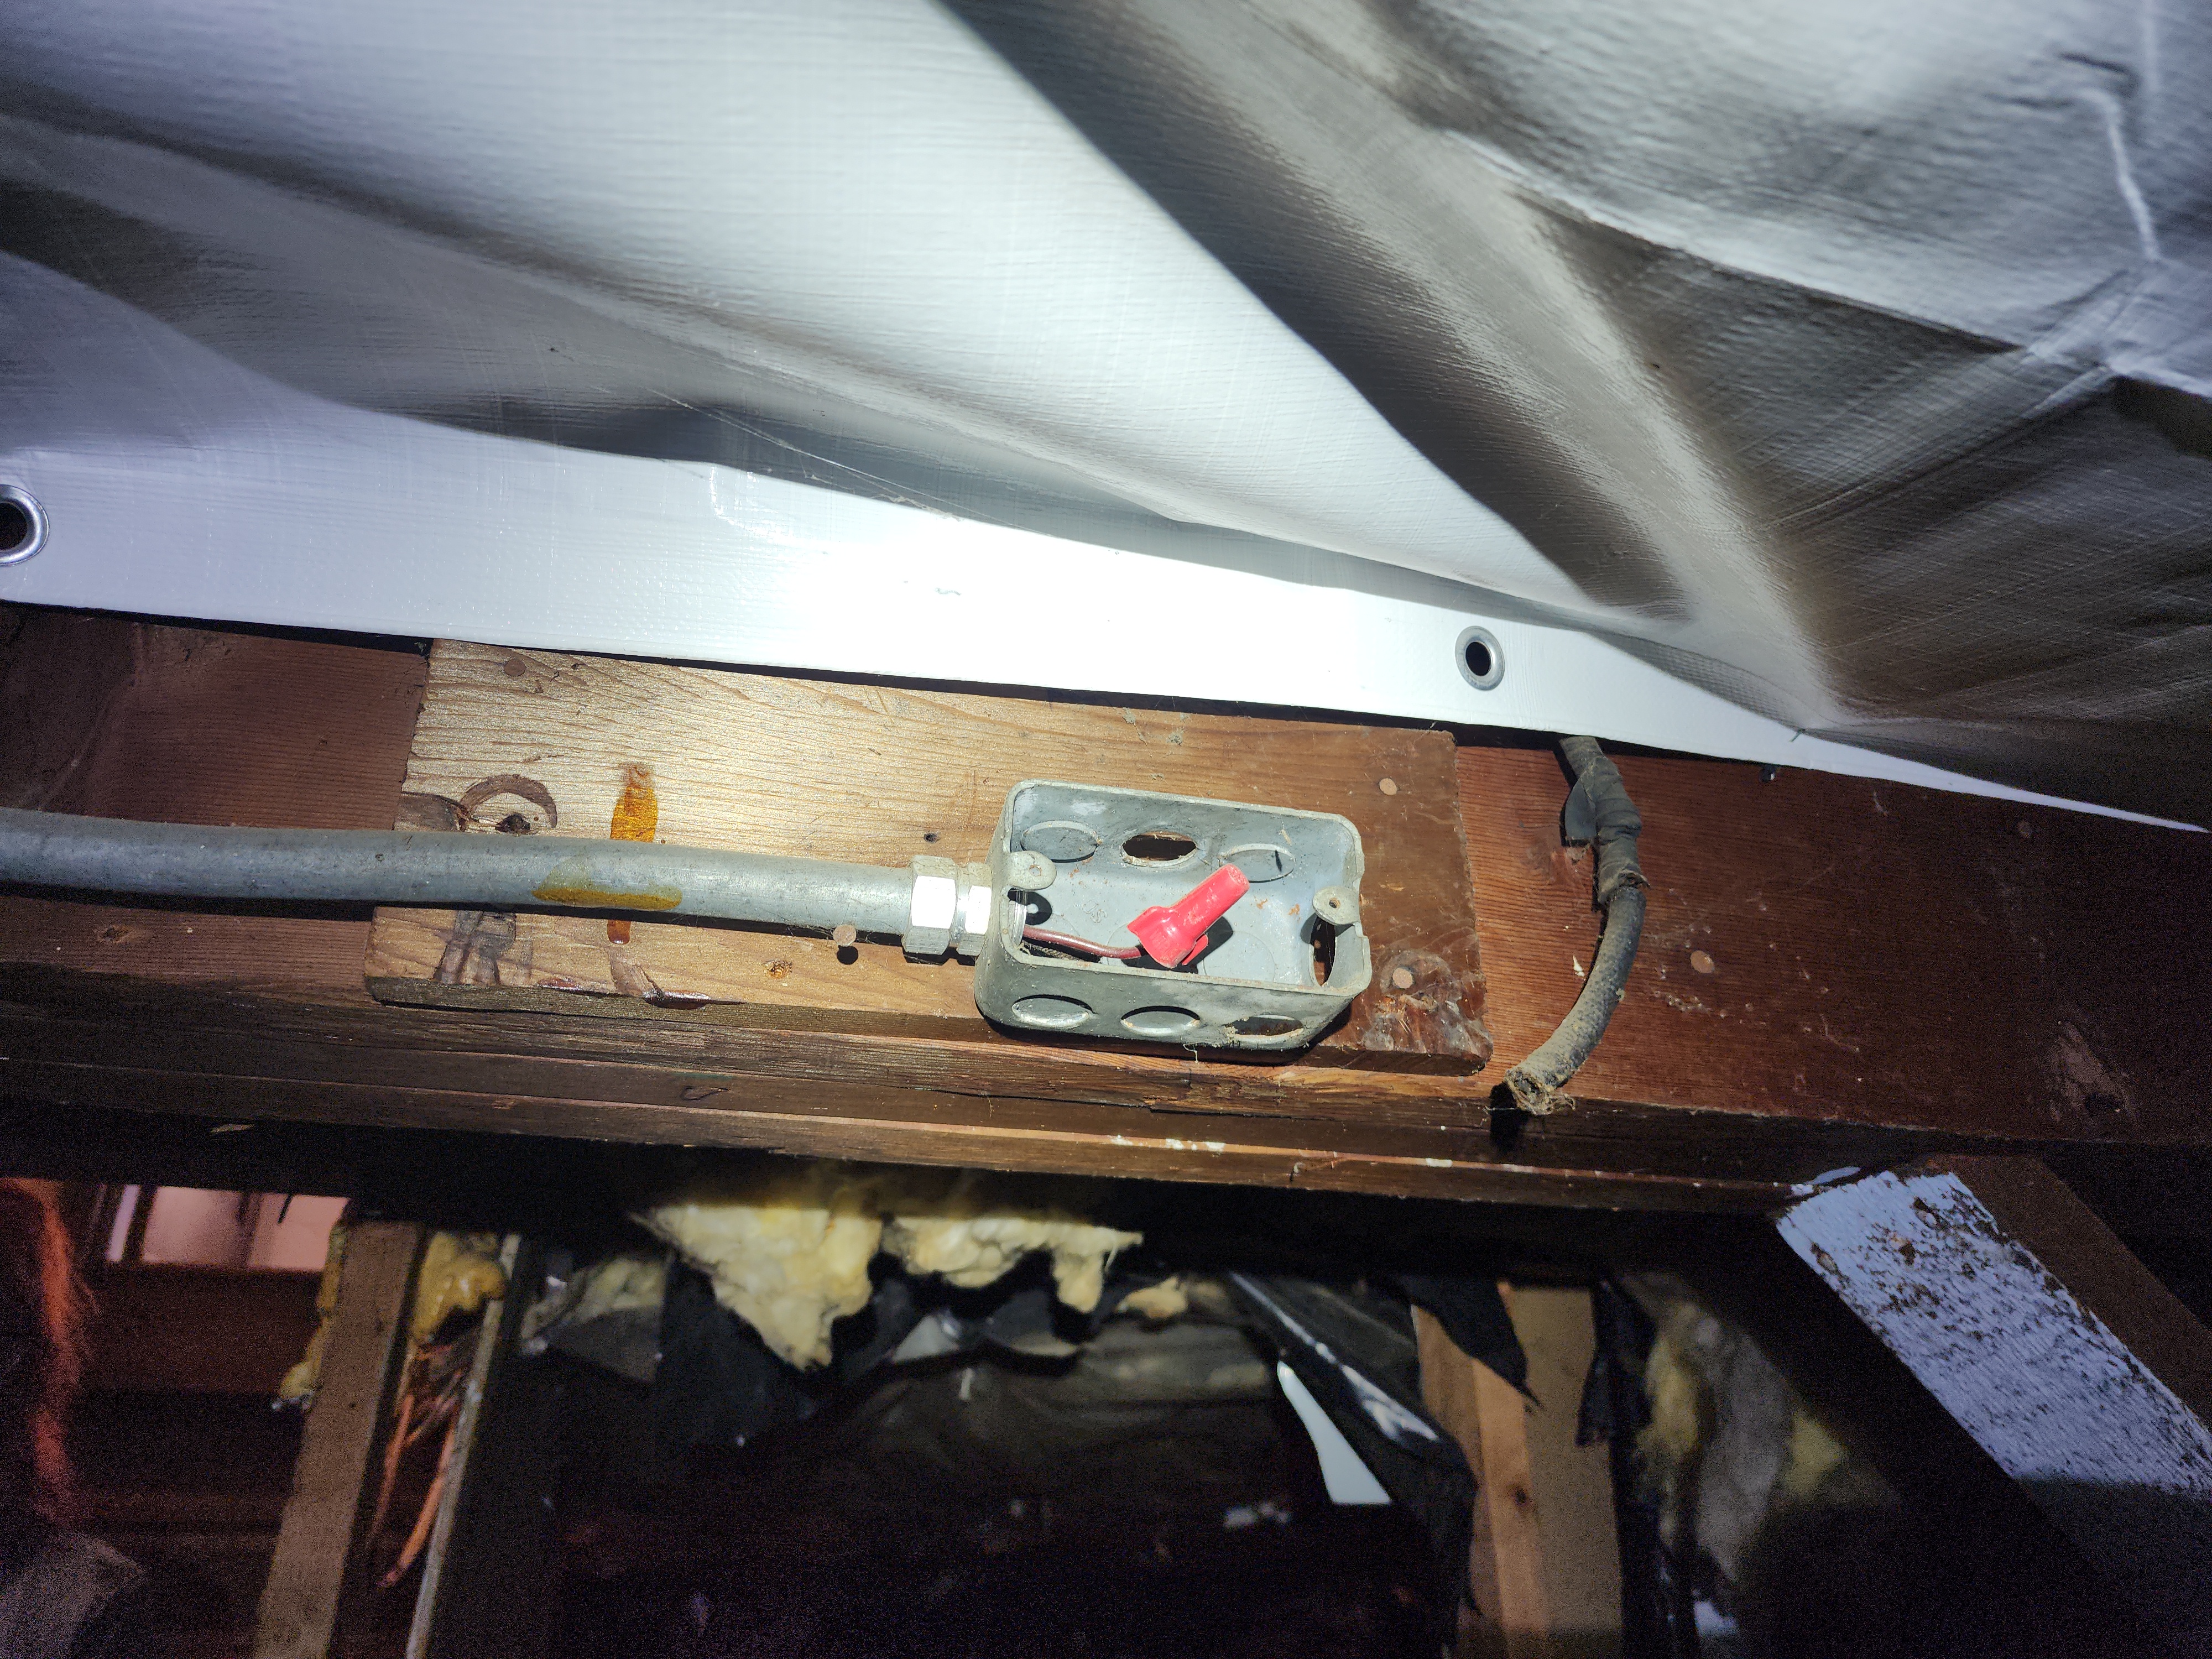
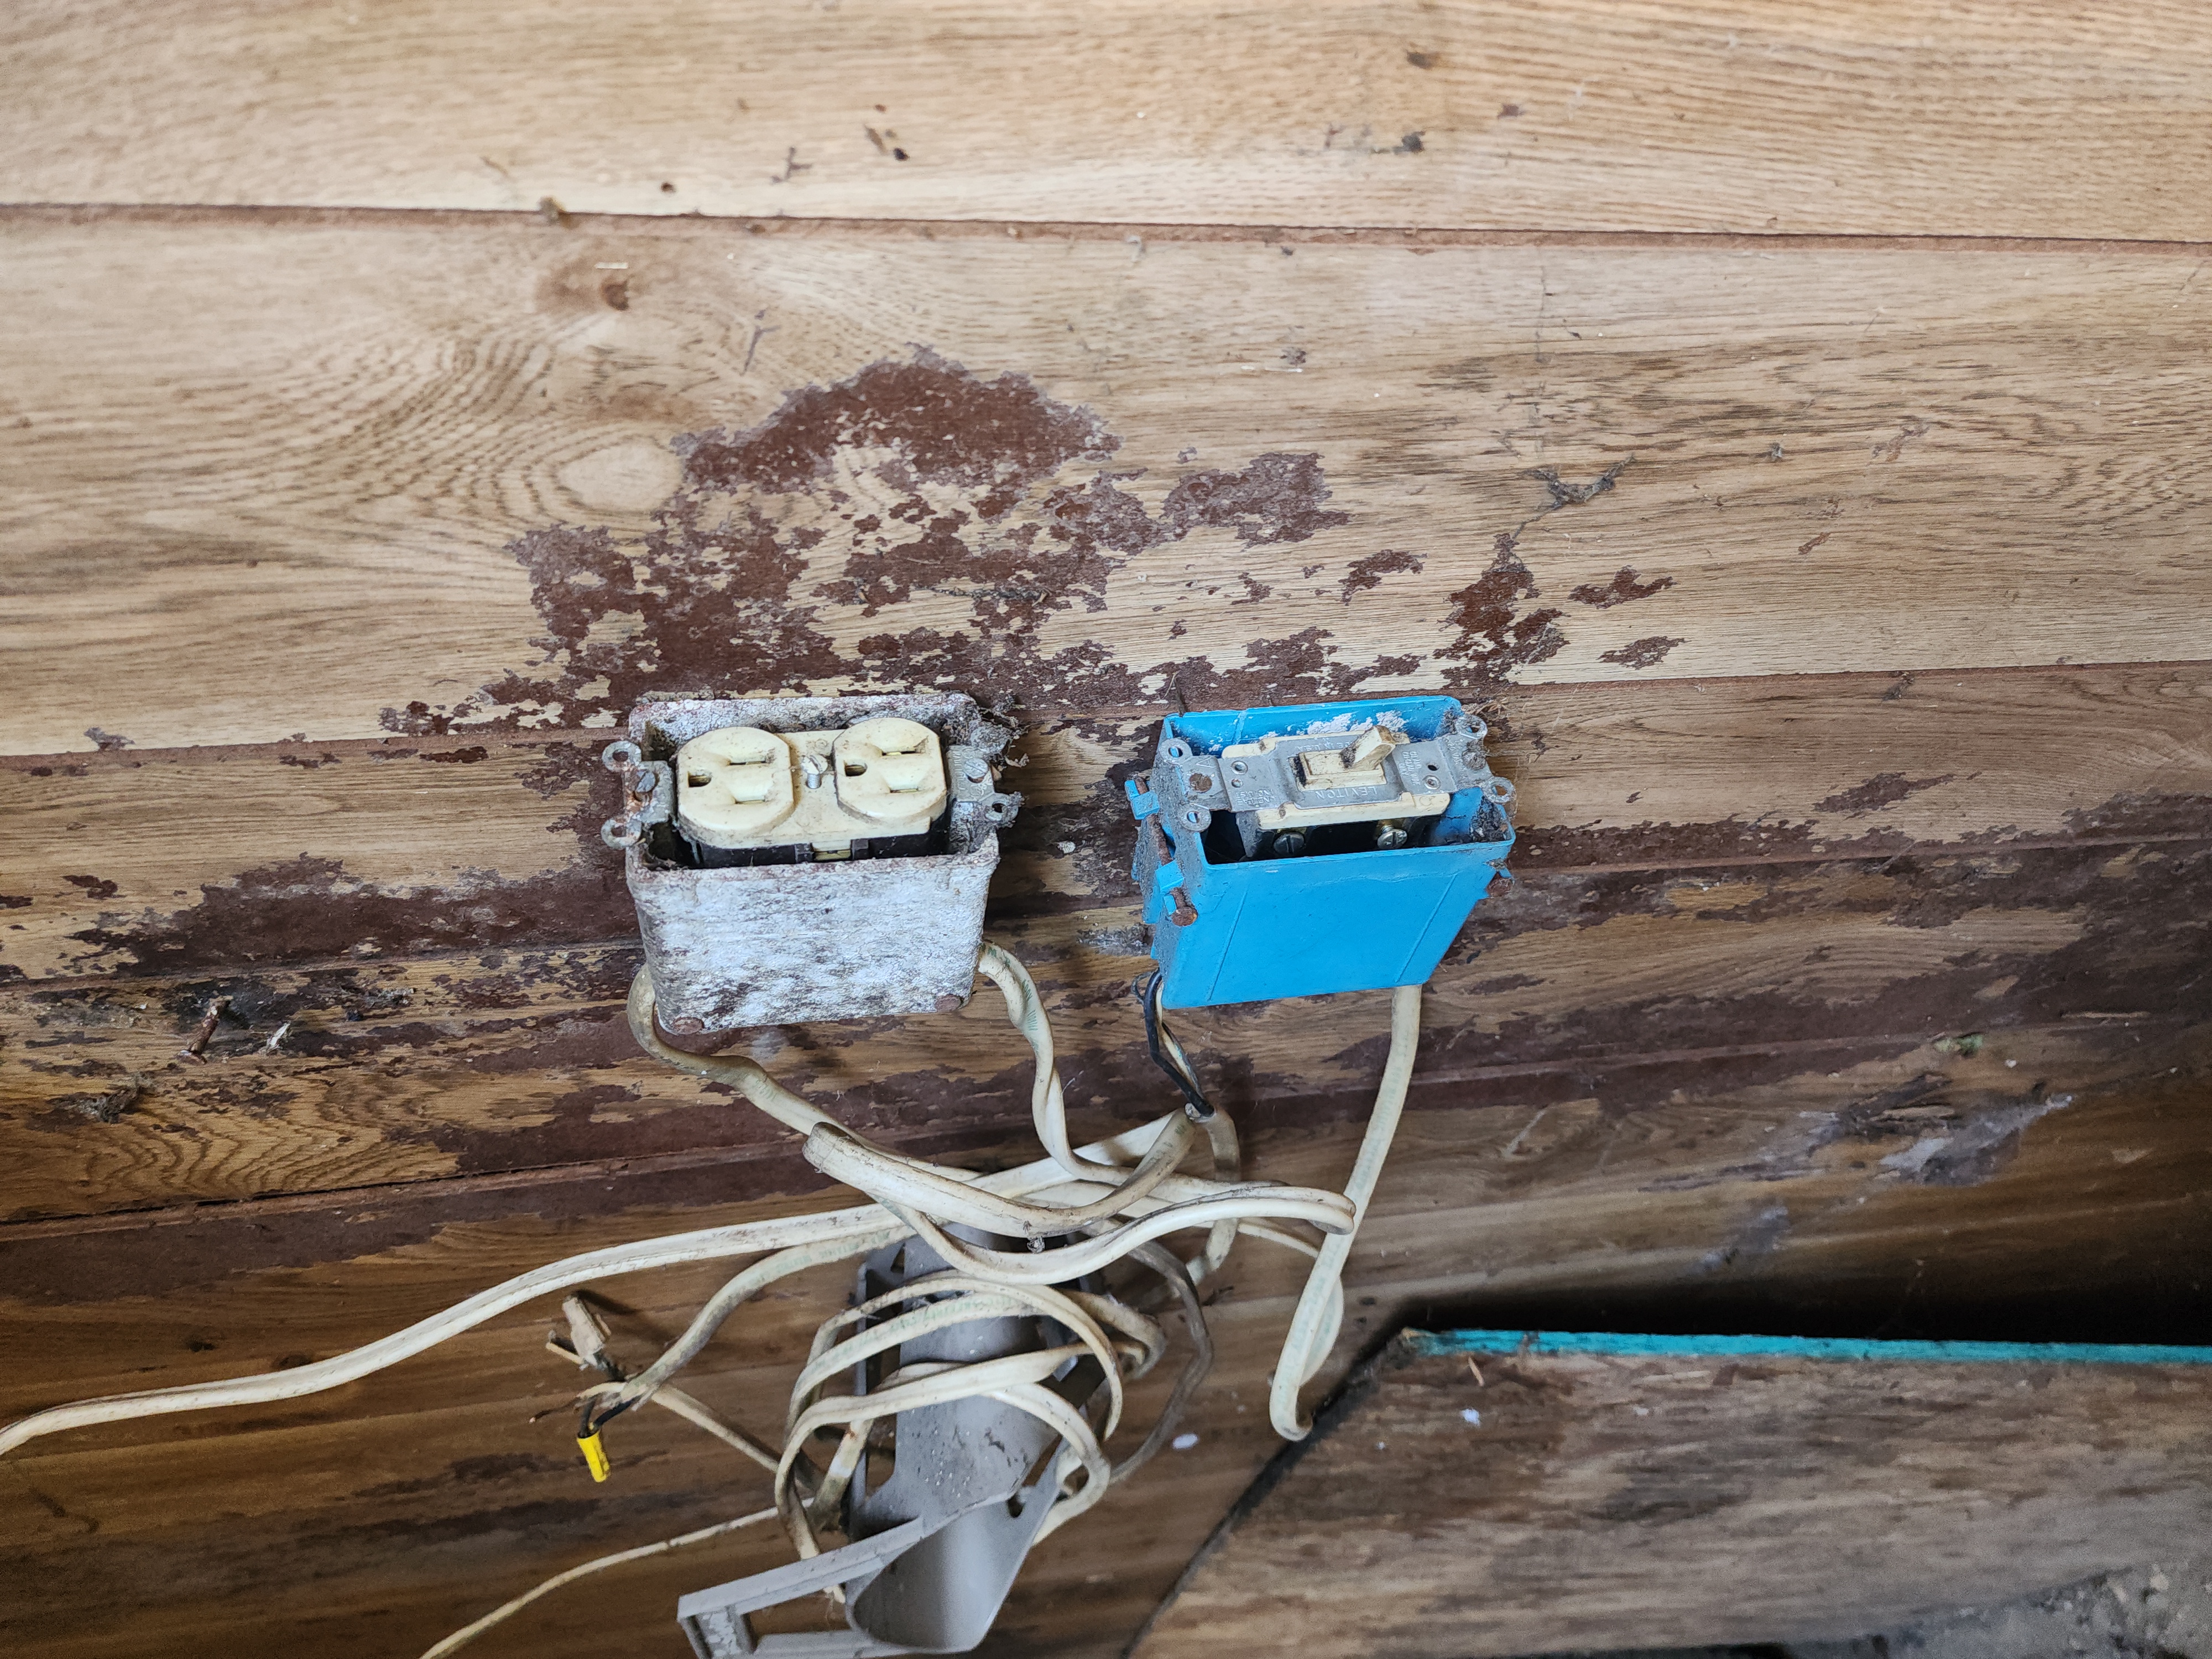
Junction box(es) did not have protective covers on them, see photo(s.) Recommend adding cover(s.) DIY repair.
Contractor:DIY (do it yourself) - E-23 Electrical:
Panel was missing a complete legend displaying which breakers control which circuits. Recommend the homeowner or an electrician creates one.
Contractor:DIY (do it yourself)Electrician
.png)